By my reckoning, the new year began at dawn on 12/22. But, I suppose it’s NYE today.
I wasn’t slash am not satisfied with the custom deer hide for the young hunter. I just couldn’t get the stiffness out of it no matter what I did. So, I took a closer look at my neatsfoot oil – the oil I used in my soap solution to dress it for tanning – and here’s the thing:
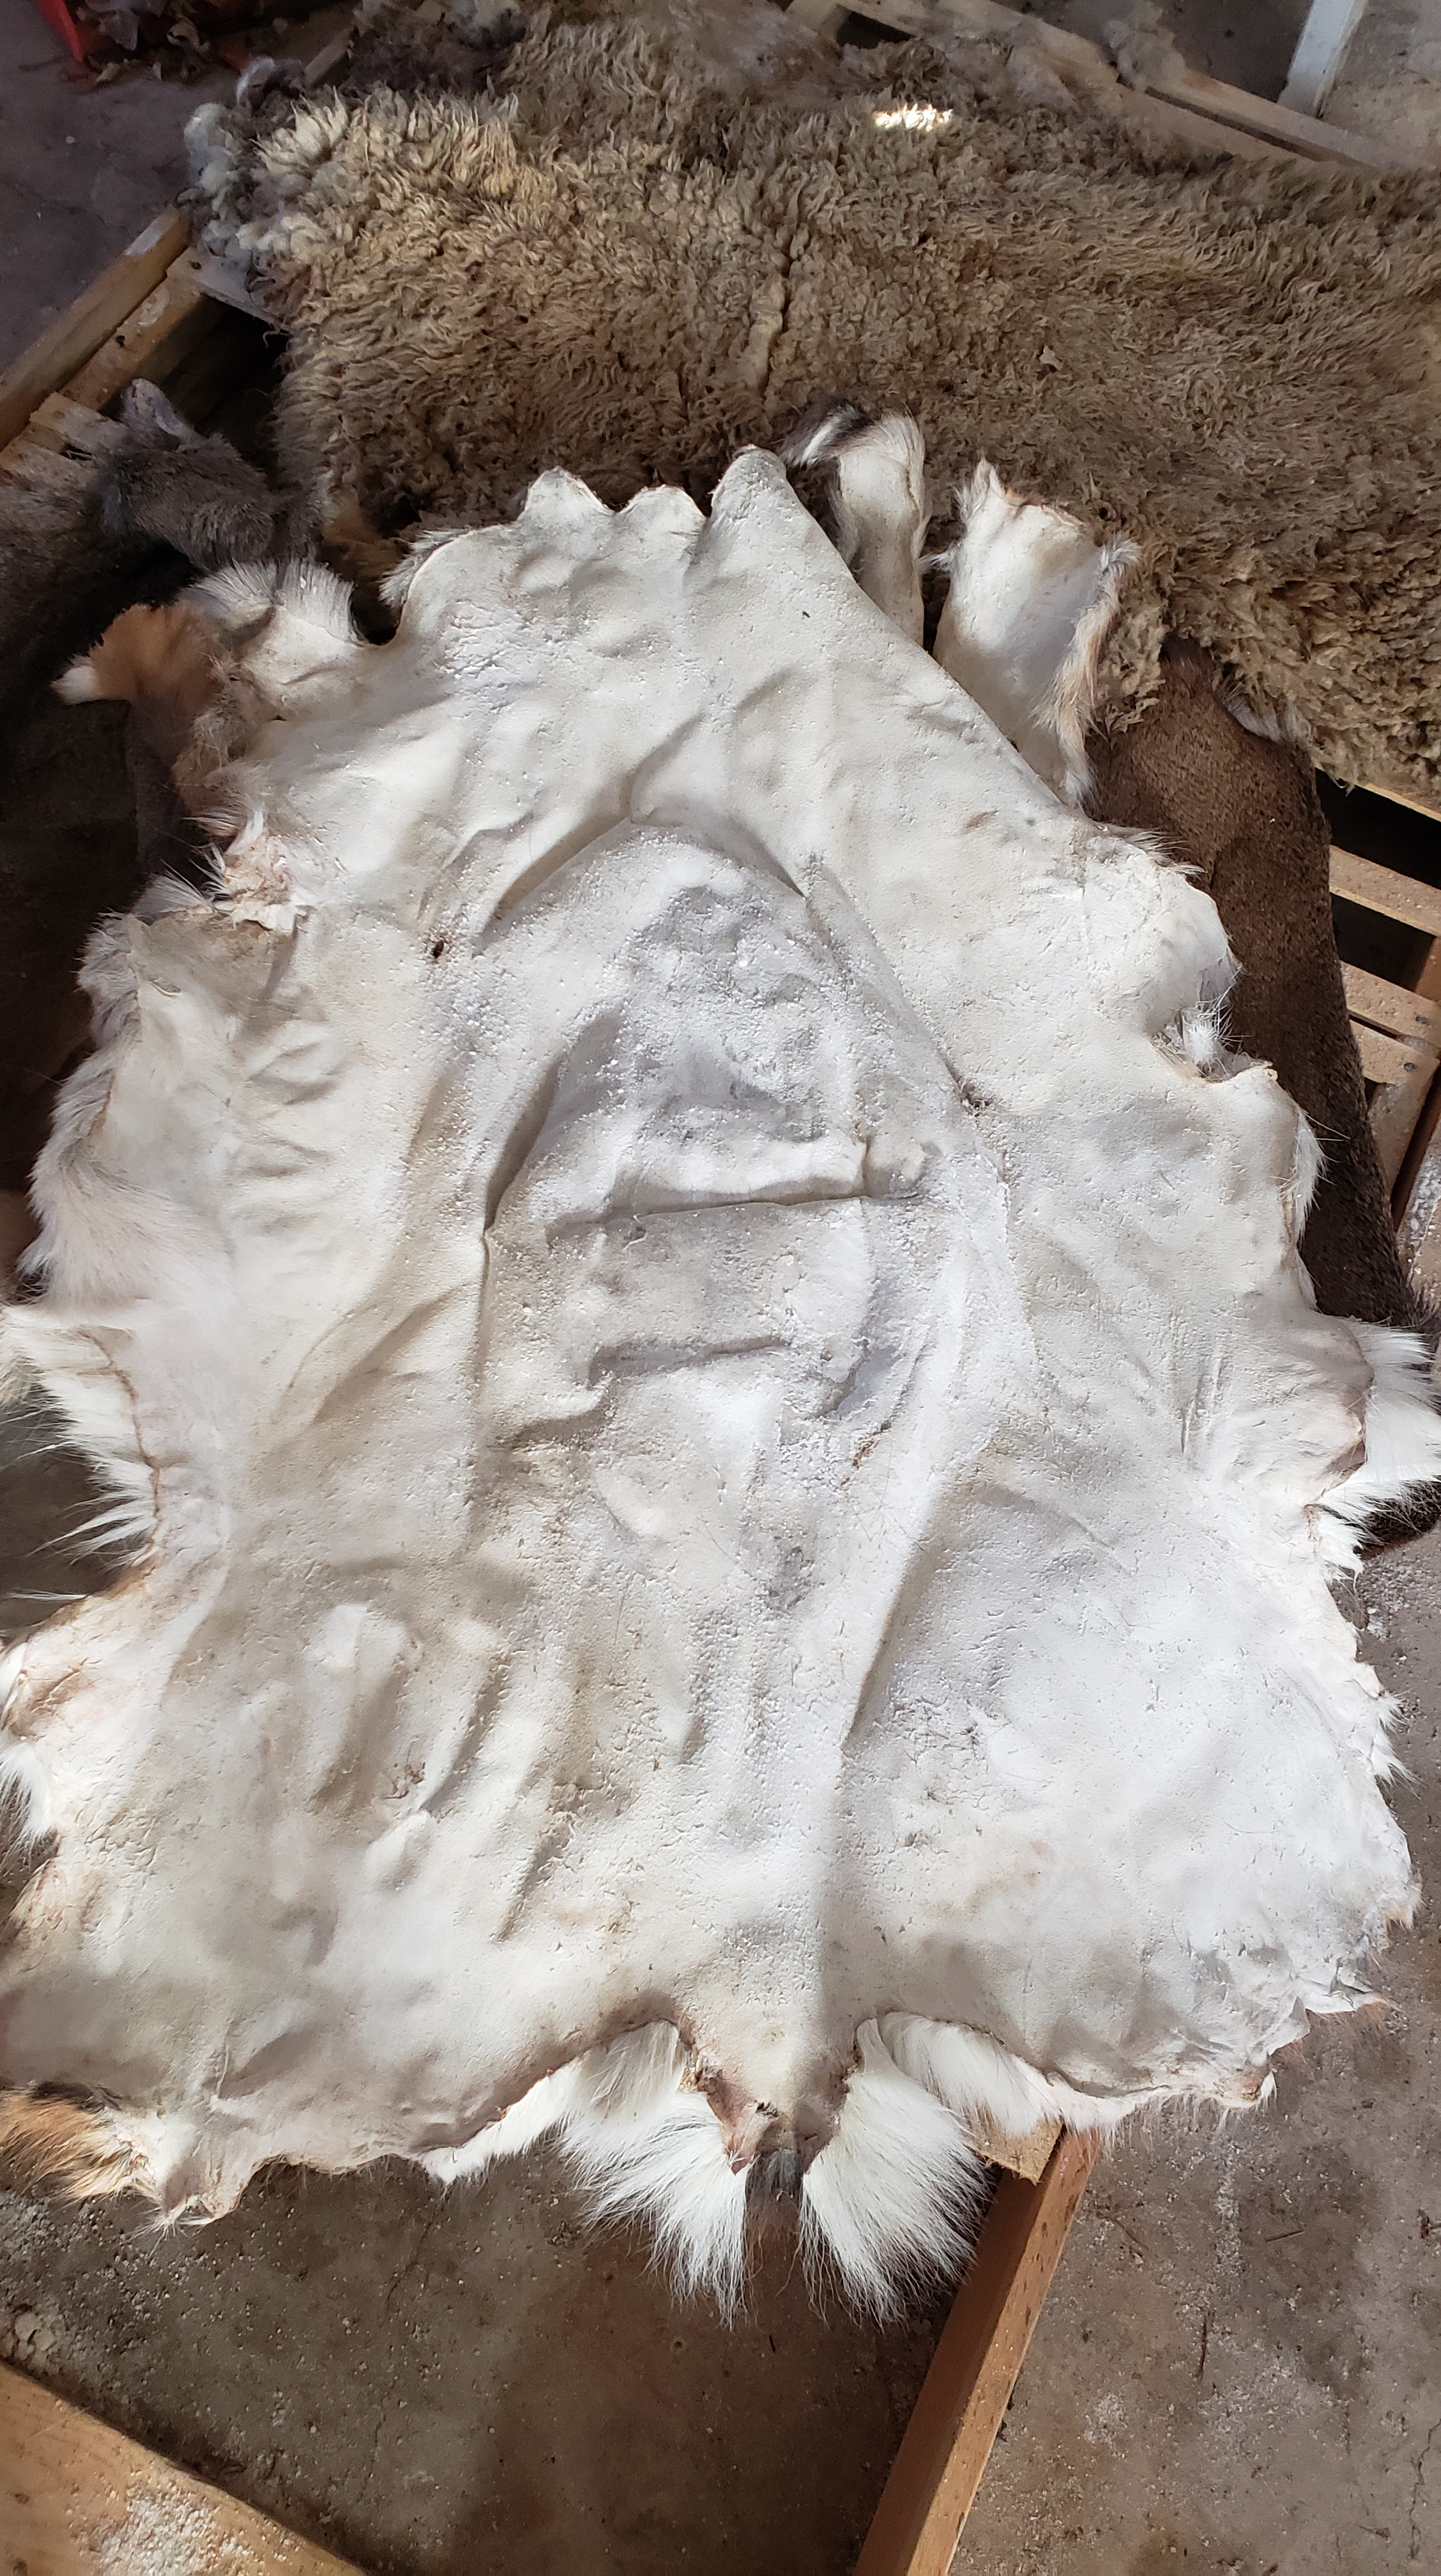
The deer skin before smoking: looking good! No further hair loss, fairly supple, decent drape. I scraped it a bit on my beam with my mezzaluna, to remove the dry alum and soften it a bit more.
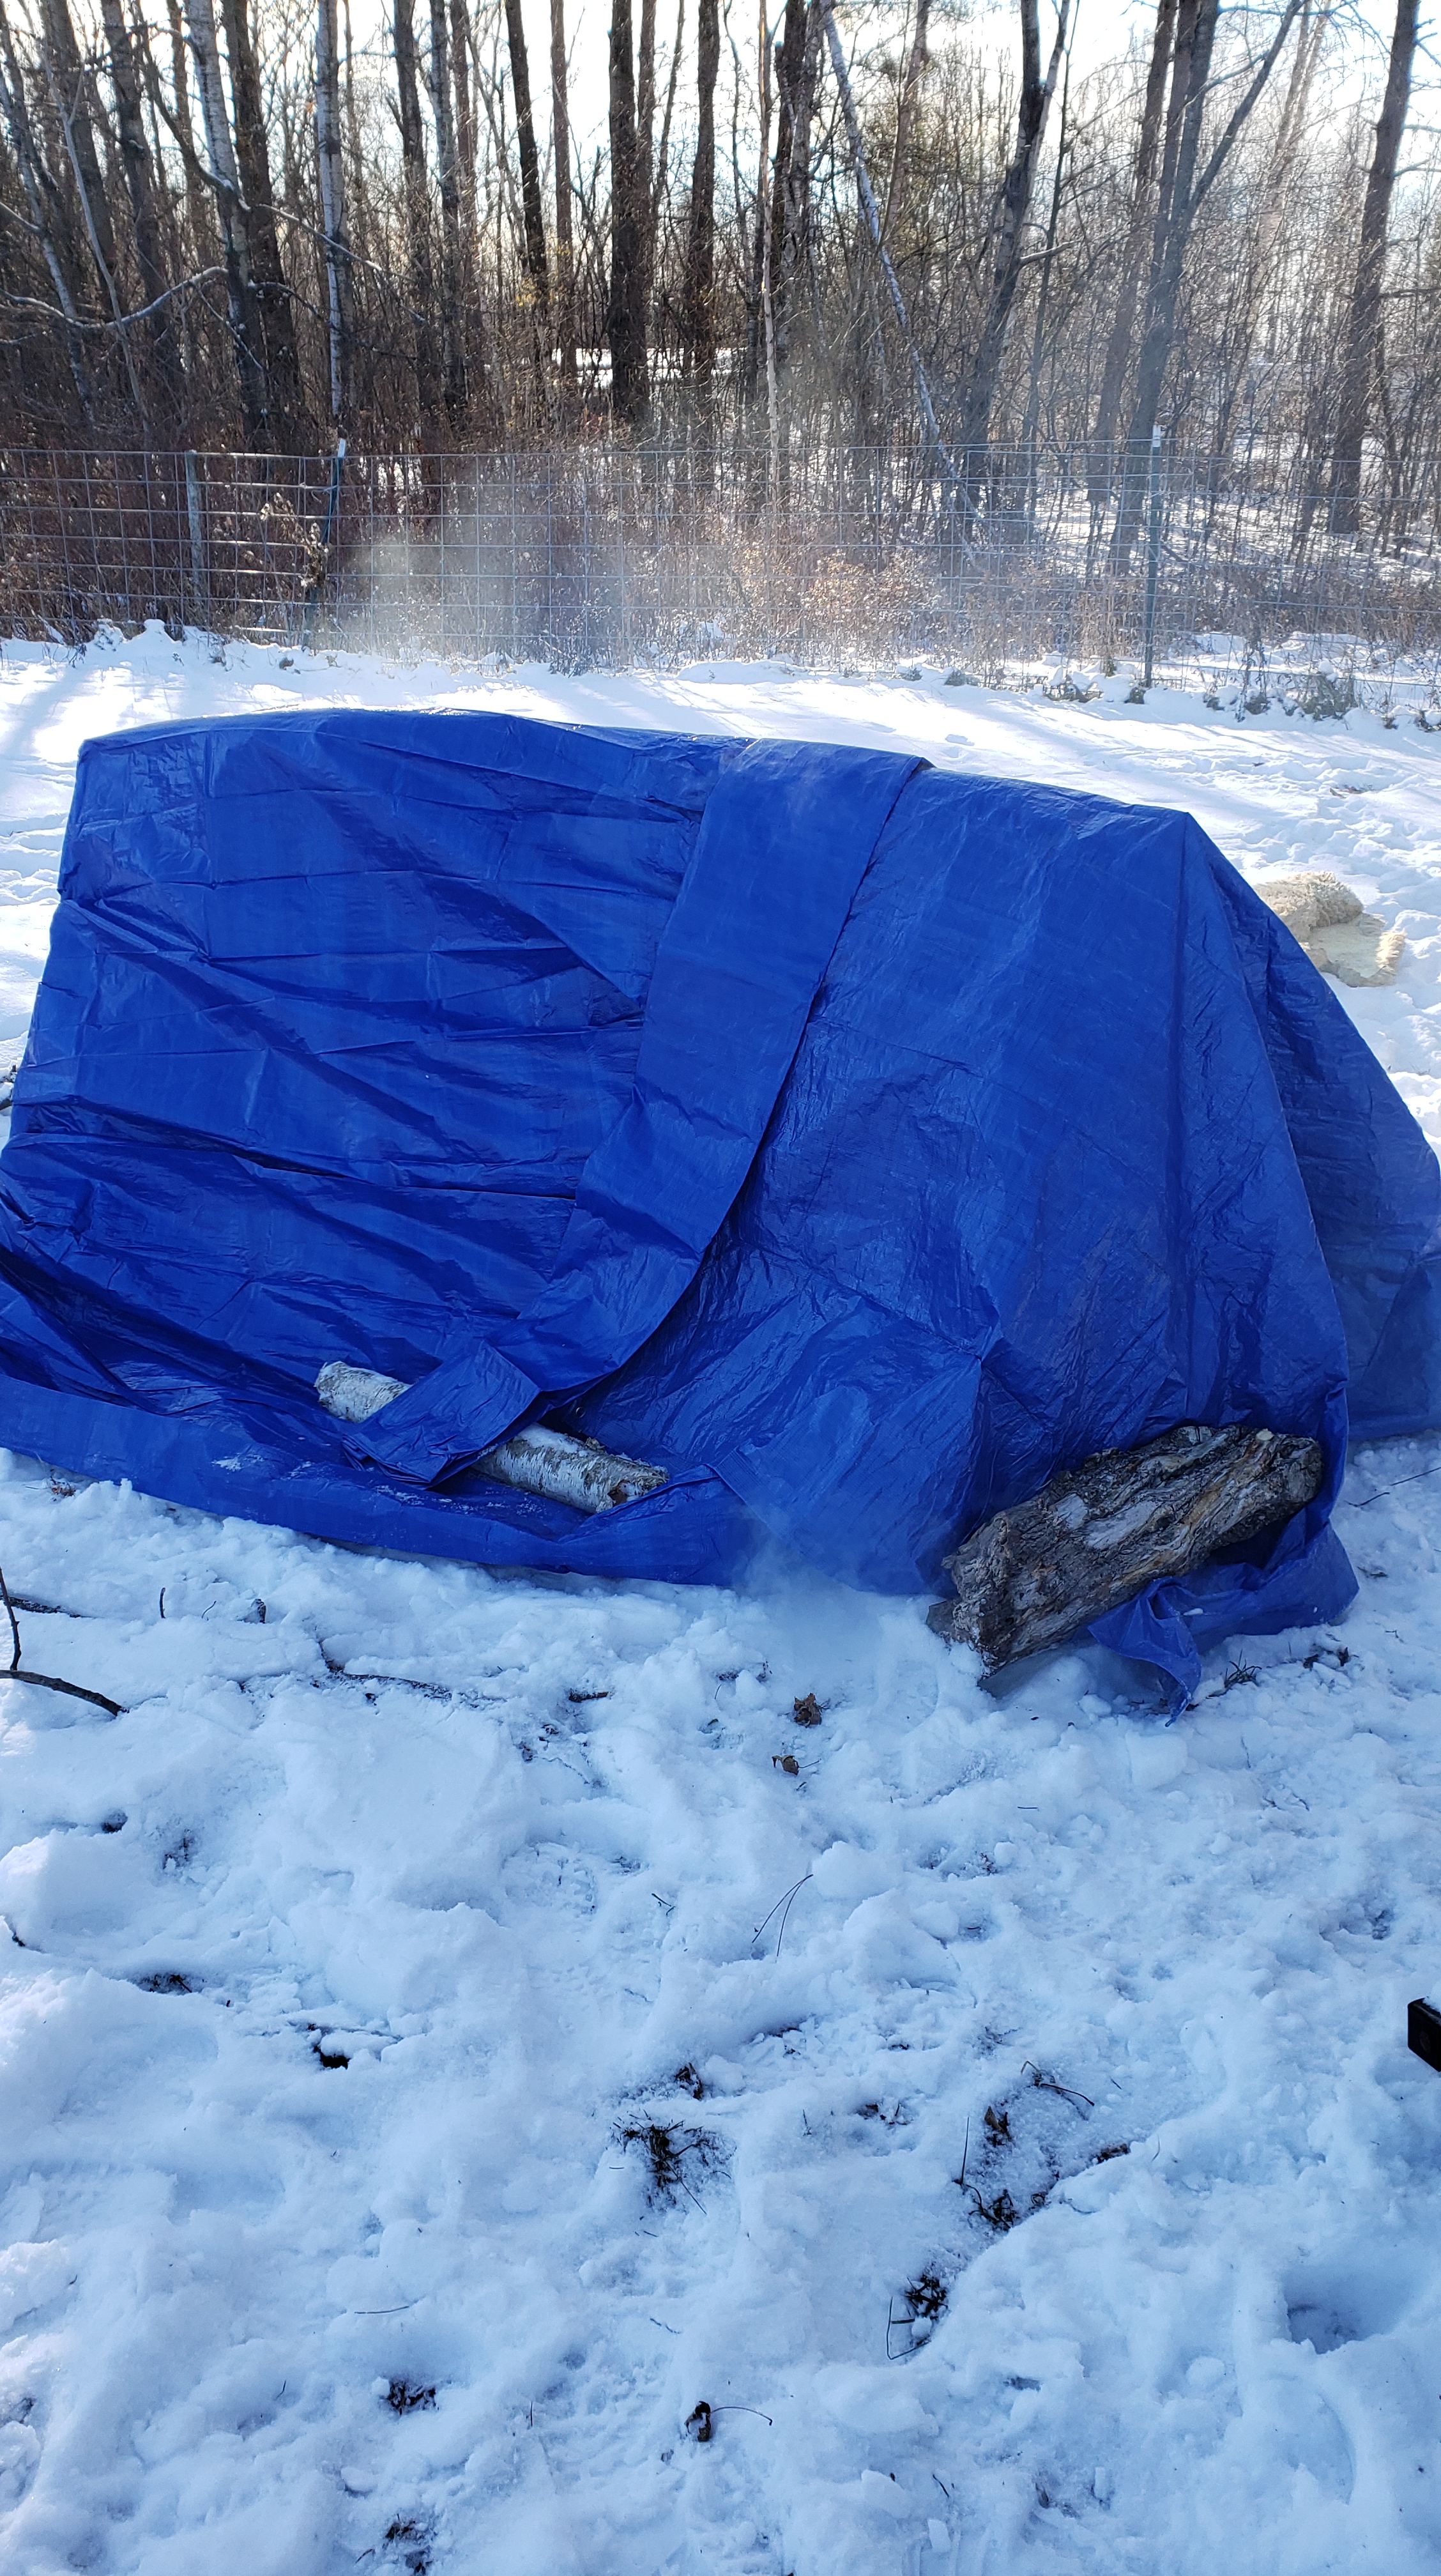
Then it was time to smoke it.
No pictures after this point in the process because guess what? My phone died.
I also smoked the egg yolk-dressed sheepskin, and re-smoked a small shearling just for the hell of it (and to add more color).
I used the last of my punk maple, which I forgot to take pictures of.
With highs in the low 30s and lows in the teens, Minnesota is definitely getting ready to welcome Winter. I have to plan my tanning work around the weather, balancing the feeling of rushing for holiday hide sales with how cold I’m willing to be, and taking care of my baby and unrelated small business while my husband works full time.
All this is to say: I haven’t gotten a lot done lately but I’ve done a few things!
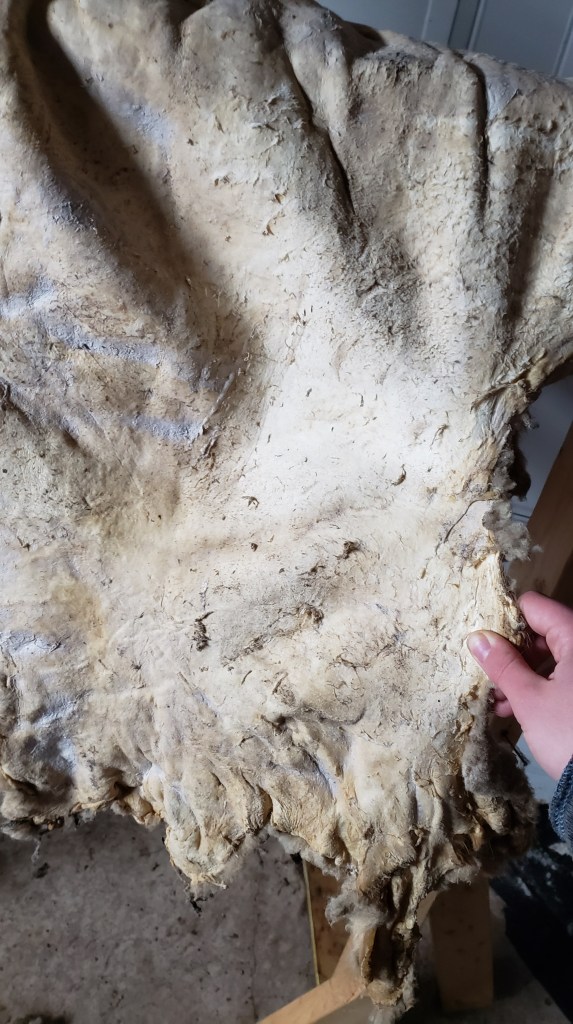
Progress on sheepskins today! I scraped the shearling that I’d recently pickled. It was mostly done already, but I got some membrane off.
I also stretched it a bit over my beam because it’s stretched unevenly, which I’ve noticed seems to happen easily with lamb skin. Then I got a tanning dressing on it. I used my trusty soap, water, and neatsfoot oil solution.
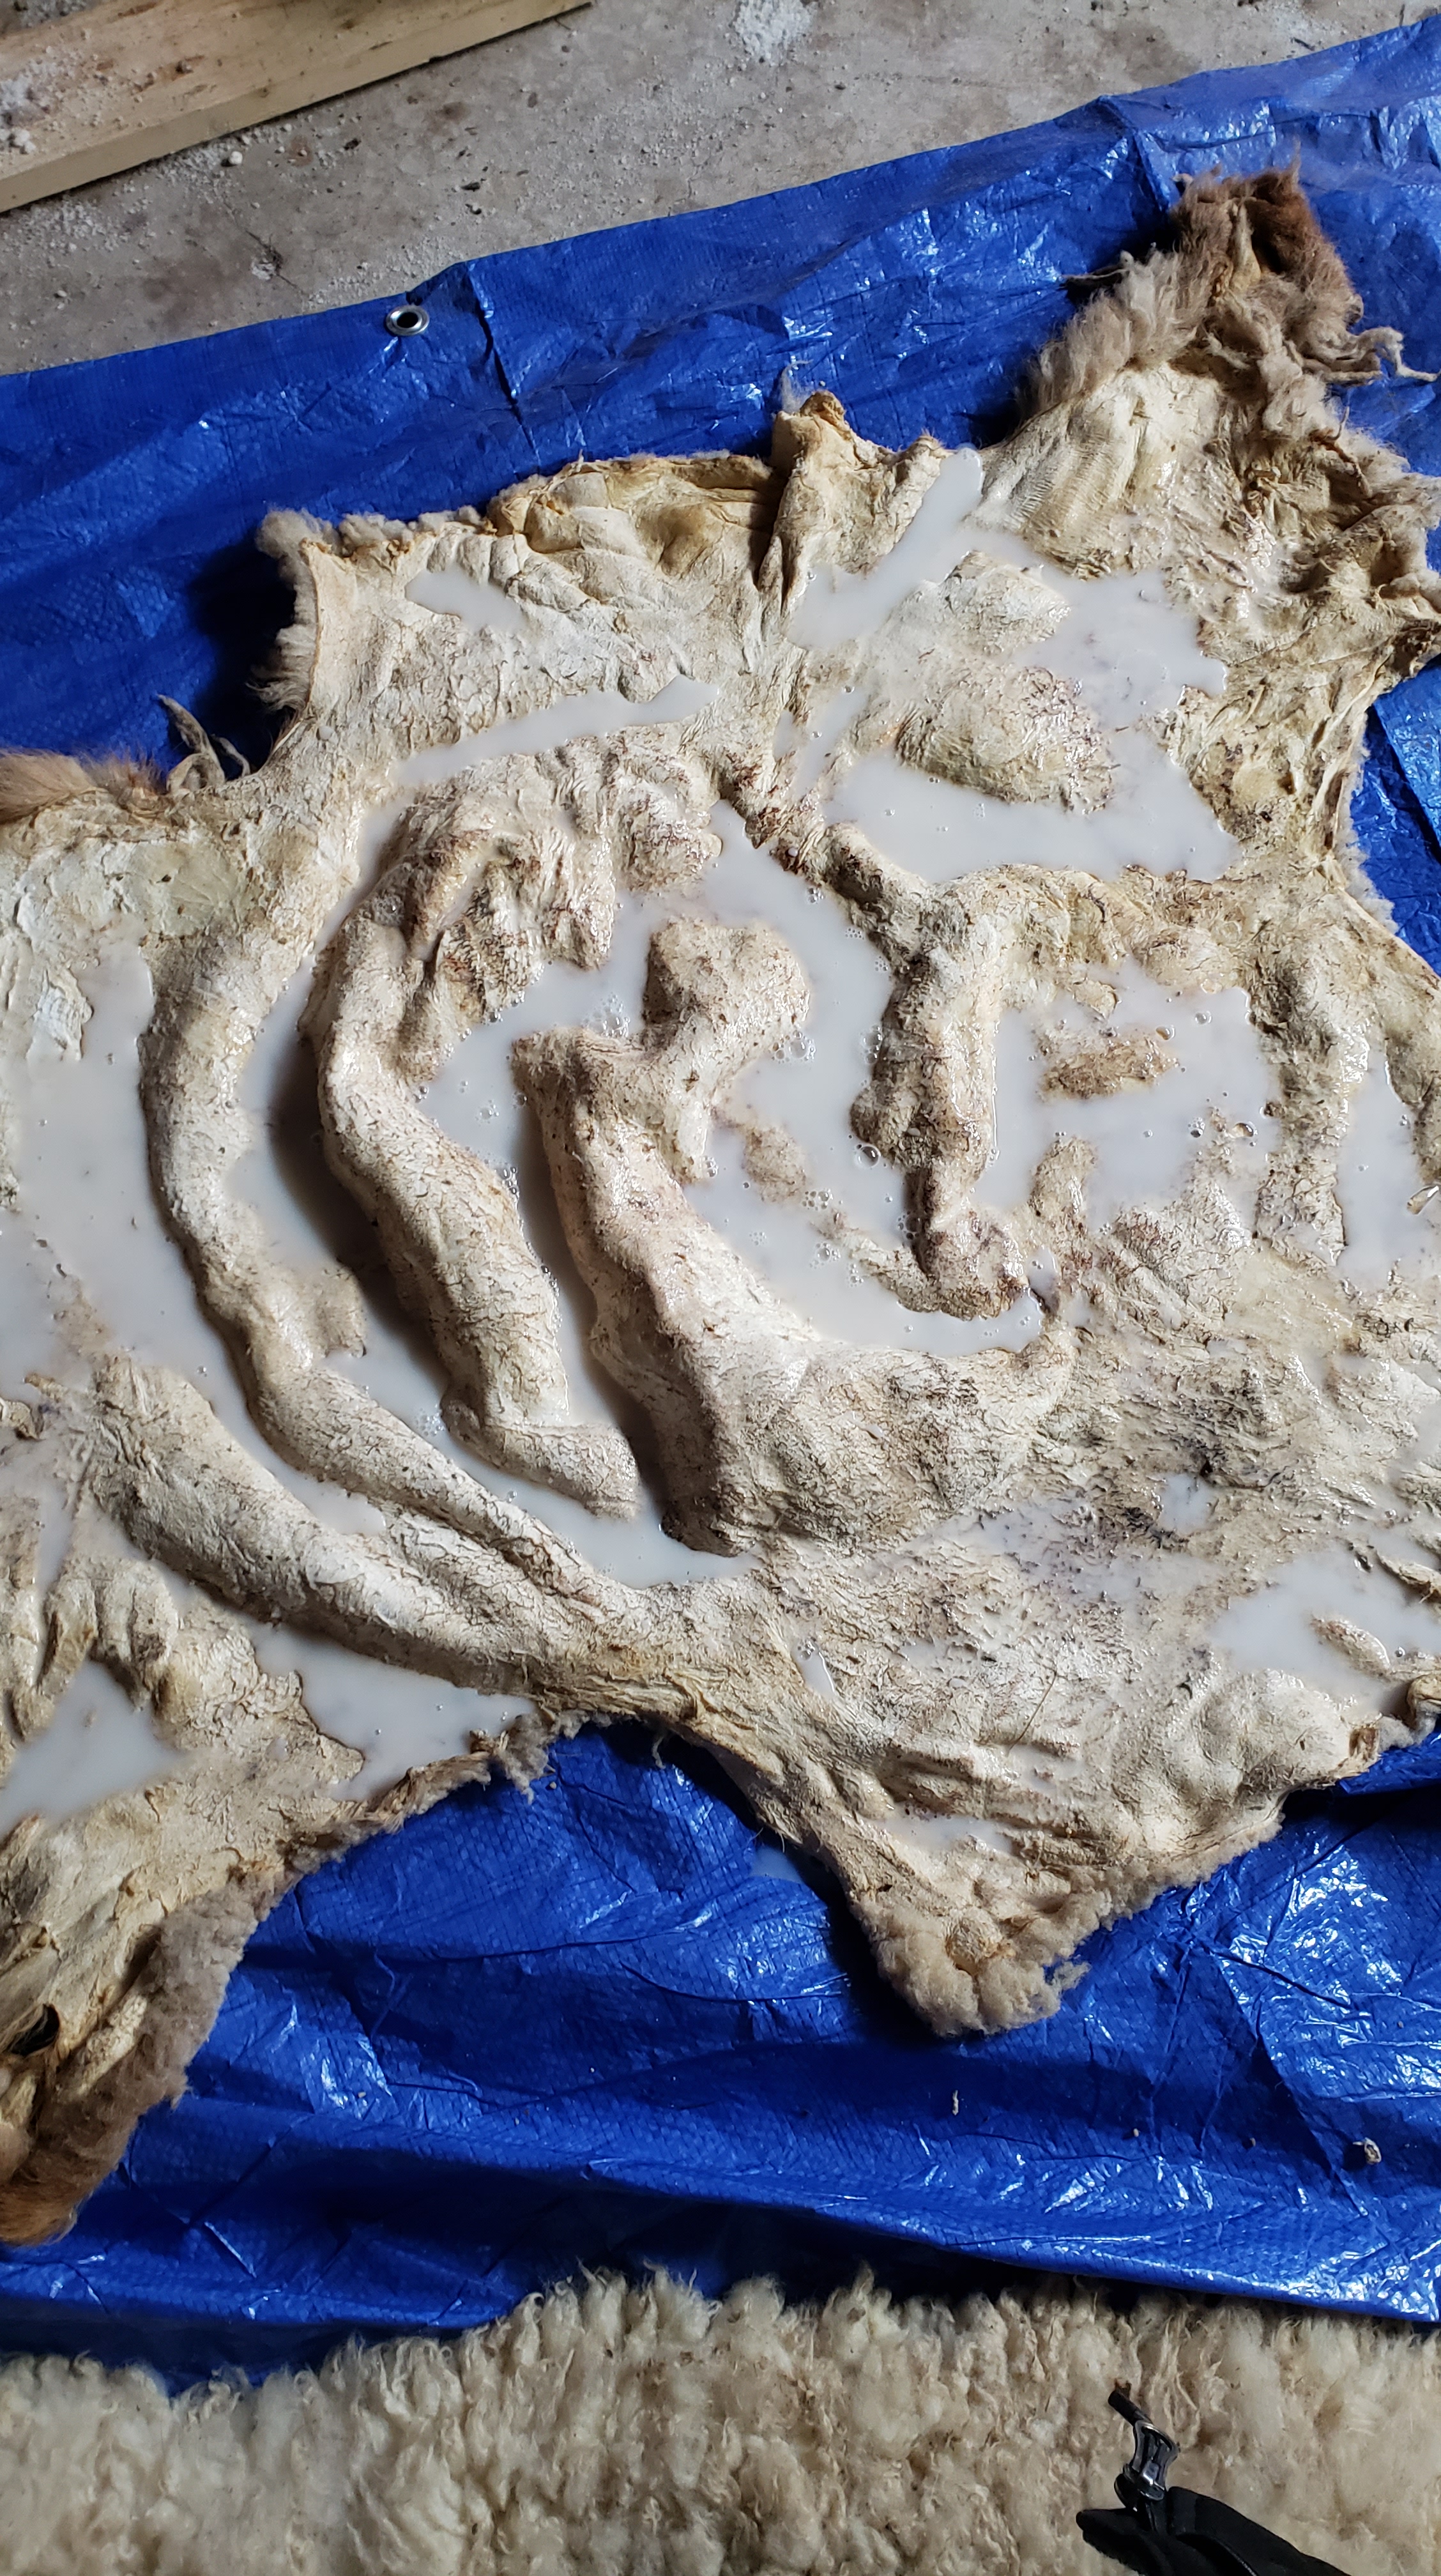
When I apply the tanning dressing, I spoon it on first to try to control it. I don’t like it running off the edges and sinking into the hair/wool if I can avoid it. (If you’re a real stickler for that, then make the dressing with less water so that it’ll have a more gel-like consistency when it cools.) Then I rub it in with my hands.
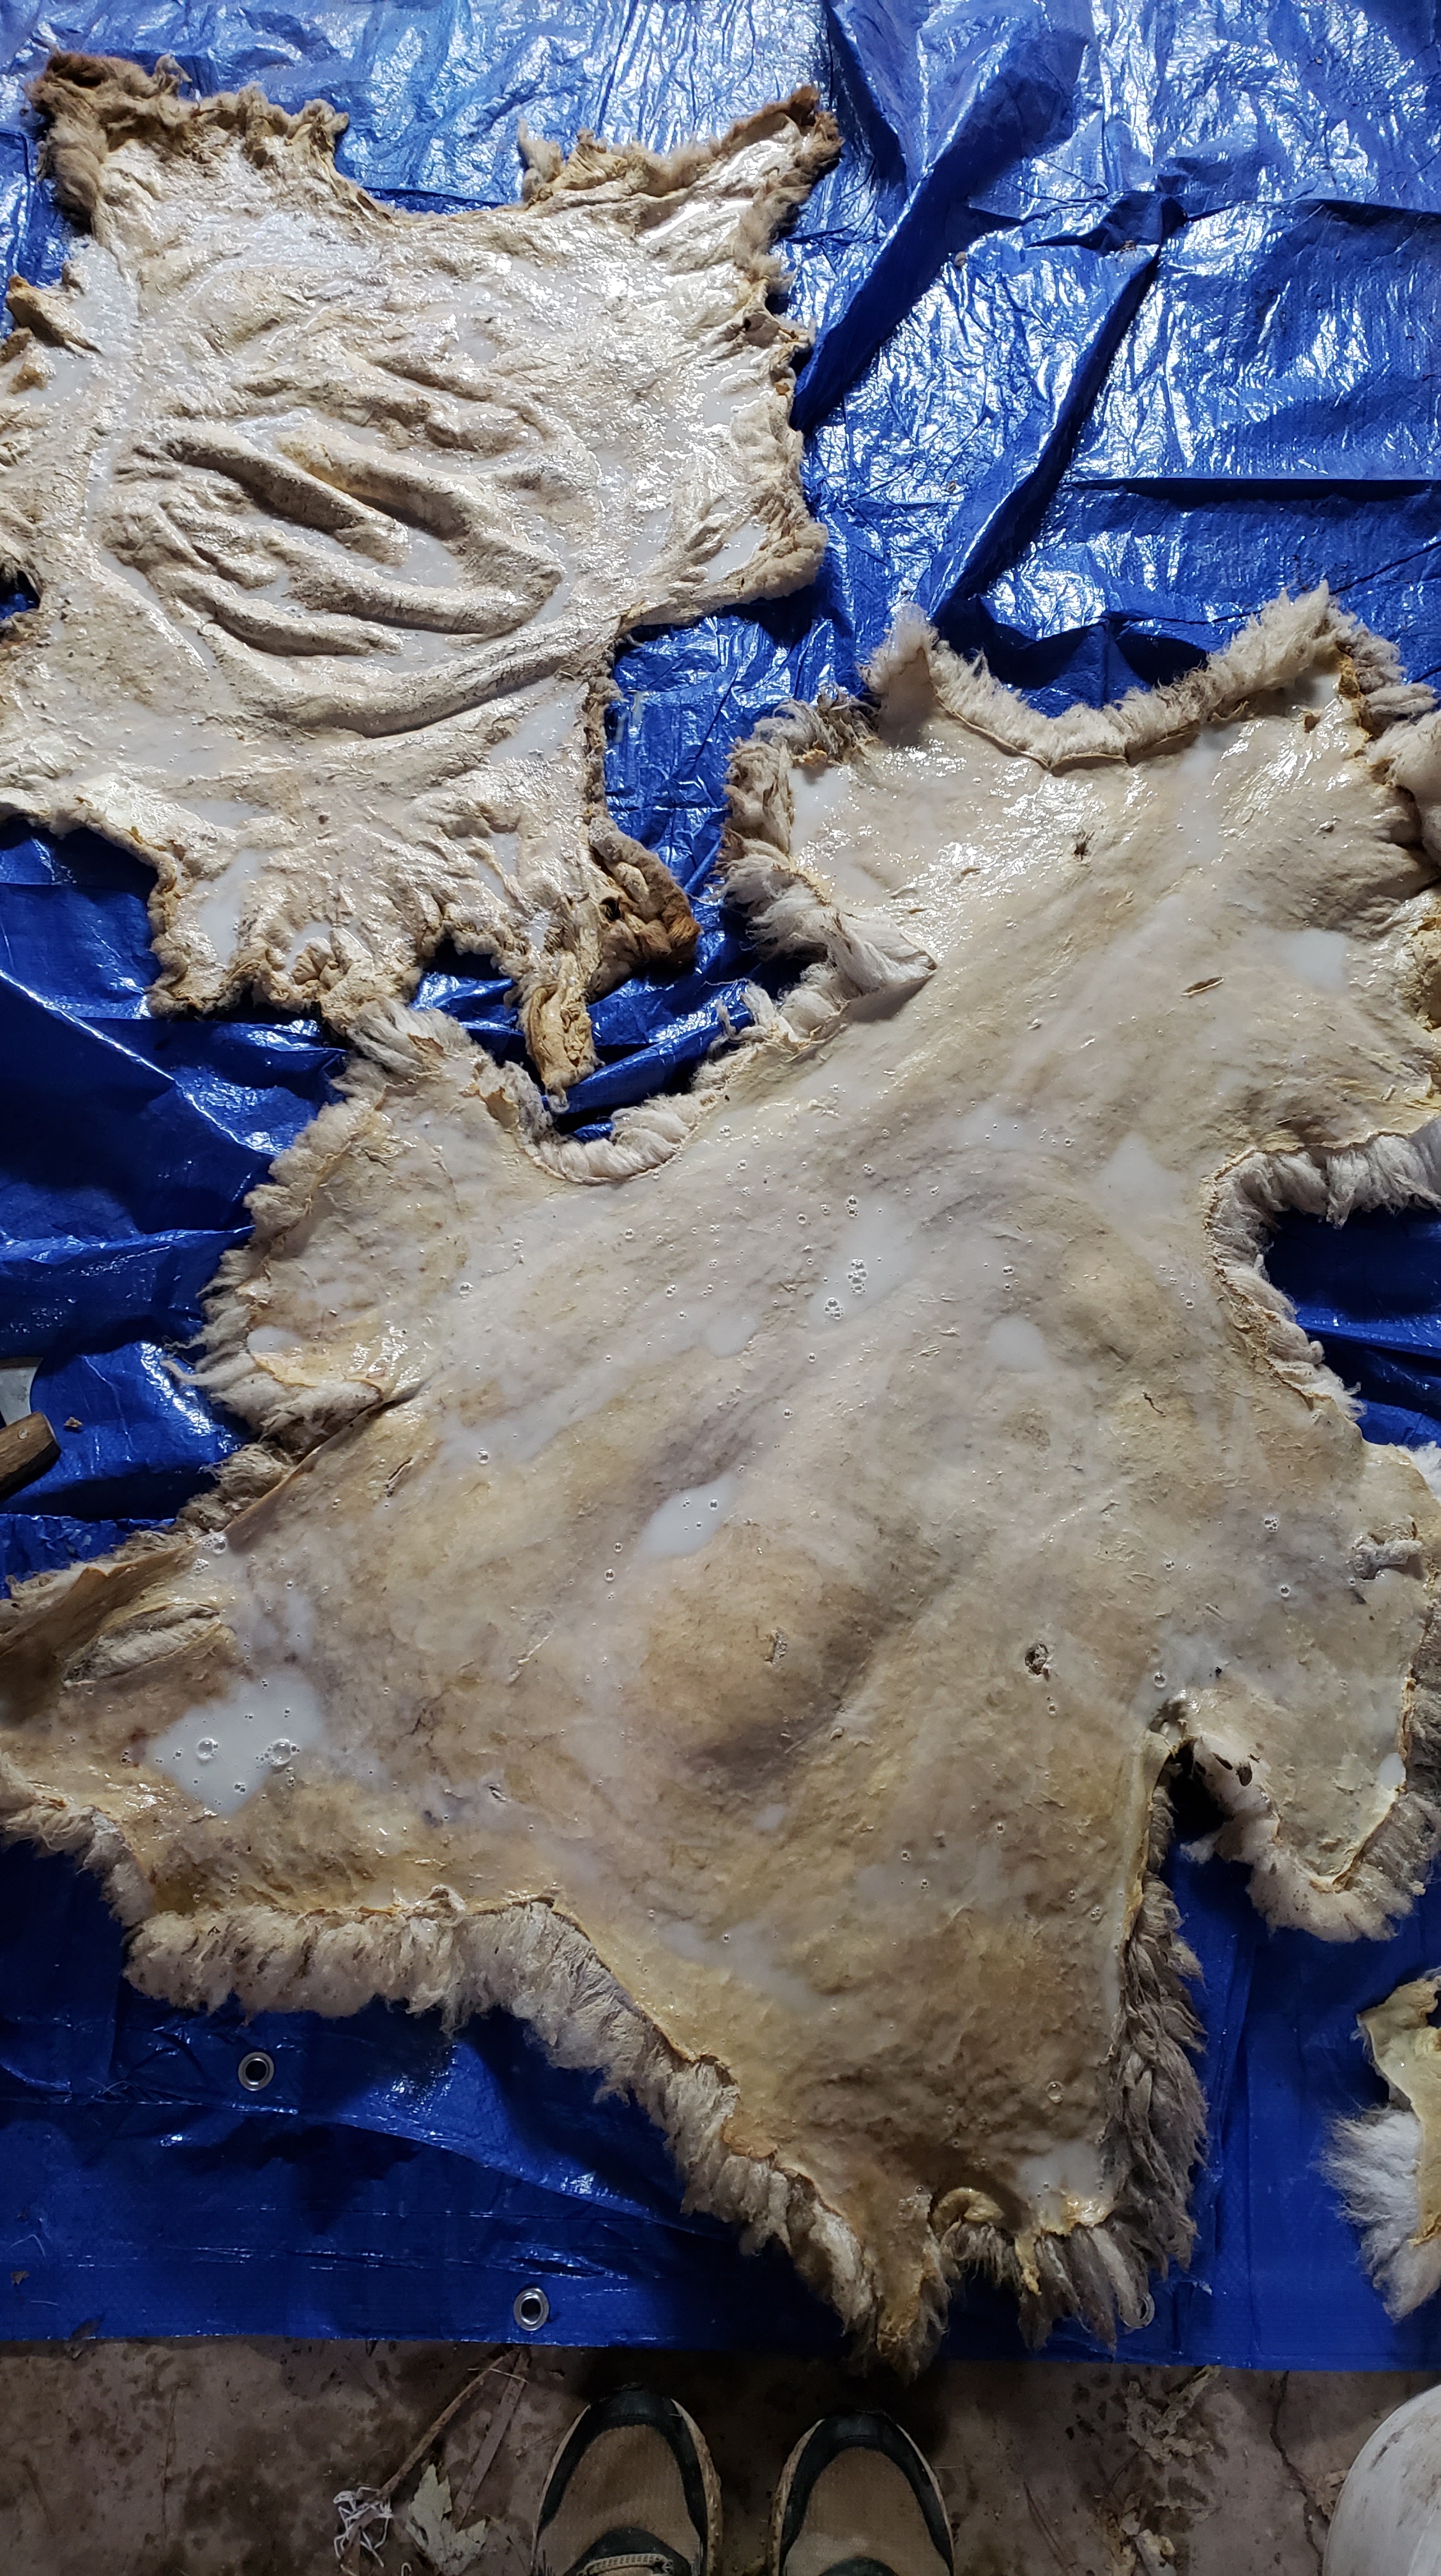
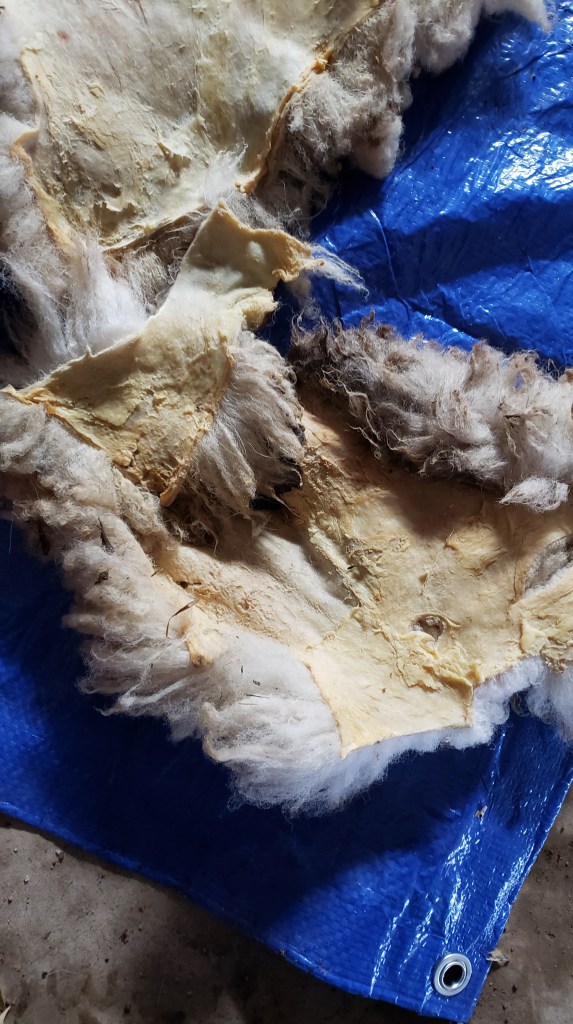
I scraped the large hide that I had pickled as well. It’s still soaking wet and not likely to get any drier until I get it on a frame, so I applied the tanning dressing to it.
It’s a bit oddly shaped. The edges of it were actually nibbled on by rodents; this happened because I hadn’t fleshed it fully before curing and storing it in my garage for, oh, years. Rodents will apparently eat salt-cured sheep fat, and happily. I don’t usually trim hides until I’m done stretching them, but I made an exception here and cut off a couple parts that were just silly.
These two hides will sit with their dressing for at least 24 hours.
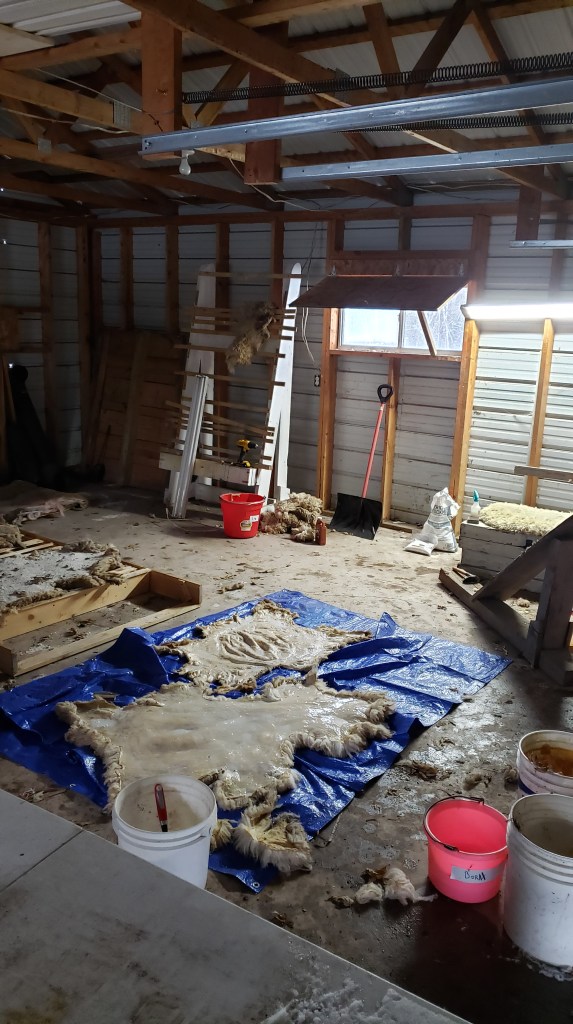
I’ll hand-stretch the shearling, but the full-fleeced hide will have to go on a frame; it’s the only way I can imagine the wool will dry. It’s just so wet still, and not going to dry easily in this freezing, snowy weather we’ve been gifted.
I need to get the woodstove set up in my shop, but I also need to buy a couple pieces of chimney pipe and I’m quite broke at the moment (life, etc.) so it’ll have to wait!
I’m very grateful to have sold two sheepskins recently, and to have the potential for some paid custom tanning in my near future.
This will be another “resource” post. I’ve mentioned my tanning dressing in several posts now, and more or less explained it once, but I want to give clear instructions for the recipe here – for reference!
Ingredients:
Handmade natural, plain soap. No essential oils or other additives. I make my own from rendered lard or tallow, sometimes from pure olive oil.
Purified water. If you have hard well water like me, don’t use it.
Neatsfoot oil. Alternatively you could experiment with using other oils, like vegetable or olive, but I like to keep all my tanning fats animal-based in the spirit of using byproducts of meat production.
You’ll also need a large pot for boiling water, a large wooden or nonstick spoon, and a sturdy bucket.
Steps
Put about a gallon of water on to boil.
Meanwhile, grate a bar of soap as finely as you can. My bars are 4-5 ounces.
When the water reaches a boil, add the soap and remove the pot from the heat right away
Stir gently; try not to create much lather
After all the soap has dissolved and the solution is cooled but still hot, pour it into the bucket
Add about a cup of neatsfoot oil and stir
You’ll need to stir until you have a homogenous solution
Let cool, and you’re ready to tan with it
Water and oil don’t usually mix, but the soap acts as an emollient, allowing them to form a solution.
This tanning mixture is similar to a brain tanning mix – it has water, fats, proteins, and emollient.