My soap tanning dressing did get a bit stiff on the hides last night – it went down to 10. The deerskin looked fine and I’ll leave it another night before I scrape again and start breaking.
The sheepskin, which was dressed after the solution had cooled considerably, was a bit stiffer and some of the dressing looked frozen.
It was just barely stuck together when I unfolded it, but since it shouldn’t be stuck at all I decided to scrape and redress it.
You guys. It’s cold. But. I did hide work for a couple hours after dark today.
This bad boy, who is definitely getting split into 2 pelts after smoking, finally doesn’t have wet wool anymore.
I was getting a little worried about this one because the skin side felt a bit strange – like a little extra greasy from the tanning dressing maybe. I worried it wouldn’t soften or the leather dry correctly. But it’s acting just as I expect it to.
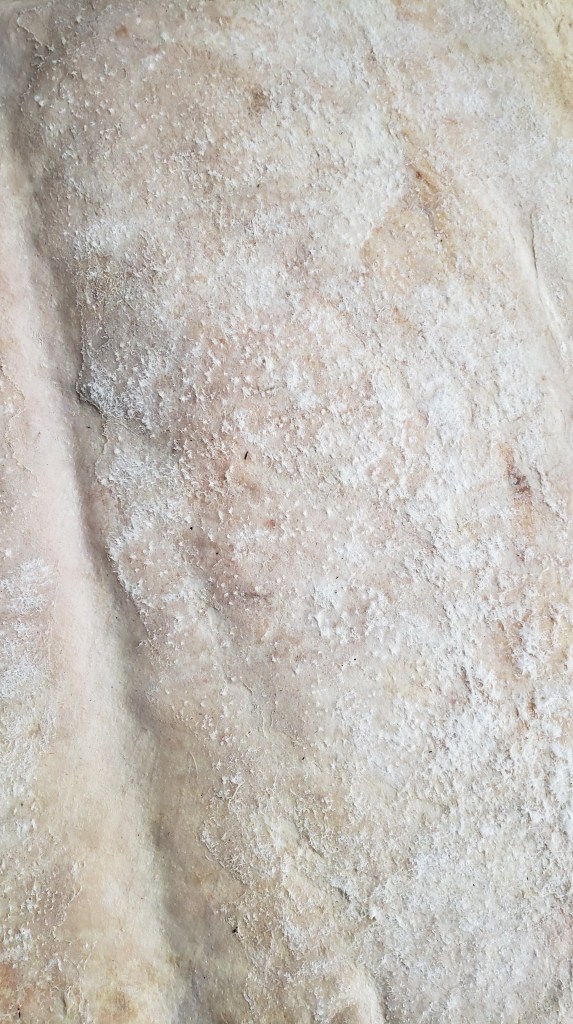
That’s just from hand stretching. Pulling on it, basically. Where it’s white, it’s done. Where it’s yellow- brown, it needs to be broken and softened. I used my hands and my ulu to work it tonight.
You can see the difference that softening makes. It really transforms it.
This sheepskin isn’t even dry in the leather yet, so I’ve got much more stretching and breaking to do. I’ll need to keep doing it – softening with hand and tool – until the leather is totally dry. Then it will (finally) be ready for smoking.
Final result for today
I also started dry membraning the custom deer skin.
Basically I just sat on the floor with it and scraped it with my dull tools. I needed to scrape off the stuck salt, and then get at the membrane. It’s not as dry as I thought it was (thanks weather!) so I didn’t get all the membrane off tonight.
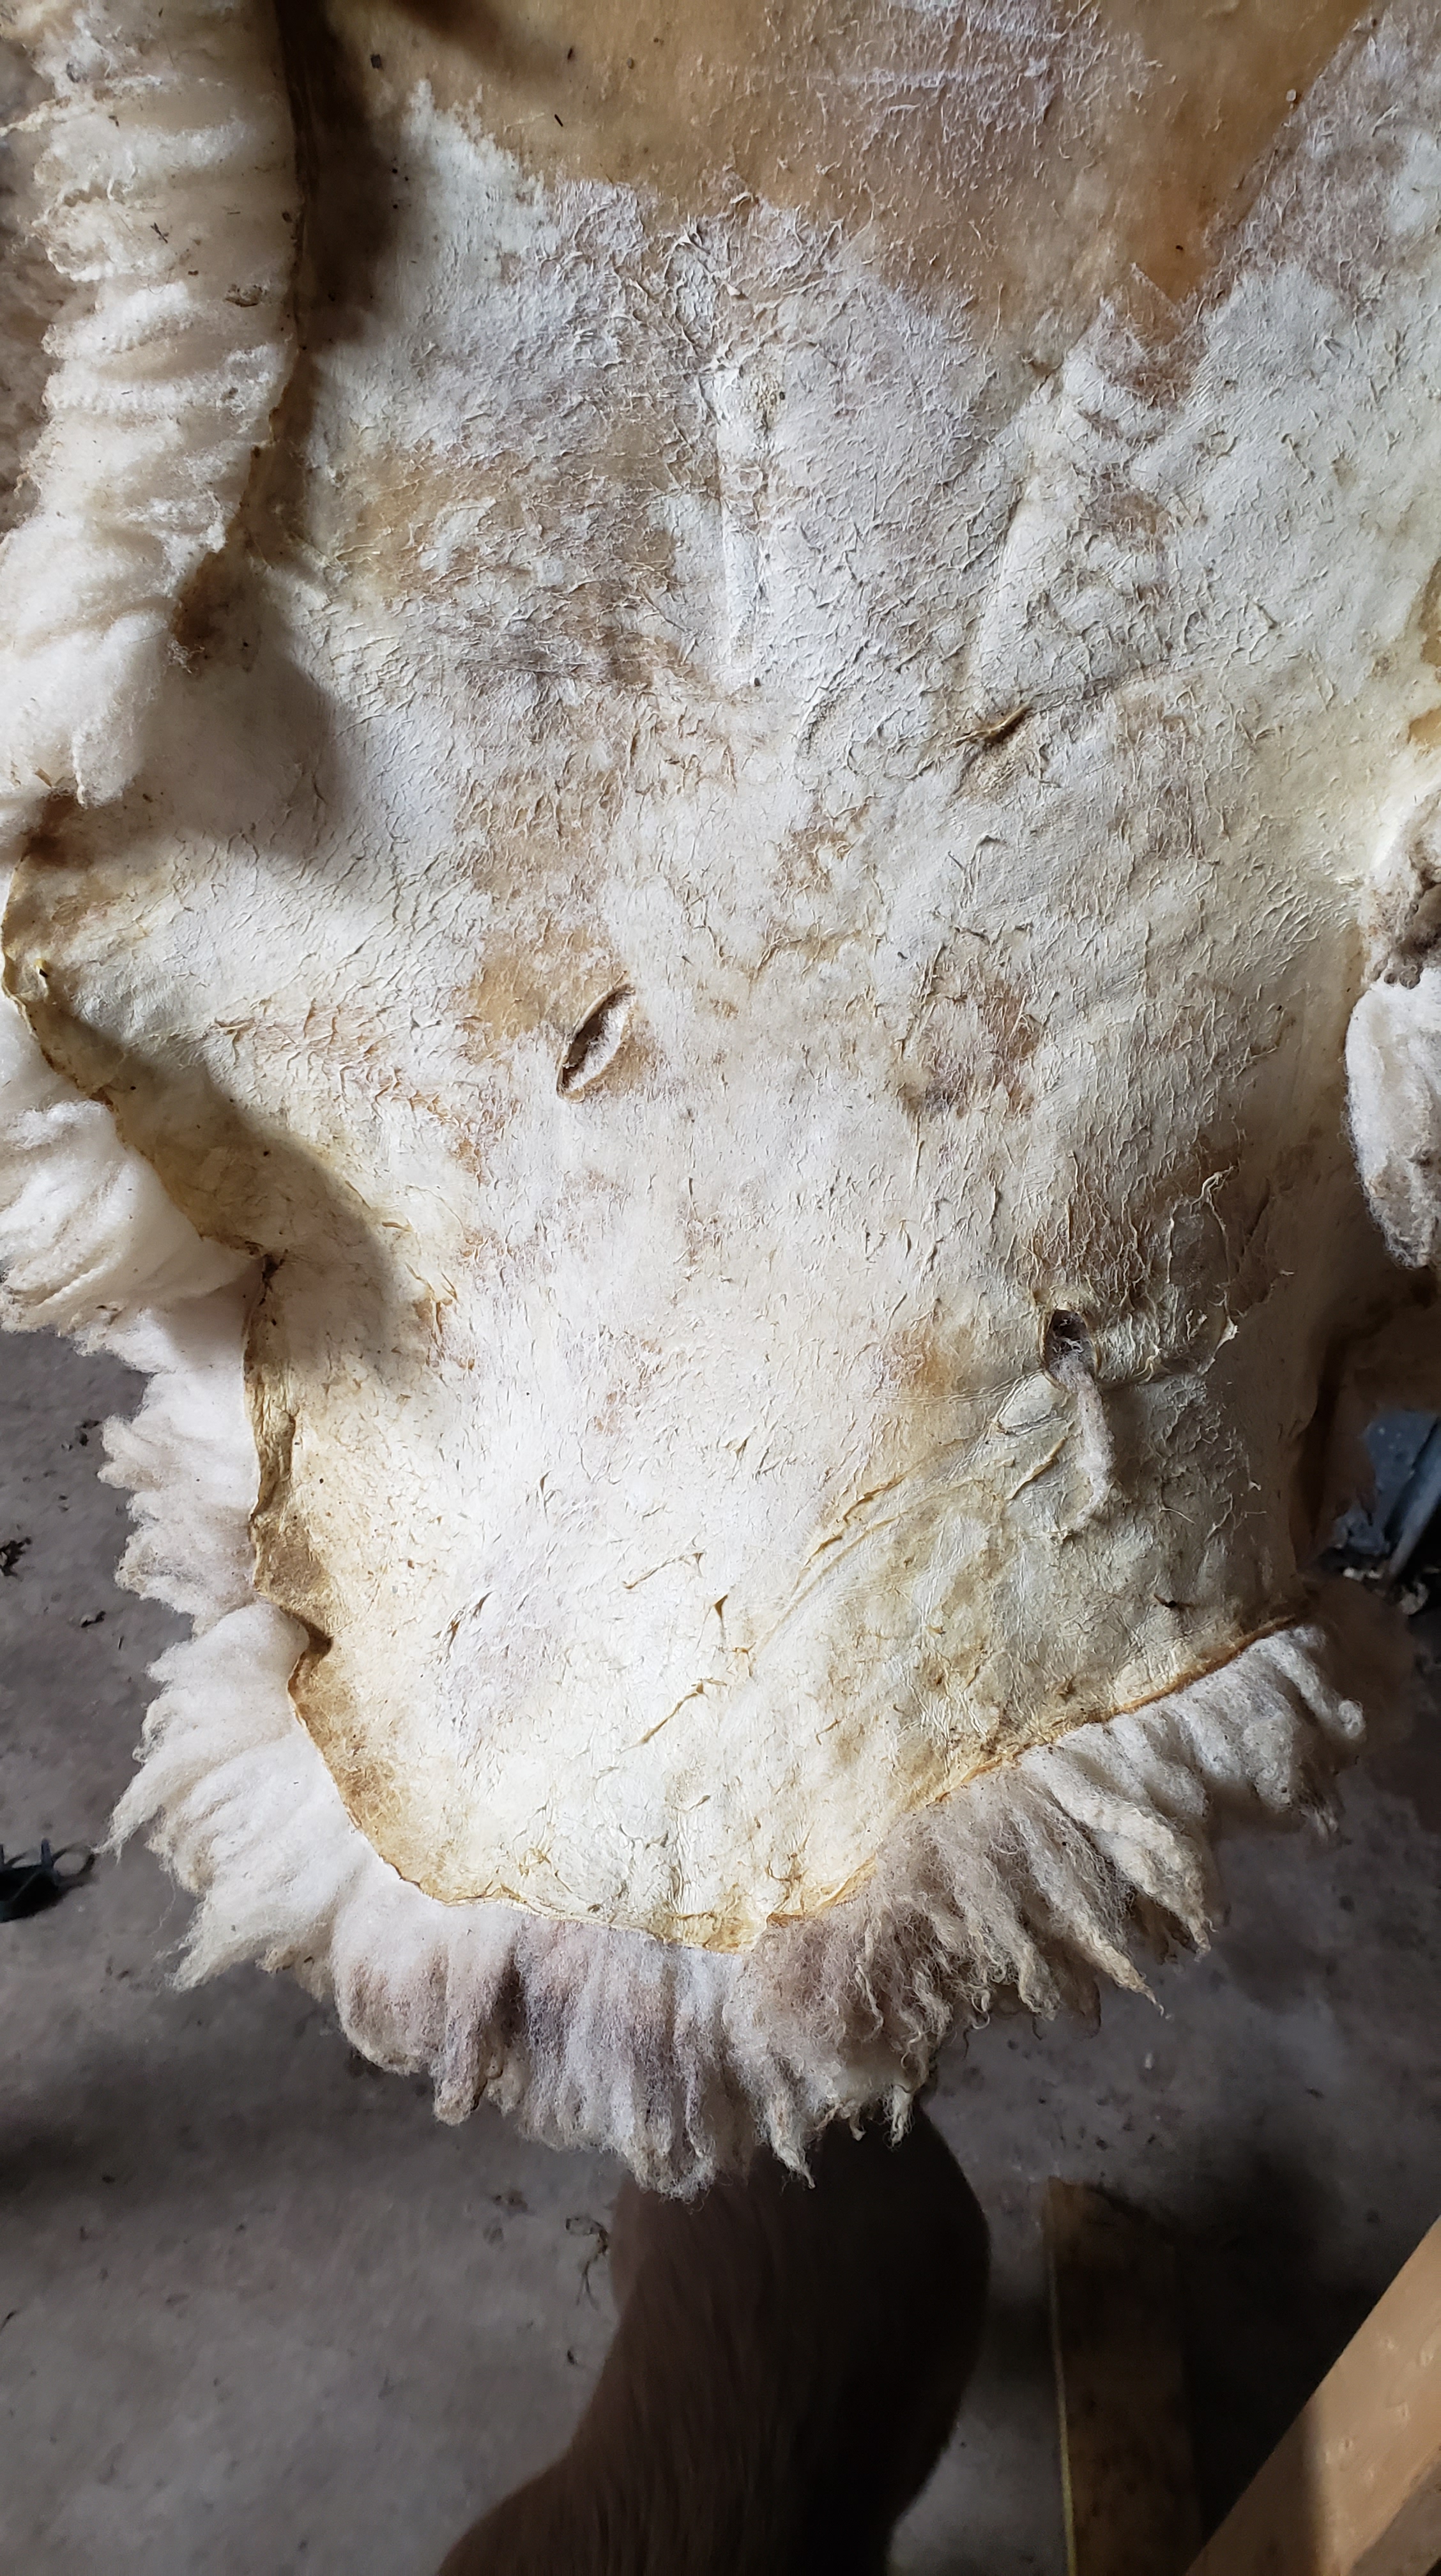
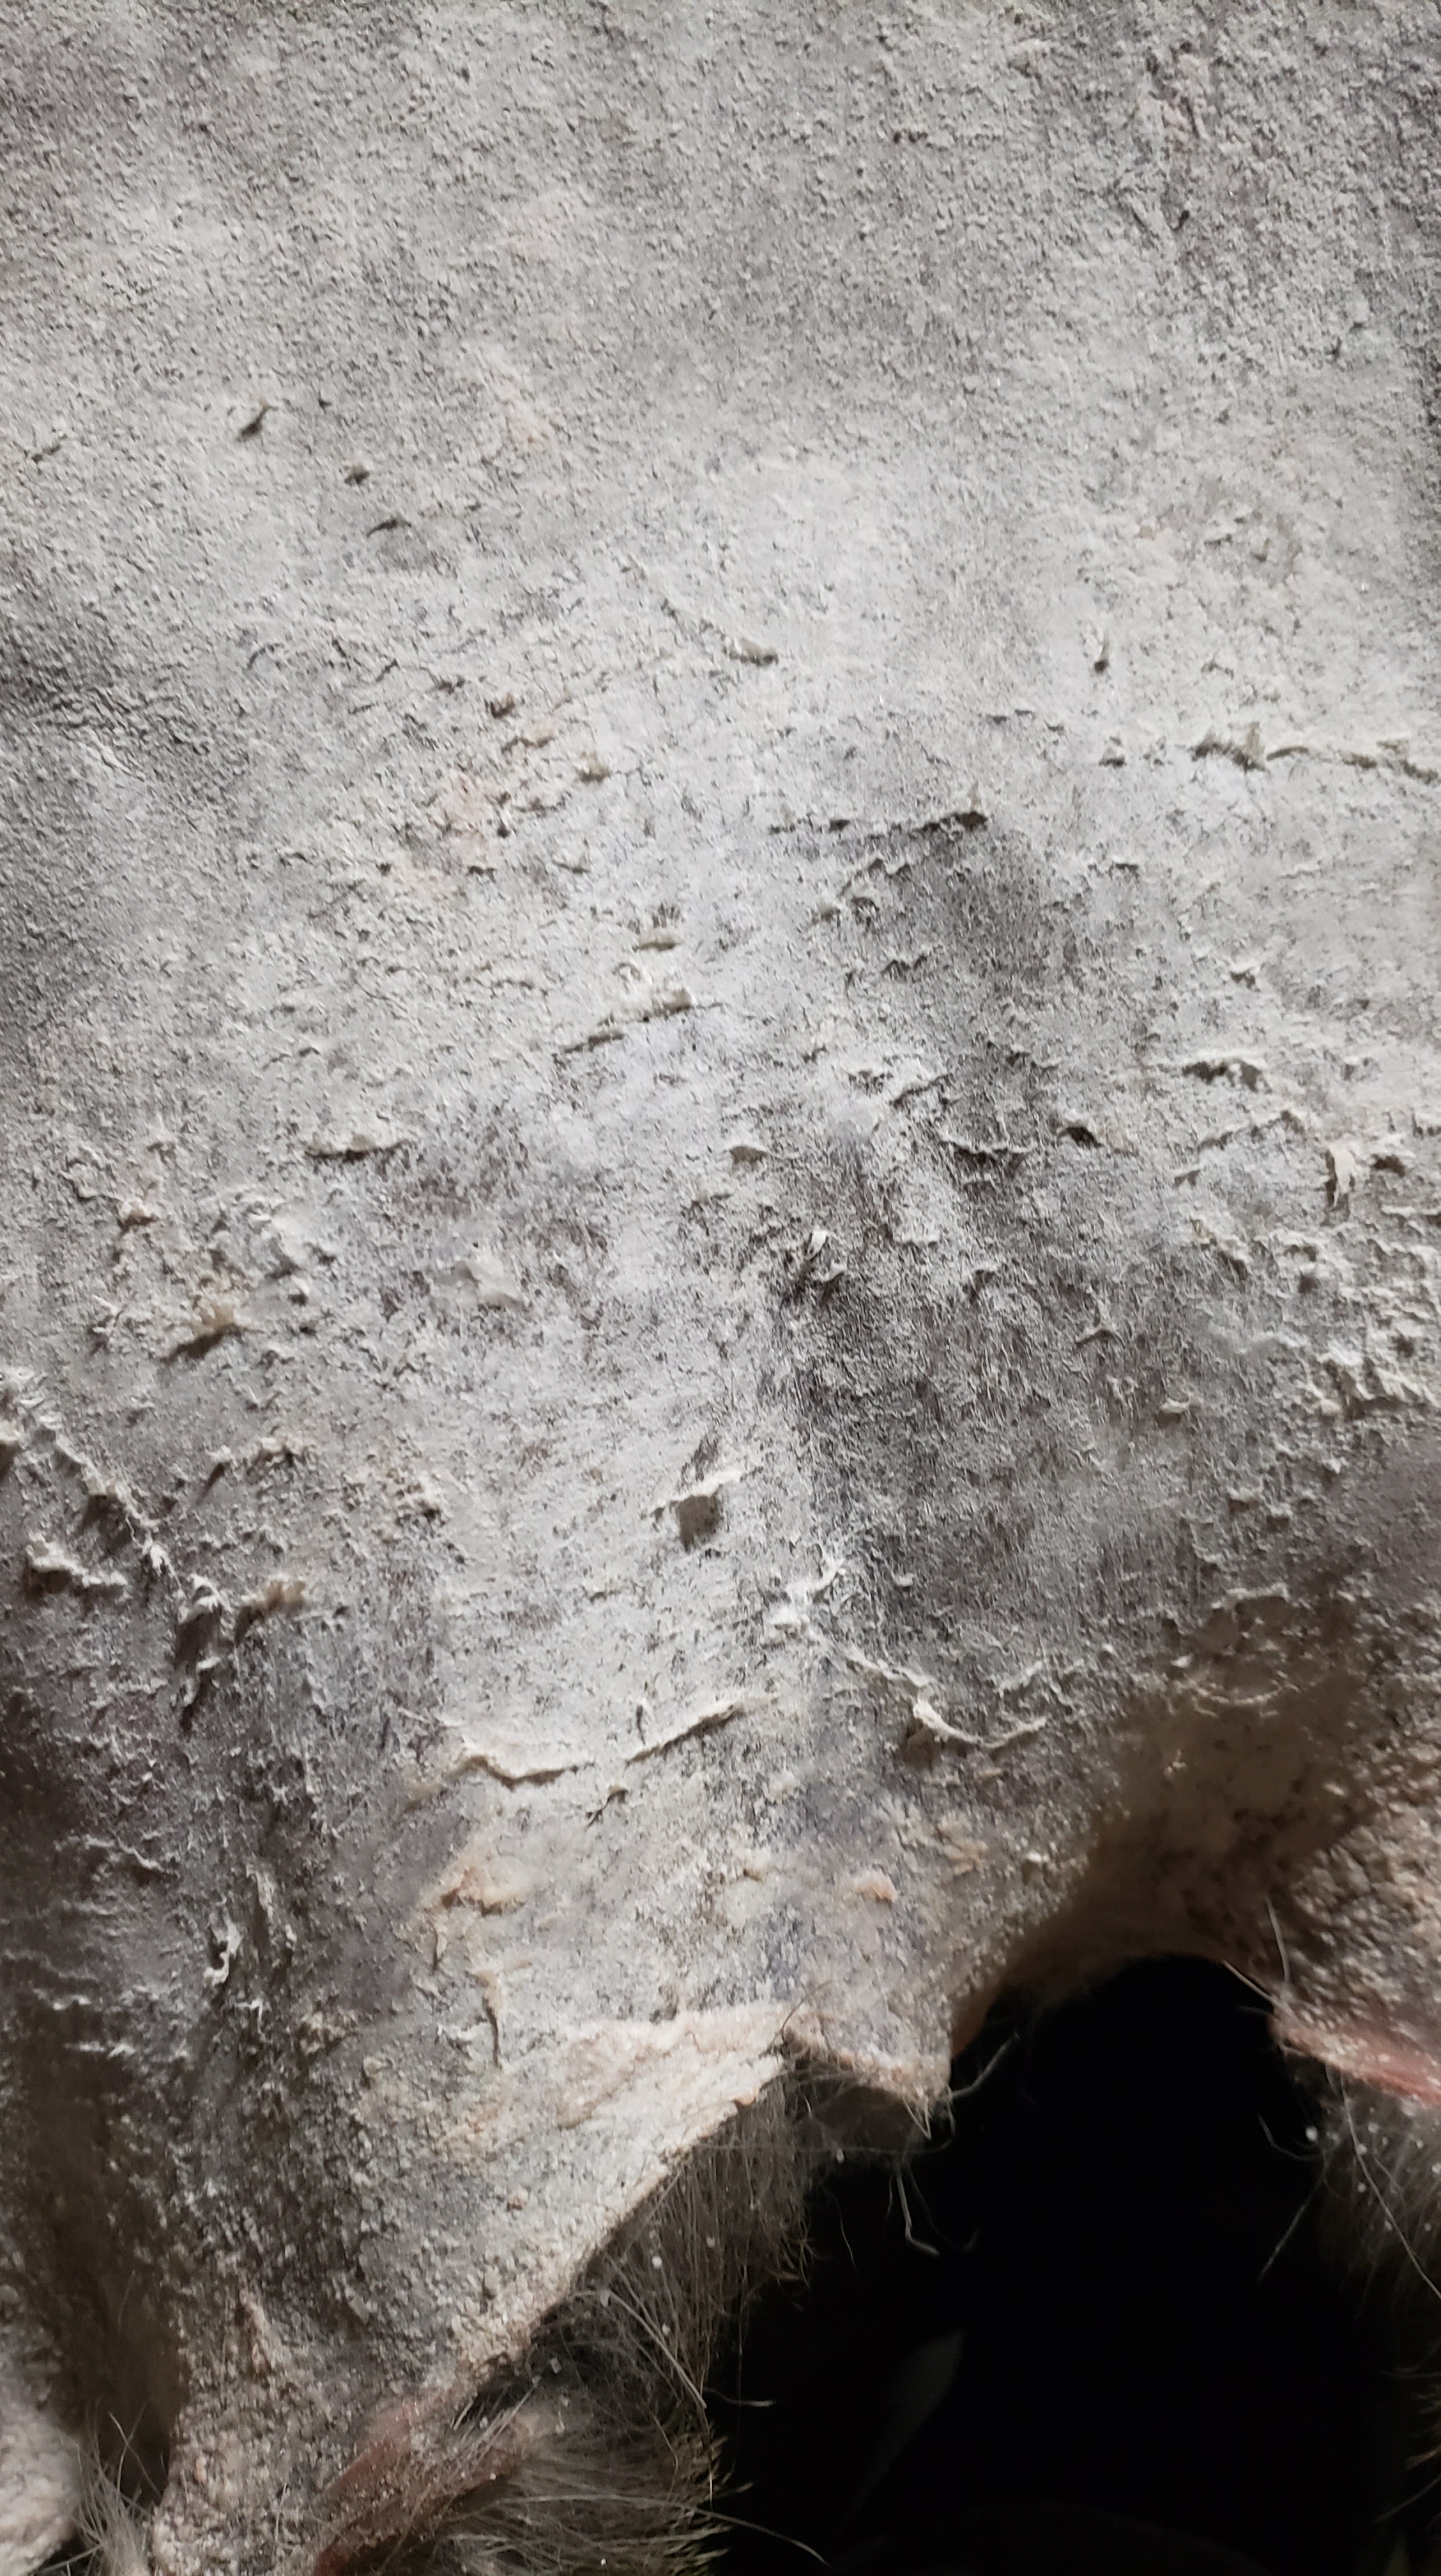
Hopefully you can tell from the photos what the membrane is, if you’re not sure.
The membrane is that thin, papery layer. It lives between the flesh of the animal and the actual skin. If you think of the skin as an organ (because it is…) it makes sense that it would be encased in its own membrane. Almost like the skin’s skin. Technically you can tan with it on, but removing it yields a softer more supple result.
I’d really like to get it off before I tan this deer. I just don’t enjoy wet membraning as much, and the cold isn’t conducive to it.
Those stringy bits are membrane I’ve scuffed up and not peeled off yet.
Next time I’m able to get back to it, it’ll be even drier and I’ll get the rest of the membrane off. I have some pumice coming, which I’m excited to try and expecting to be a tremendous help.
Progress is happening, but for the sake of my purse I wish it was faster.
I was so exhausted while writing my last post I’m not sure I explained the purpose and process of salting raw skins.
Salt is a preservative, so firstly it prevents decay of the skin tissue. It does so by drawing out water and inhibiting bacterial growth. This is essential to a good tanning result.
Salt also helps to “stick” the hair in the skin. This is partly because of the dehydrating effect. But don’t be fooled – salt cured hides aren’t tanned, and if they get wet they can lose hair and decay.
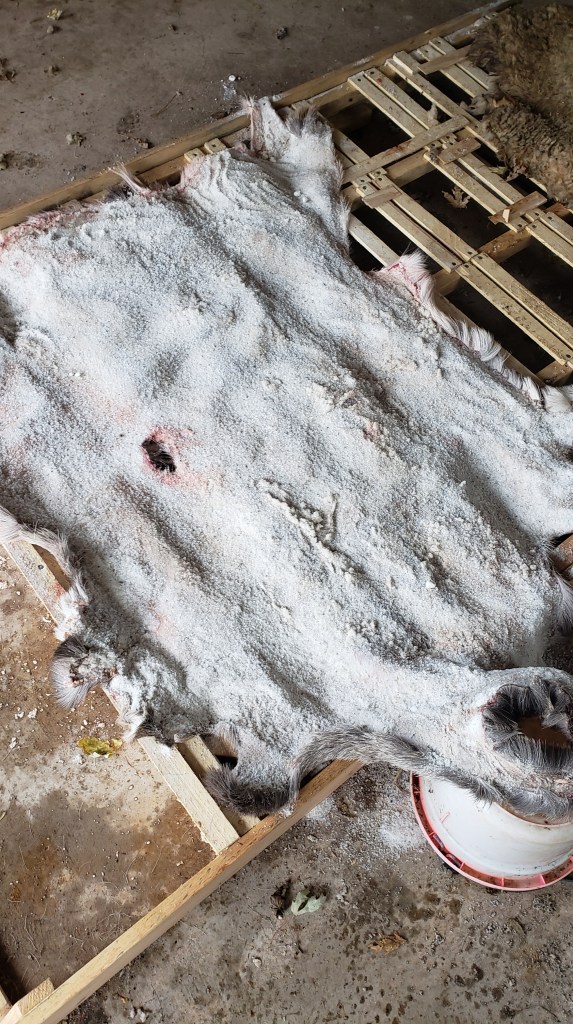
I added a single layer of salt to my deer skins the other day. Yesterday when I checked on them I found what I expected.
Liquid is pooling and collecting on the hides. This just means the salt is doing its job.
I picked up each skin to let the liquid run off and shook off some of the wet salt. I’ll sweep it up after it dries and reuse it. Then I added more salt. Quite simple!
I can’t stress enough that it’s important to get those crevices and edges! The edges will try to trick you by rolling in. One of these hides came to me with the tail still on, bone and all, and I managed to save it – that’s an area I’ll have to pay particular attention to.
And now we wait. The next steps for these deer hides don’t start until they’re salt-cured. Meanwhile, I’ll see what I can do with a sheepskin.
It’s so important to listen to your body. Yesterday I rested from hides; today I worked. I got a text that made me happy. “I have deer hides, you want?”
So, let’s talk about fleshing.
I actually did two types of fleshing today: what I call dry fleshing and wet fleshing. The difference is in whether or not the hide has been salt cured (or dried another way) or not. Often I flesh hides before I salt them, and other times I salt them first and flesh them later when I have more time.
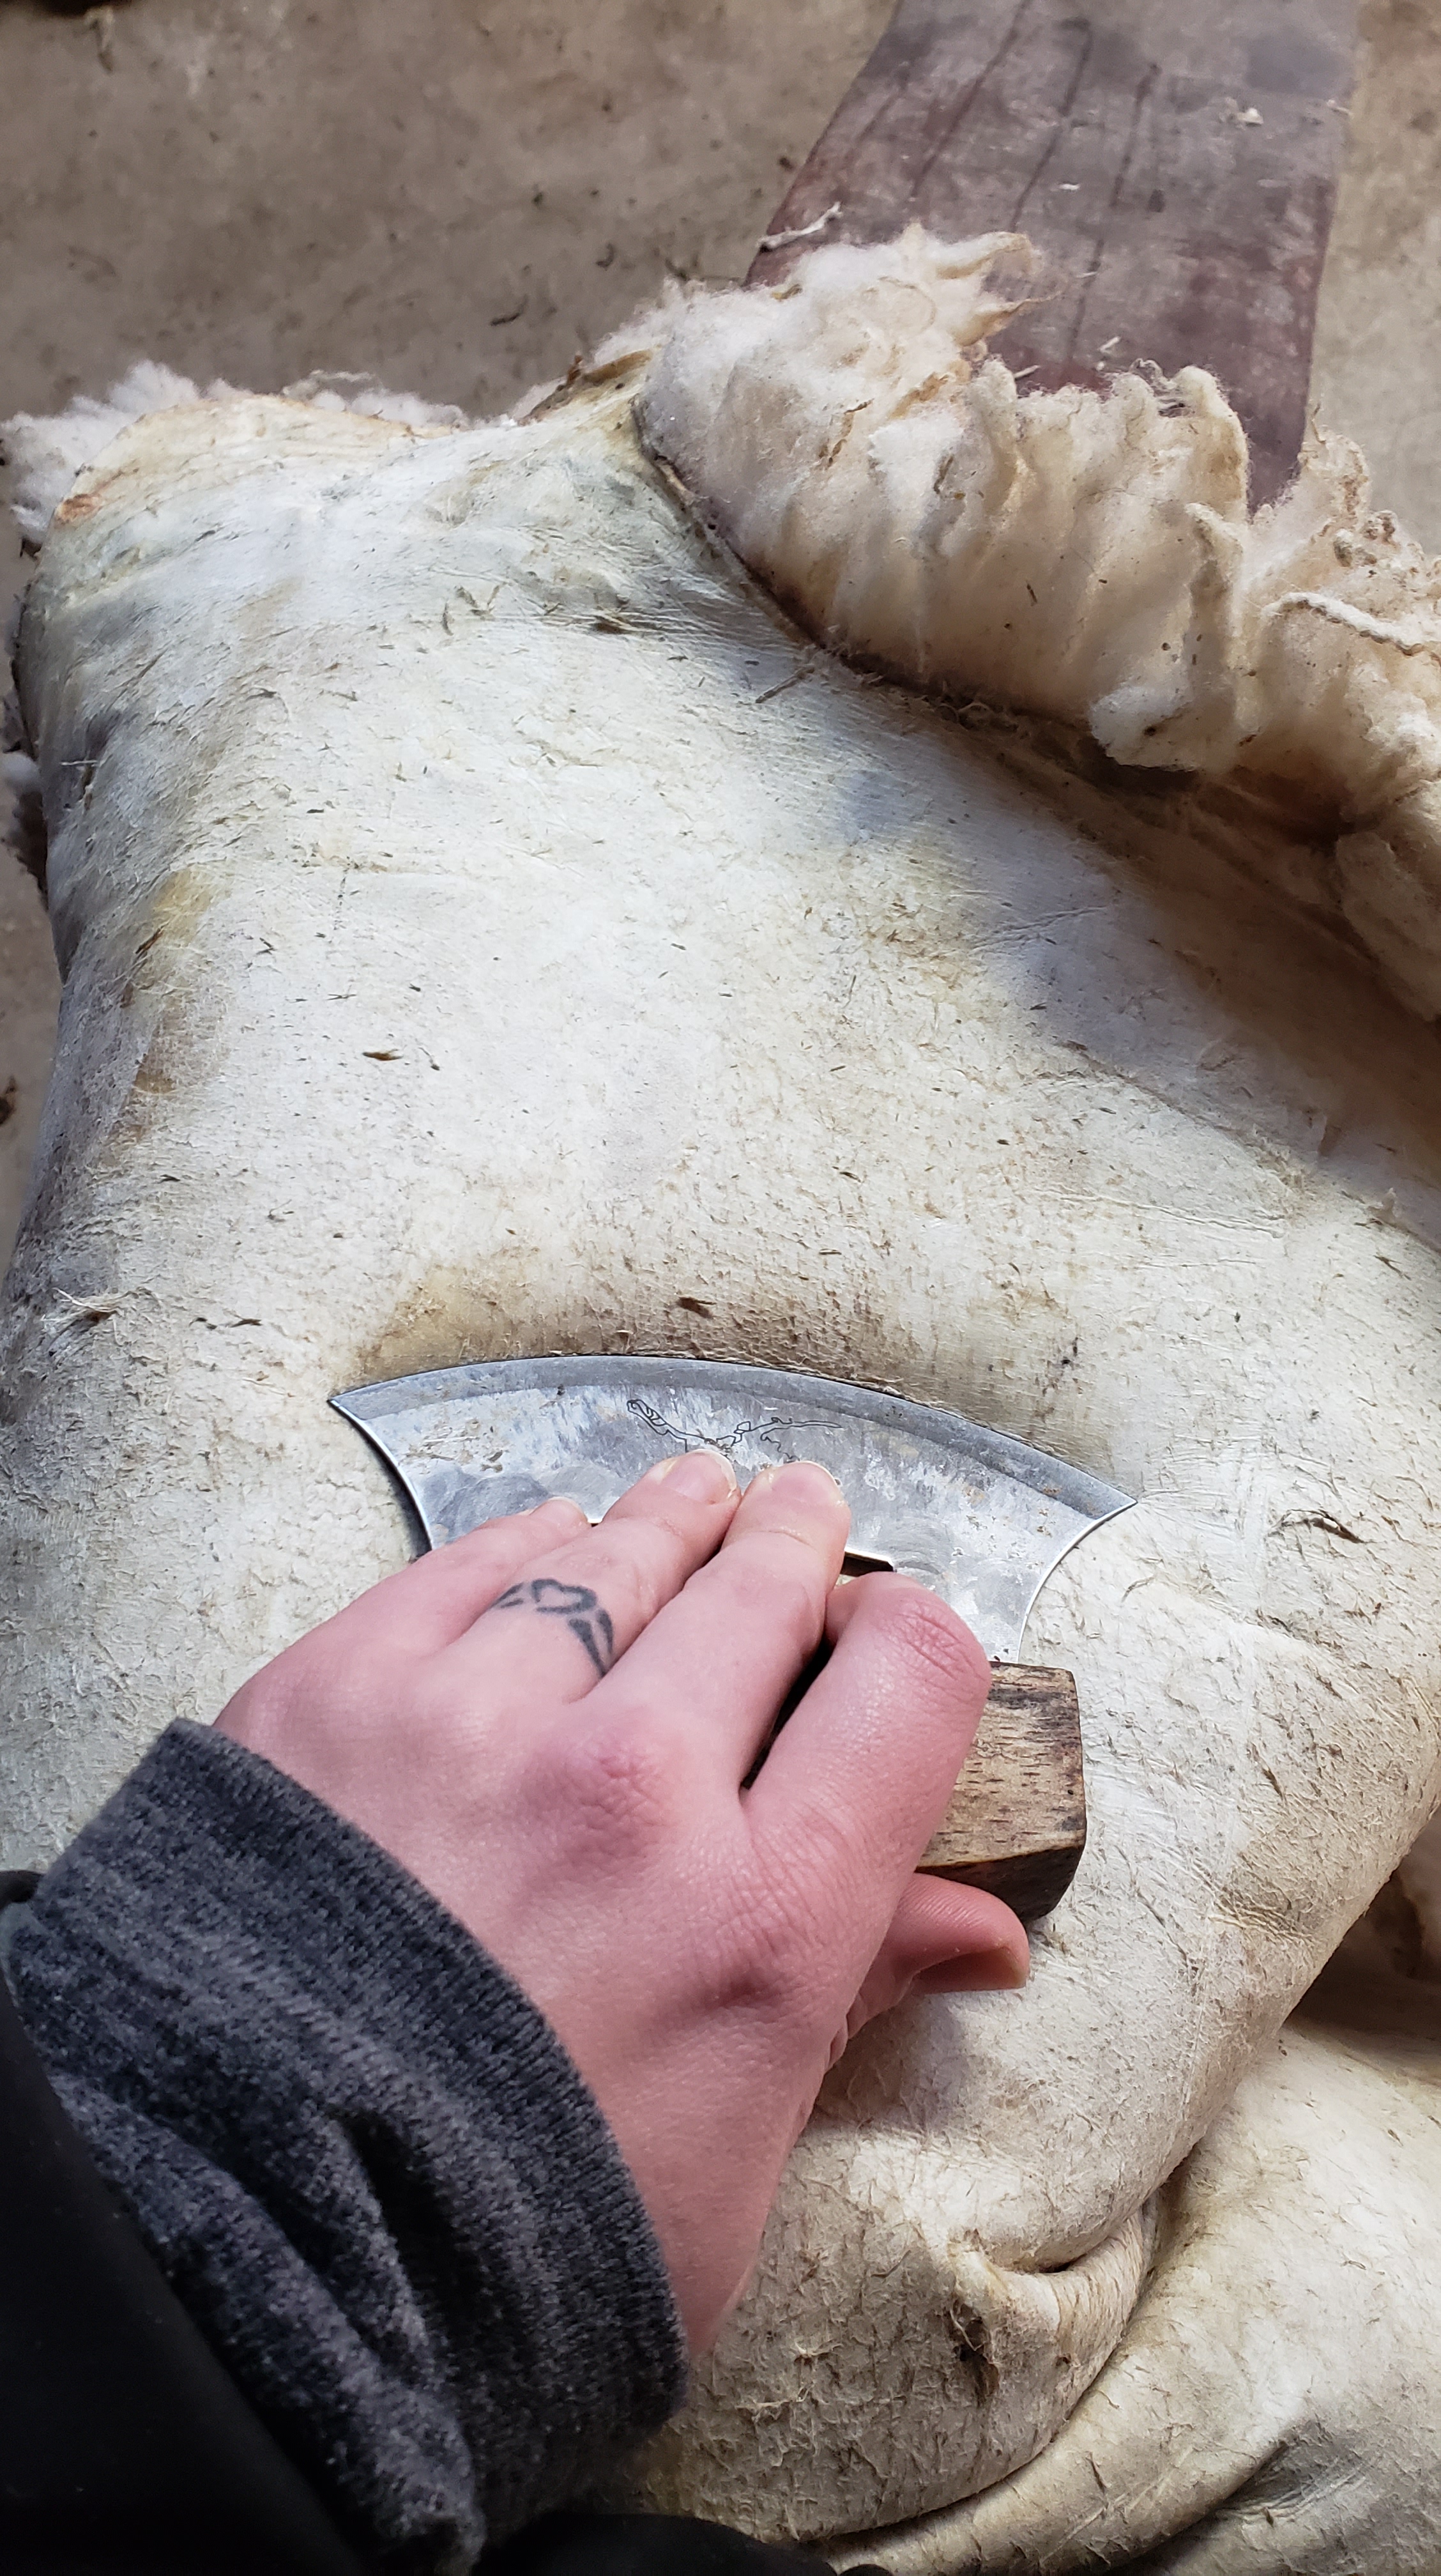
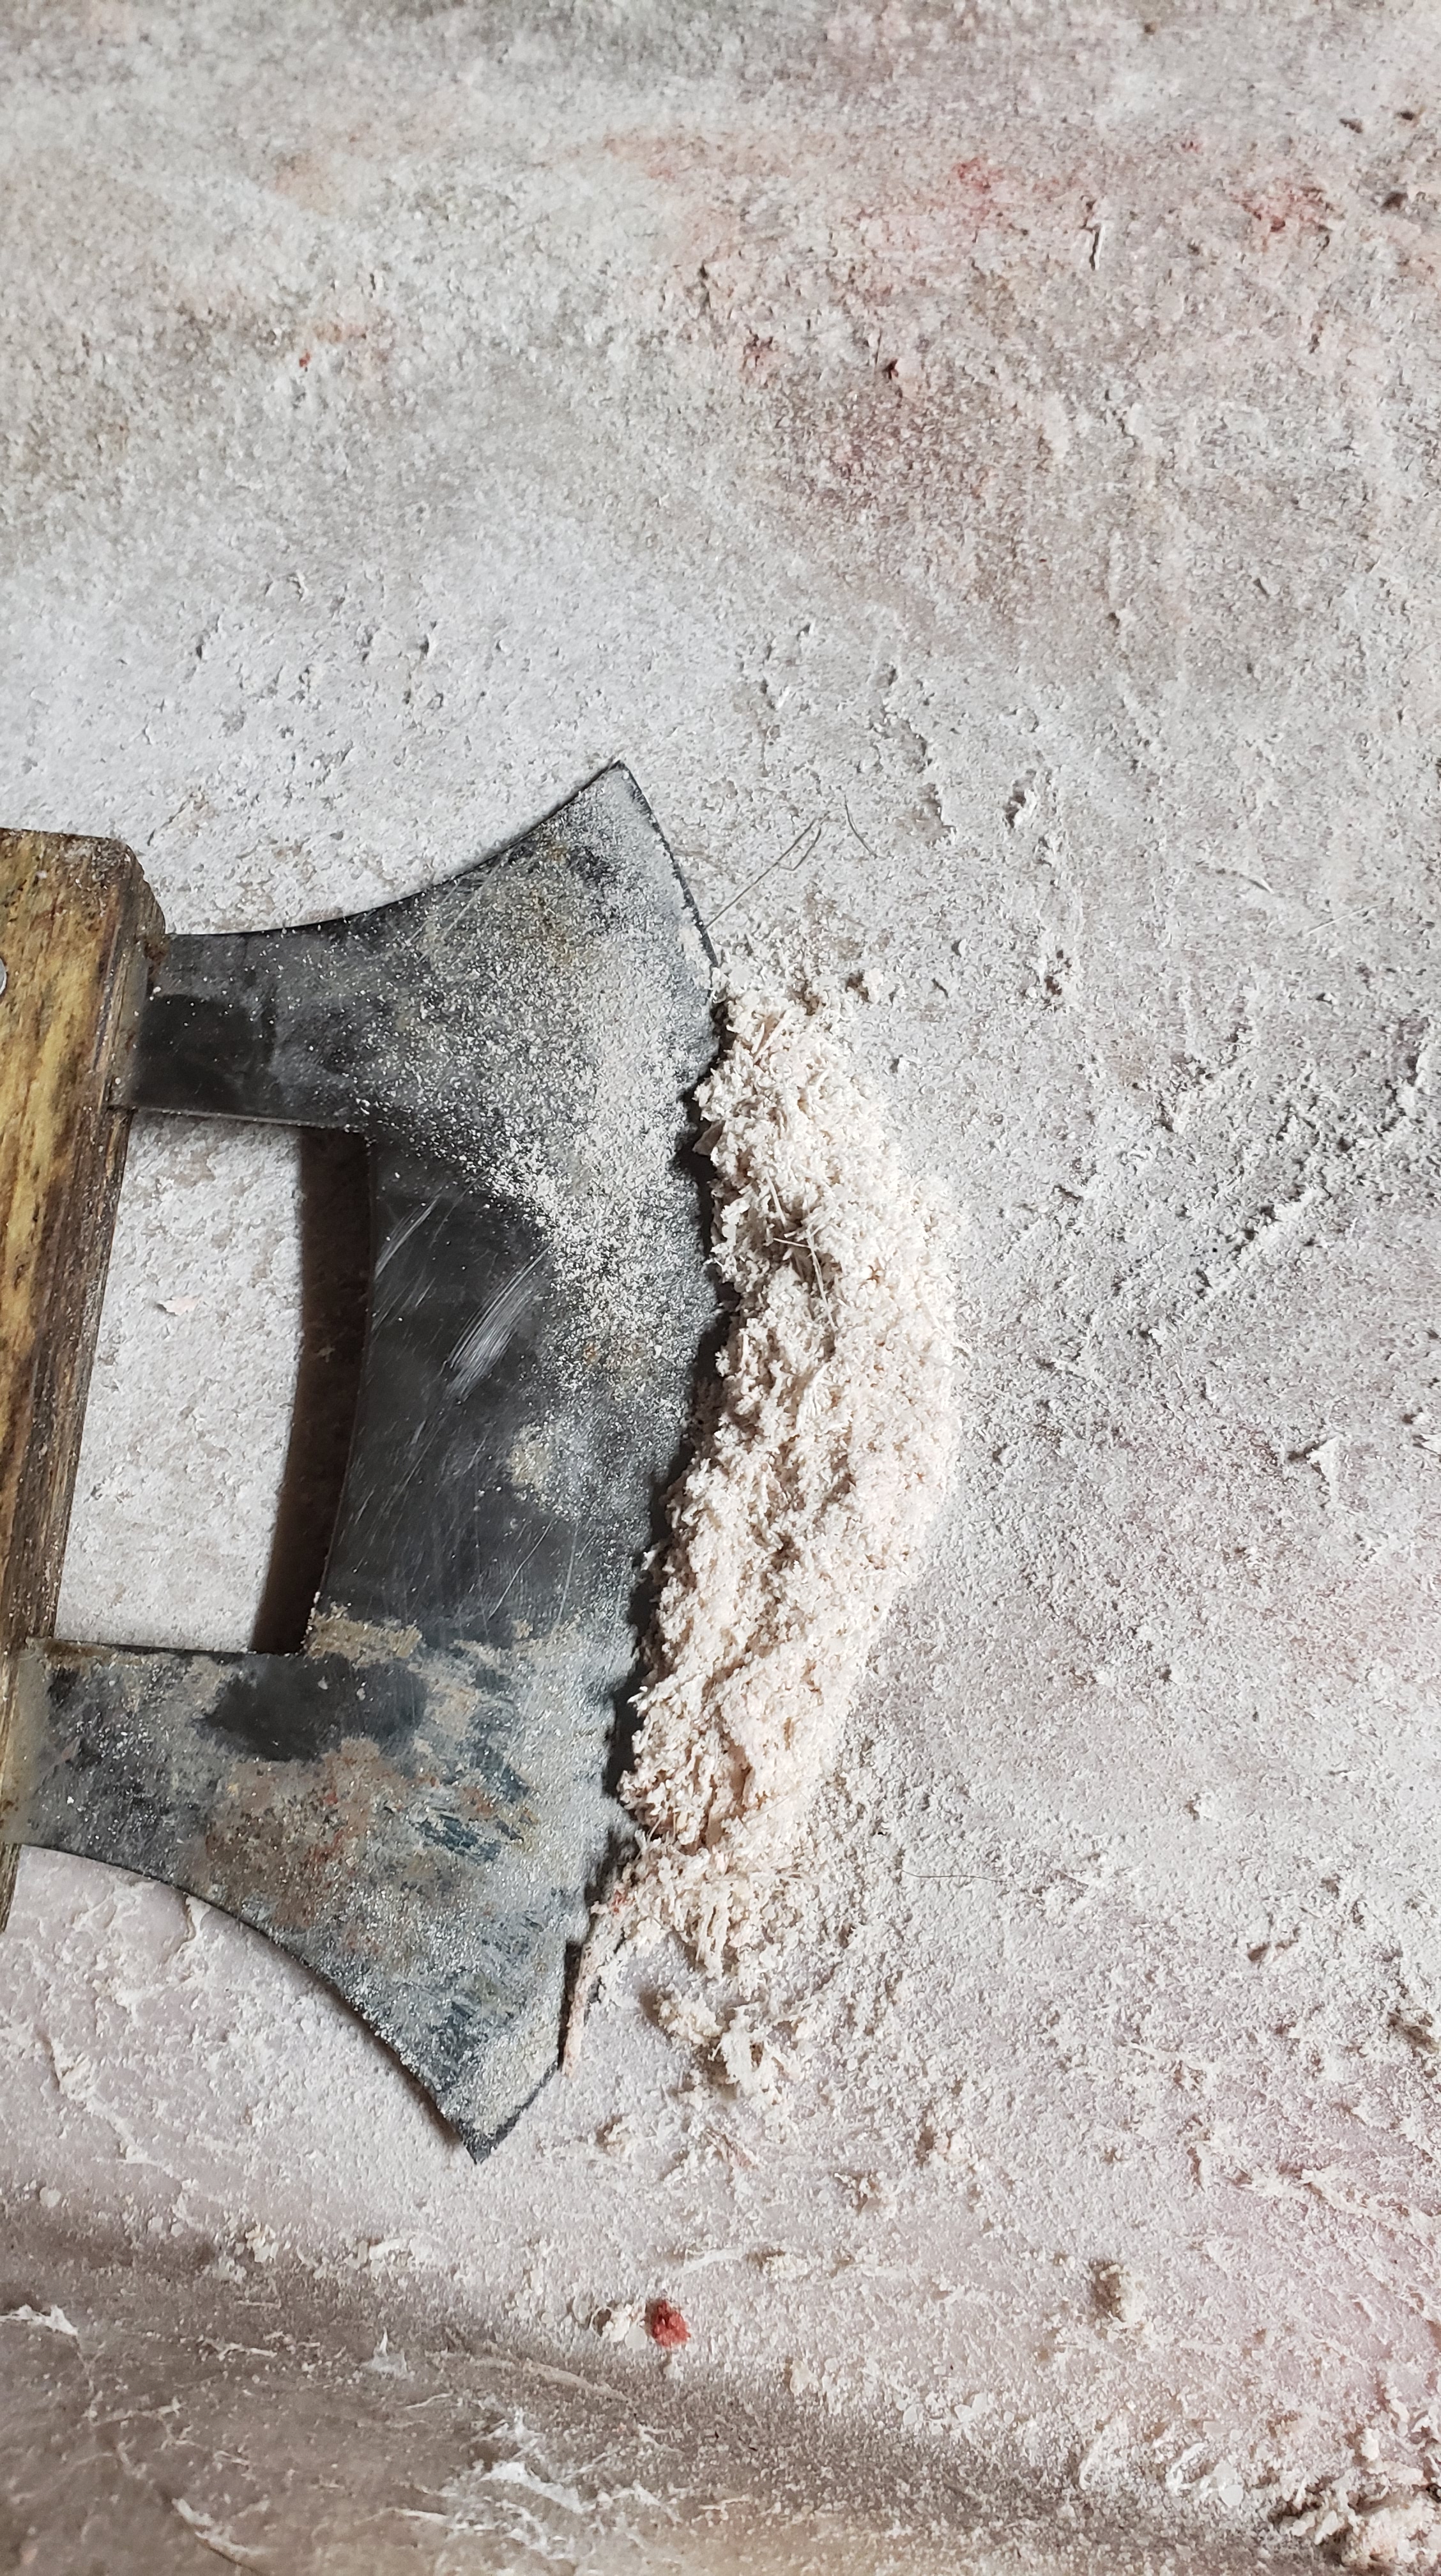
I used to think dry fleshing was easier, but after today I’m not so sure. Here’s a sheep hide i was dry fleshing.
When dry fleshing it’s harder to mar the skin with gouges, but easier to cut cleanly through it because it’s less elastic and more brittle. I use a dull Ulu or dull draw knife. It’s important to hold the blade at an angle to the skin, between 45 degrees and perpendicular.
I find with wet fleshing I can usually remove larger pieces of flesh (fat, muscle, and sometimes skin membrane) at a time. Look at the way I’m holding my tool to flesh this deer skin.
I fleshed two large deer hides in about 3 hours, which included a break to nurse my baby (plus wash up first, duh) and have a quick lunch. That’s pretty good time for me, especially since I haven’t done it in a couple years. But my hands remember even if they’re softer than they were once.
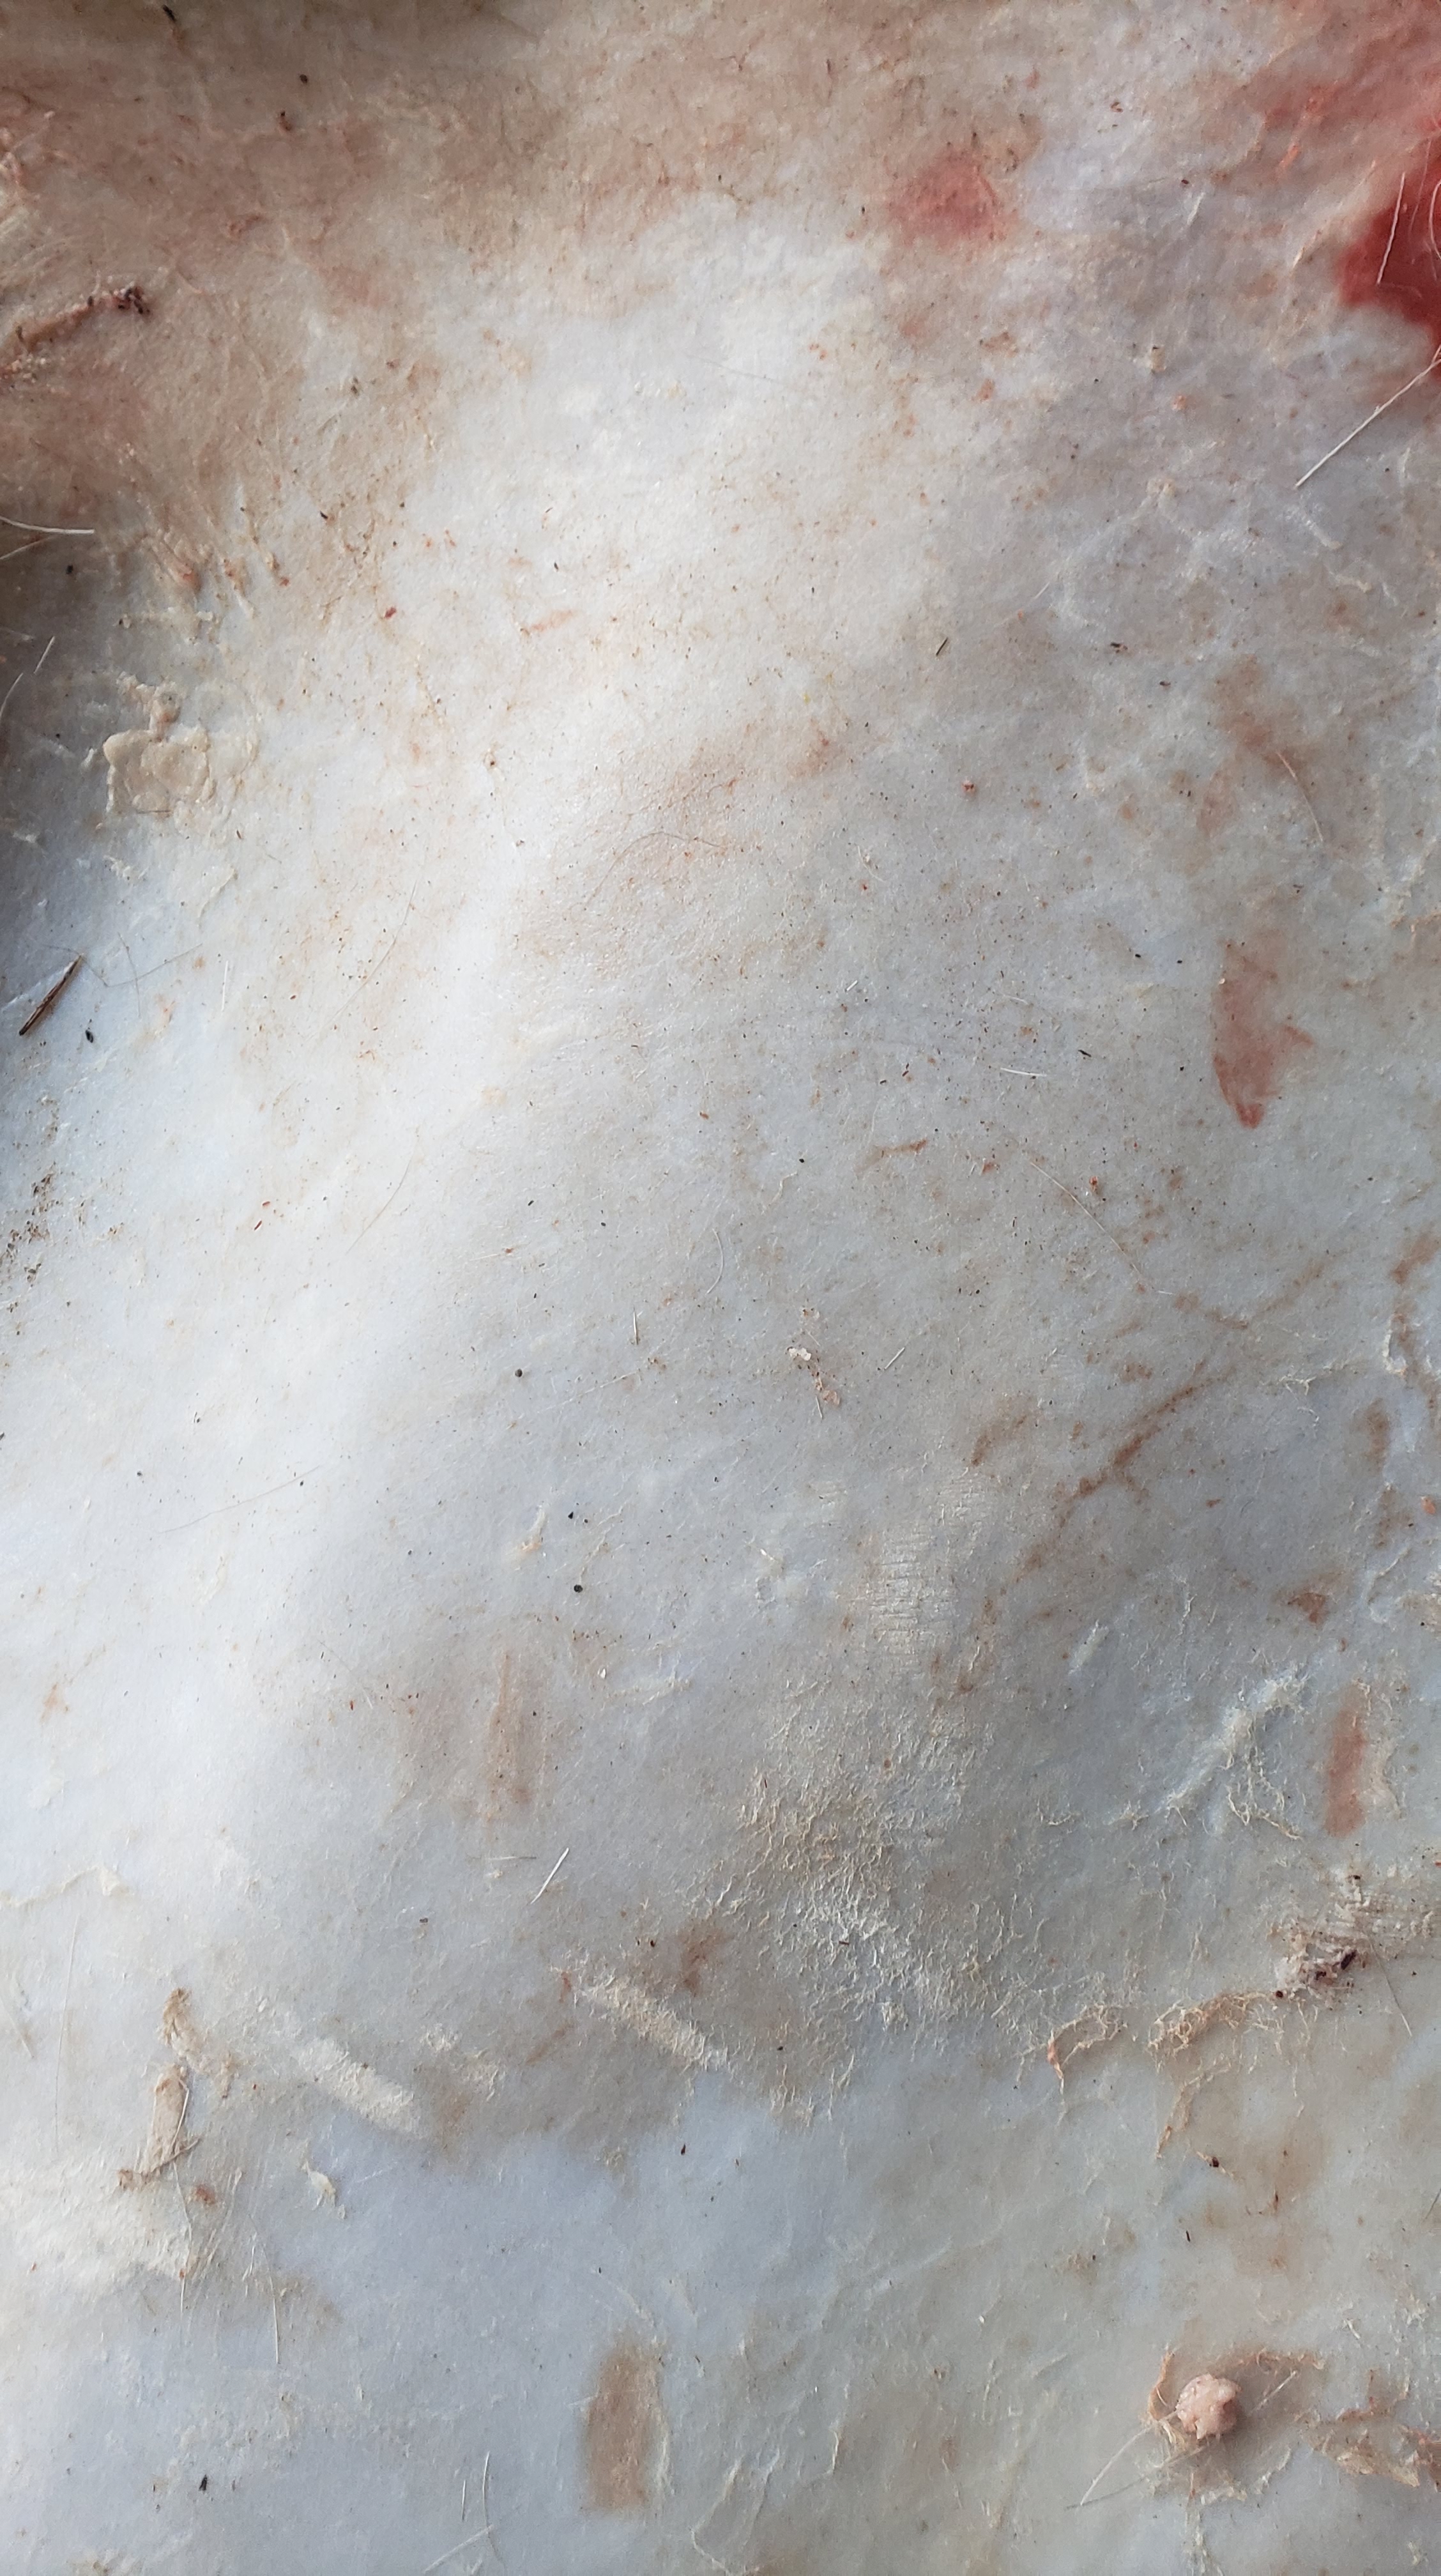
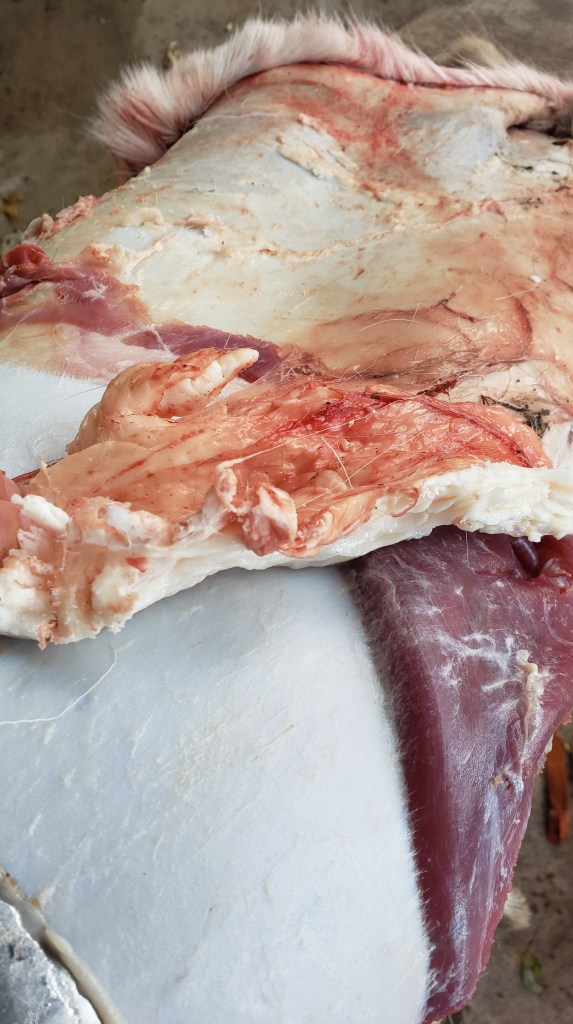
When fleshing a hide before the actual tanning step you want to remove all the flesh and fat. Sometimes, depending on the animal, the difference isn’t clear. On deer, sheep, goats, & groundhogs it’s pretty obvious.
The actual skin is so white it’s almost blue. And there’s usually an obvious, clear, stringy substance between the actual skin and flesh.
Some people say that you have to remove every scrap of flesh and fat before you salt, but you don’t. Trust me. I’ve left entire hides under salt without fleshing at all and they’ve been fine. If there are stubborn bits, get them off when you membrane before tanning.
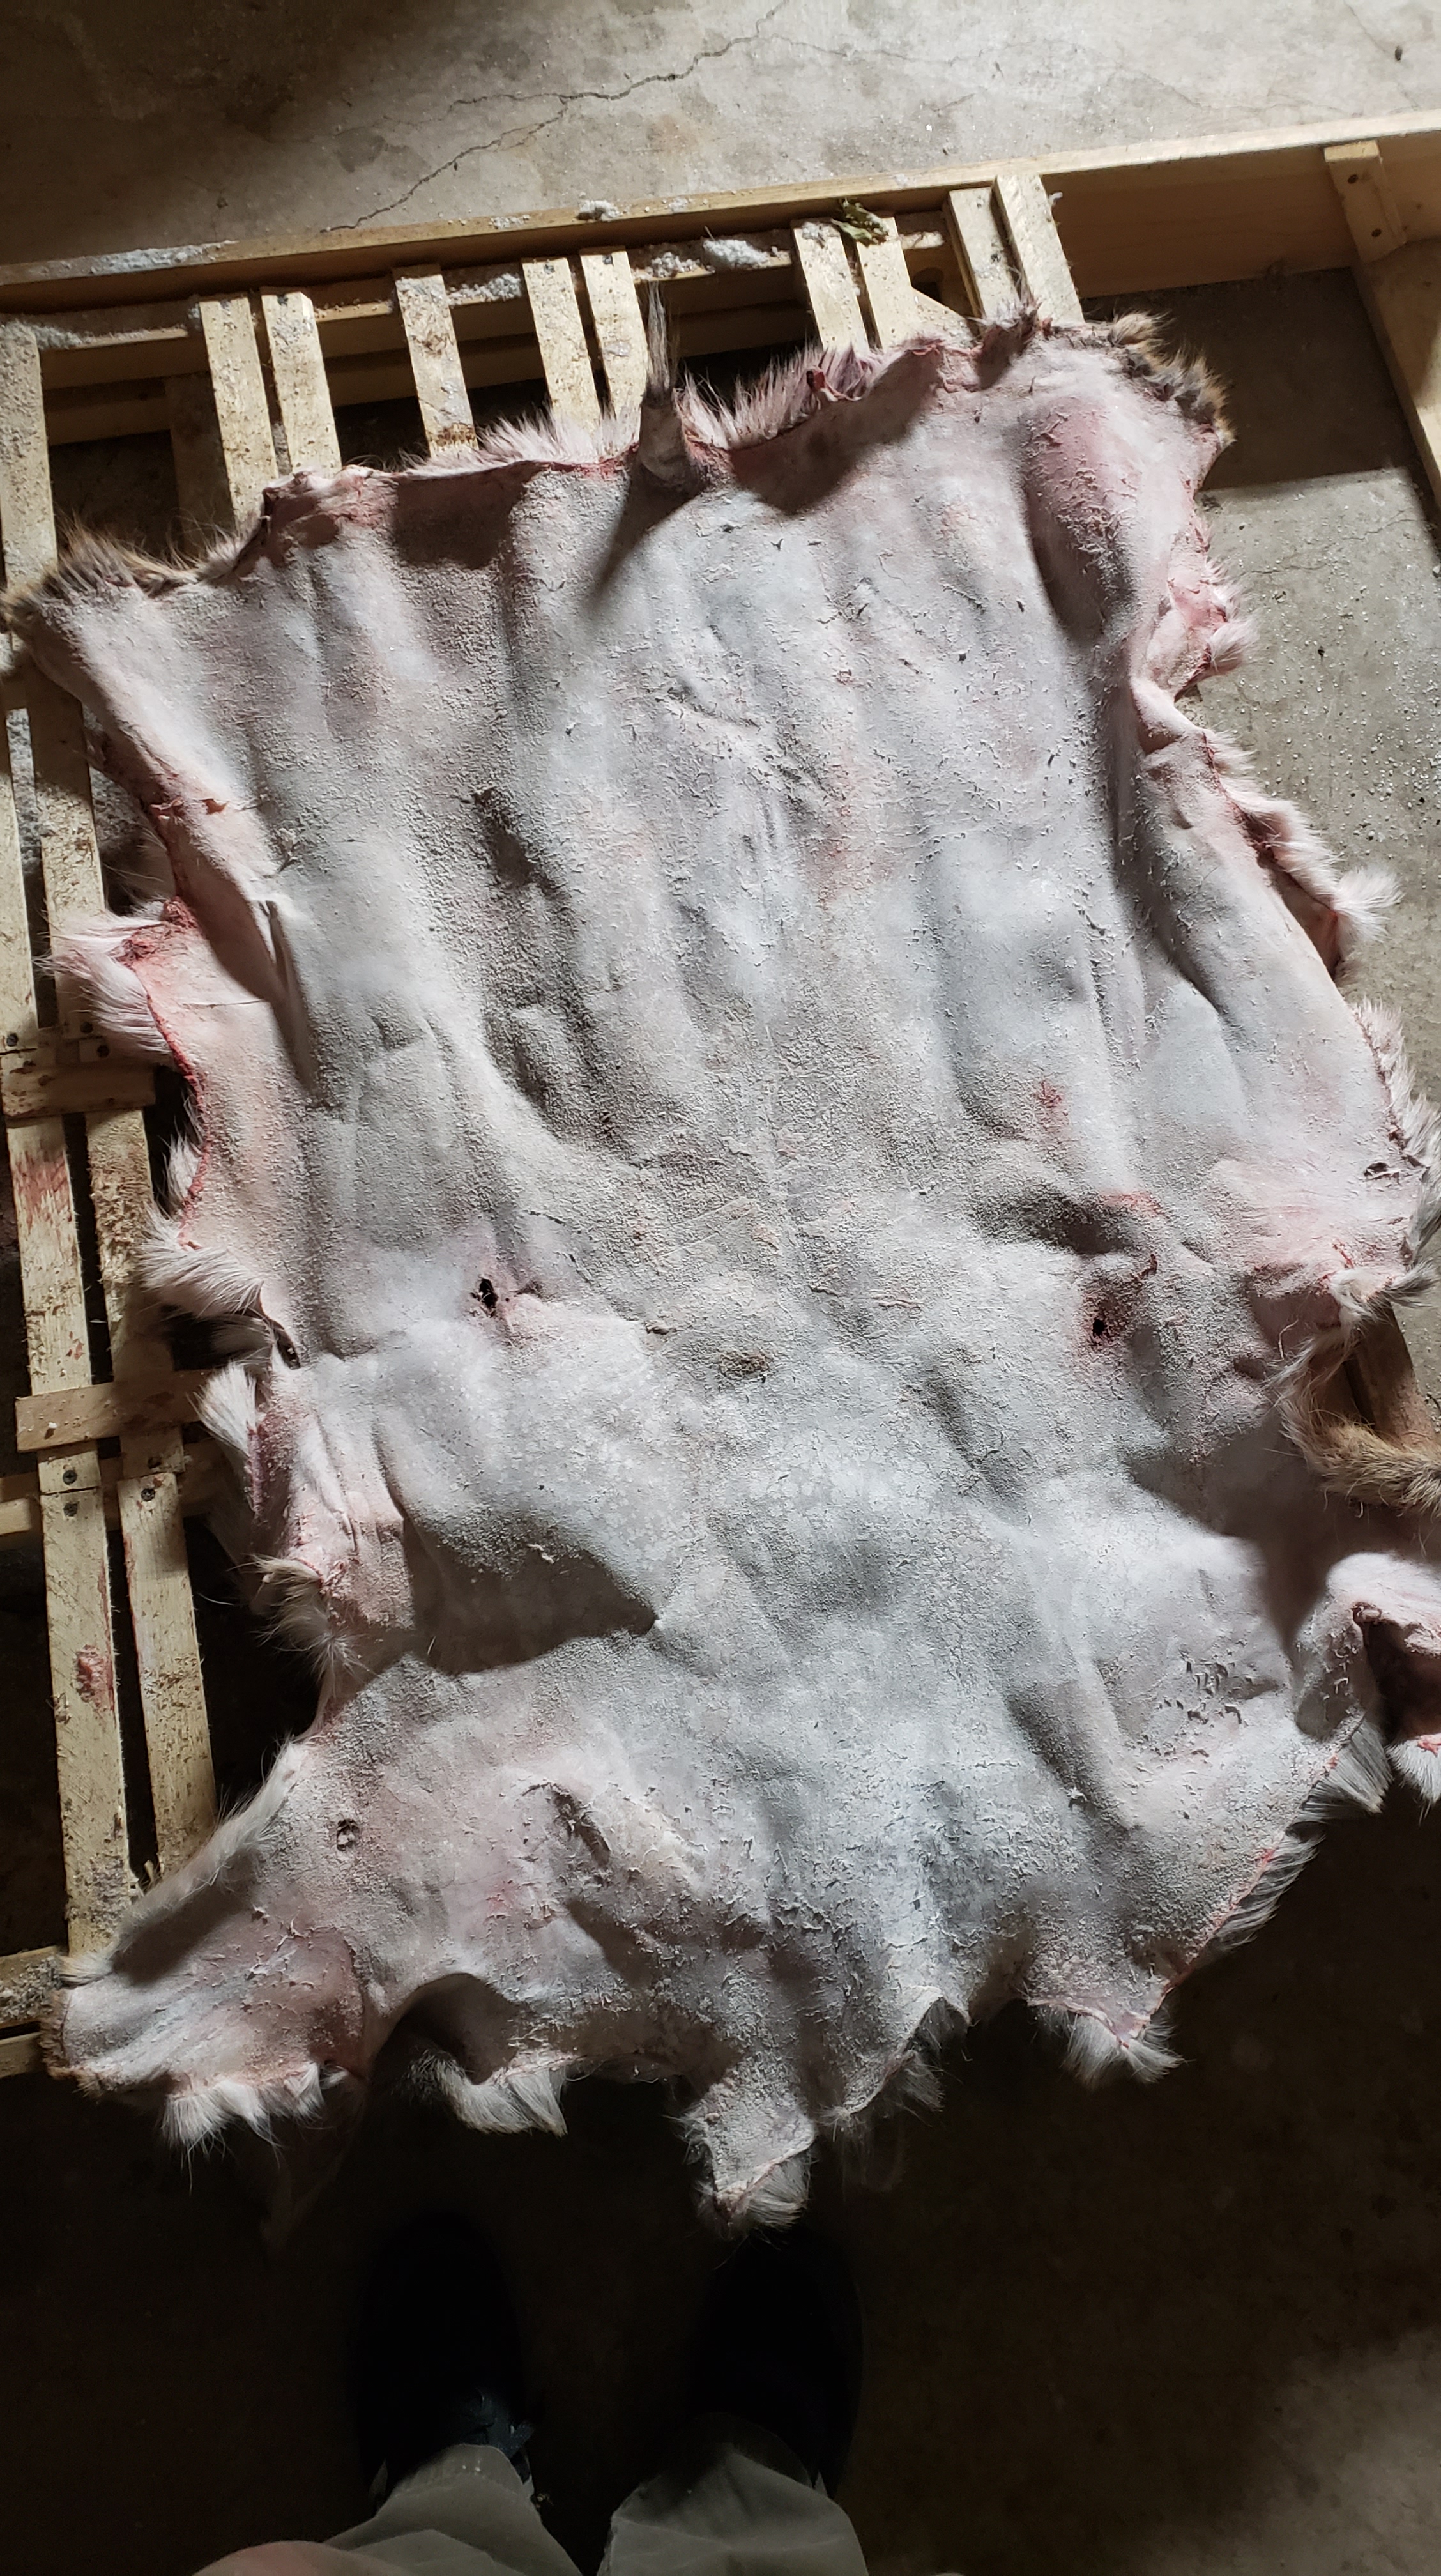
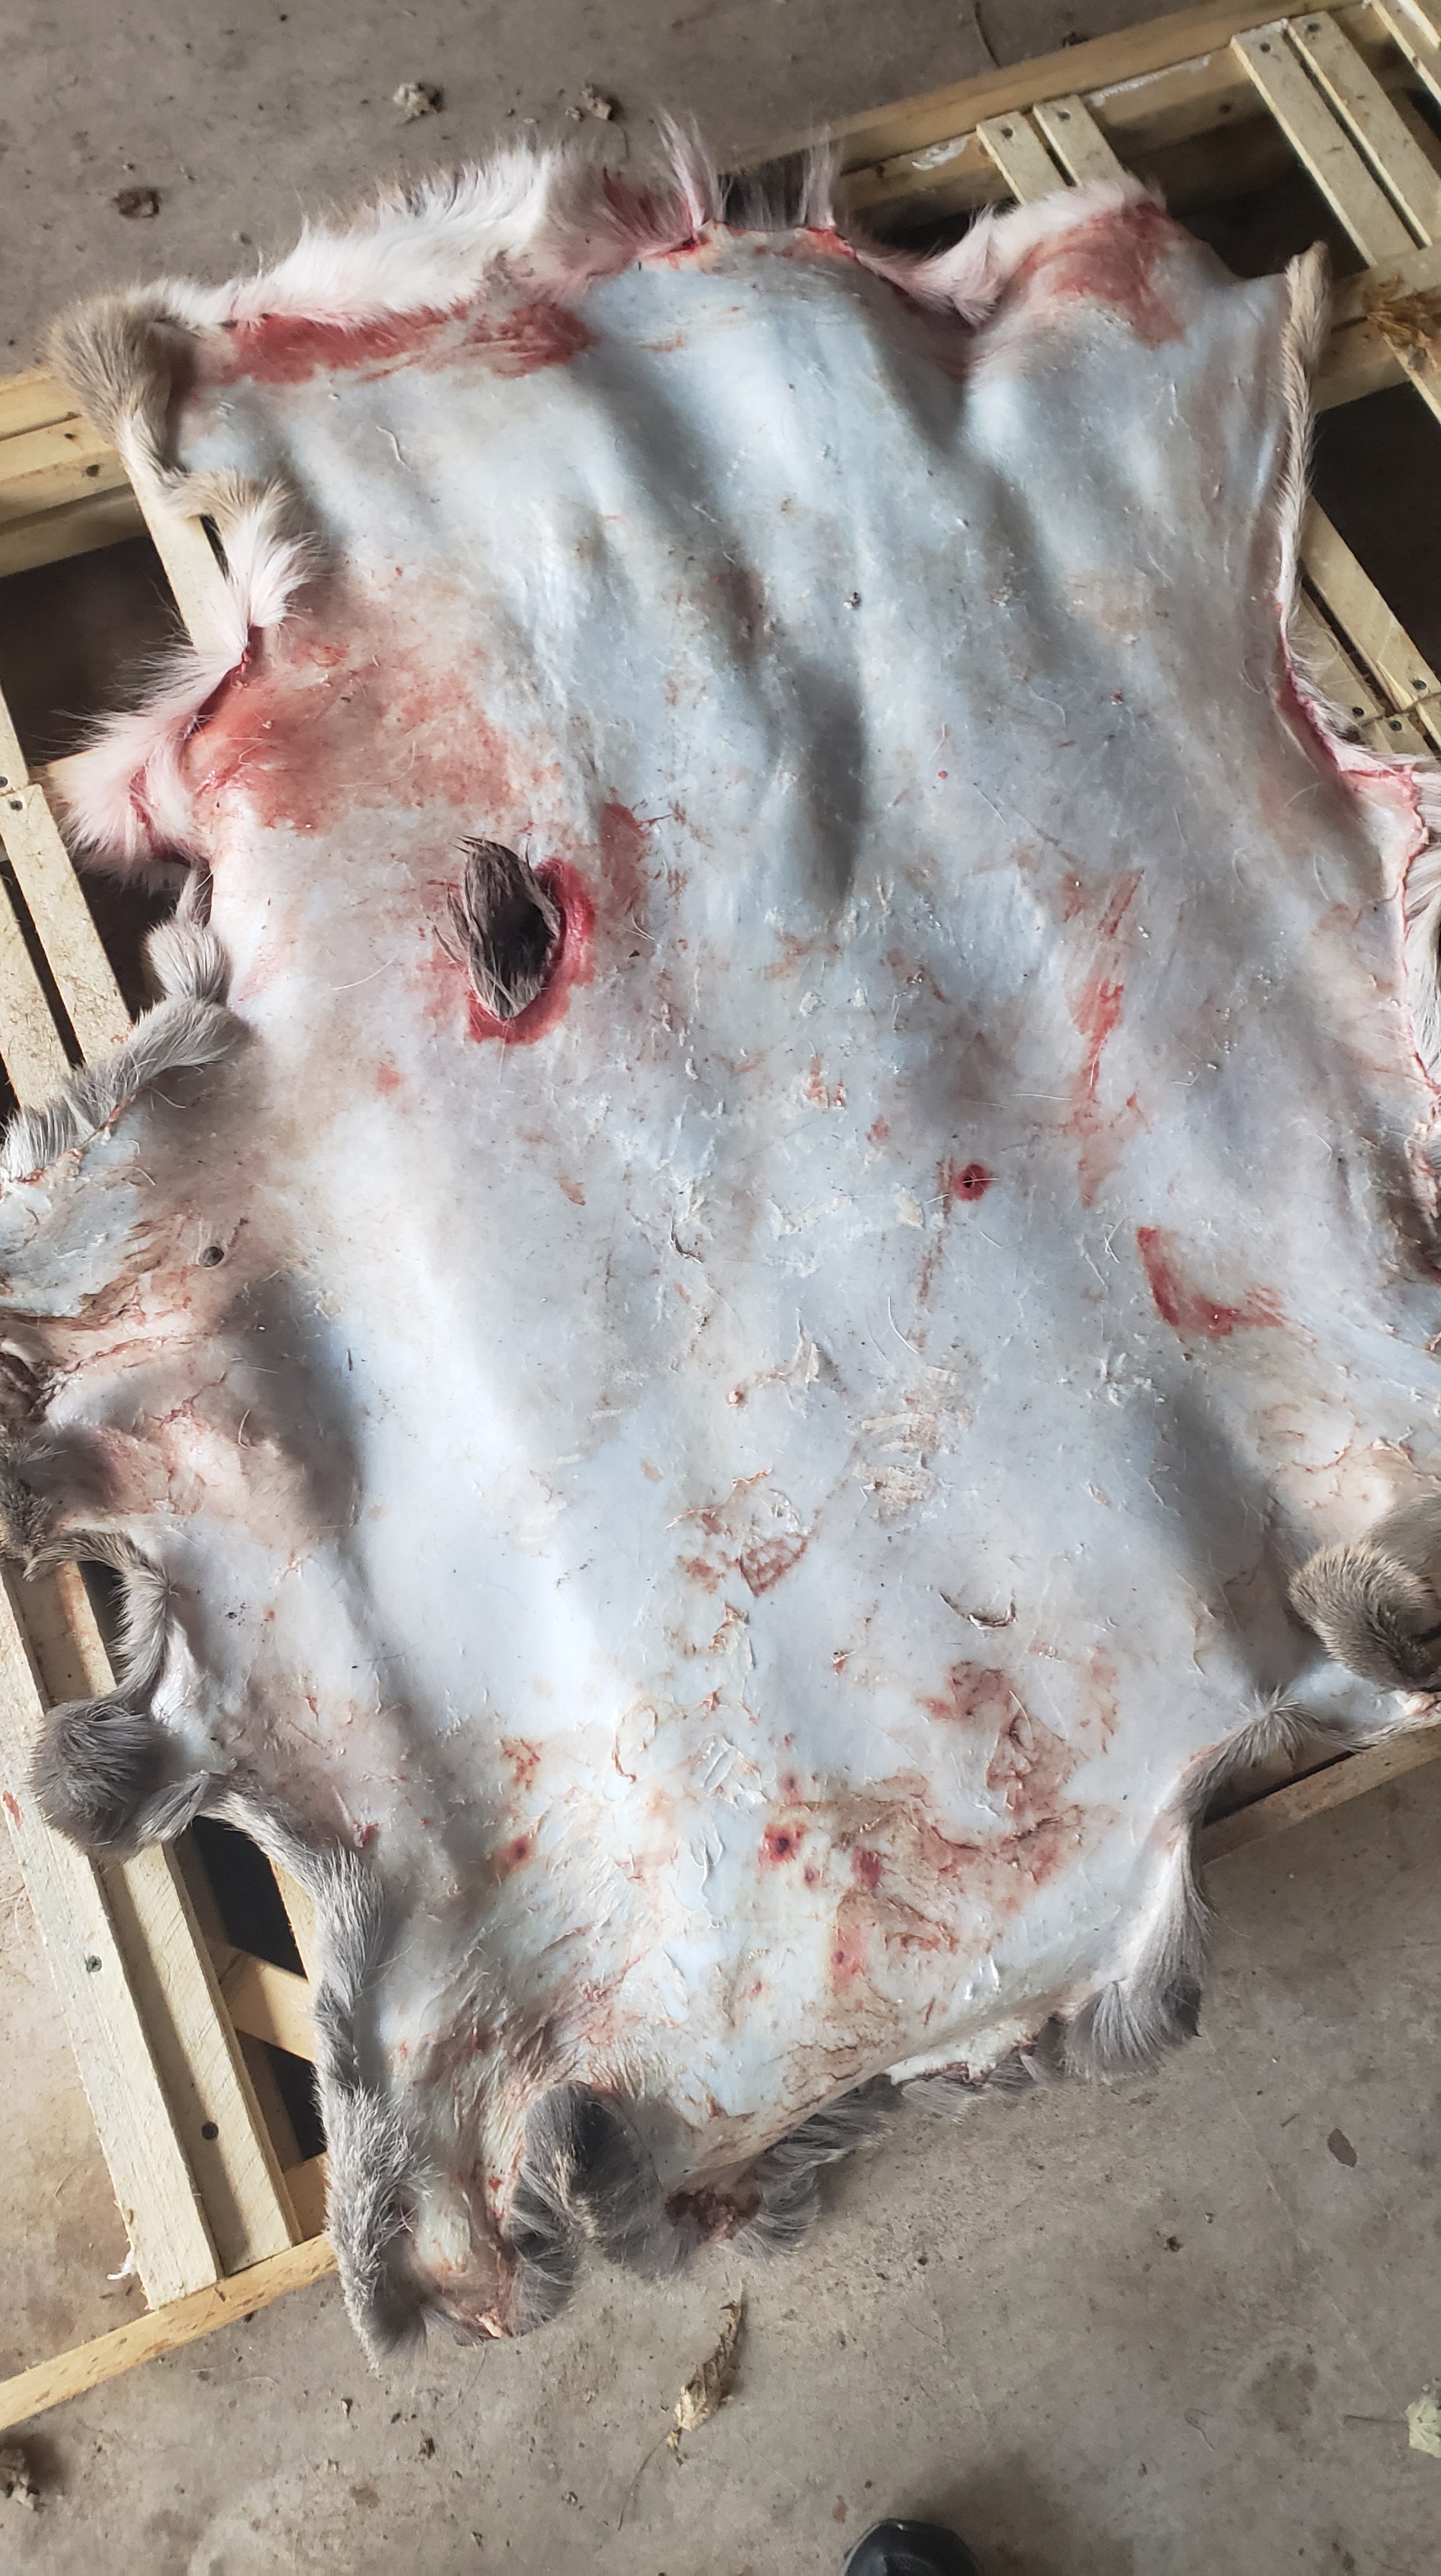
Ideally the skin looks like this after fleshing.
Don’t worry about the bloody spots – the salt will draw out the blood.
After I got this skin fleshed, I covered it with agricultural salt, sometimes called mixing salt. I like it because it’s loose and coarse and a 50 pound bag is cheap. Now, I know some tanners swear you have to cover a hide 4 inches deep in salt, but I never do that. I throw several handfuls on the skin and run the salt in. I do pay extra attention to bloody areas, but ultimately I use a fairly thin layer of salt. It’s really important to get it everywhere, don’t miss the edges. Anywhere that isn’t salt cured is susceptible to hair loss and skin rot.
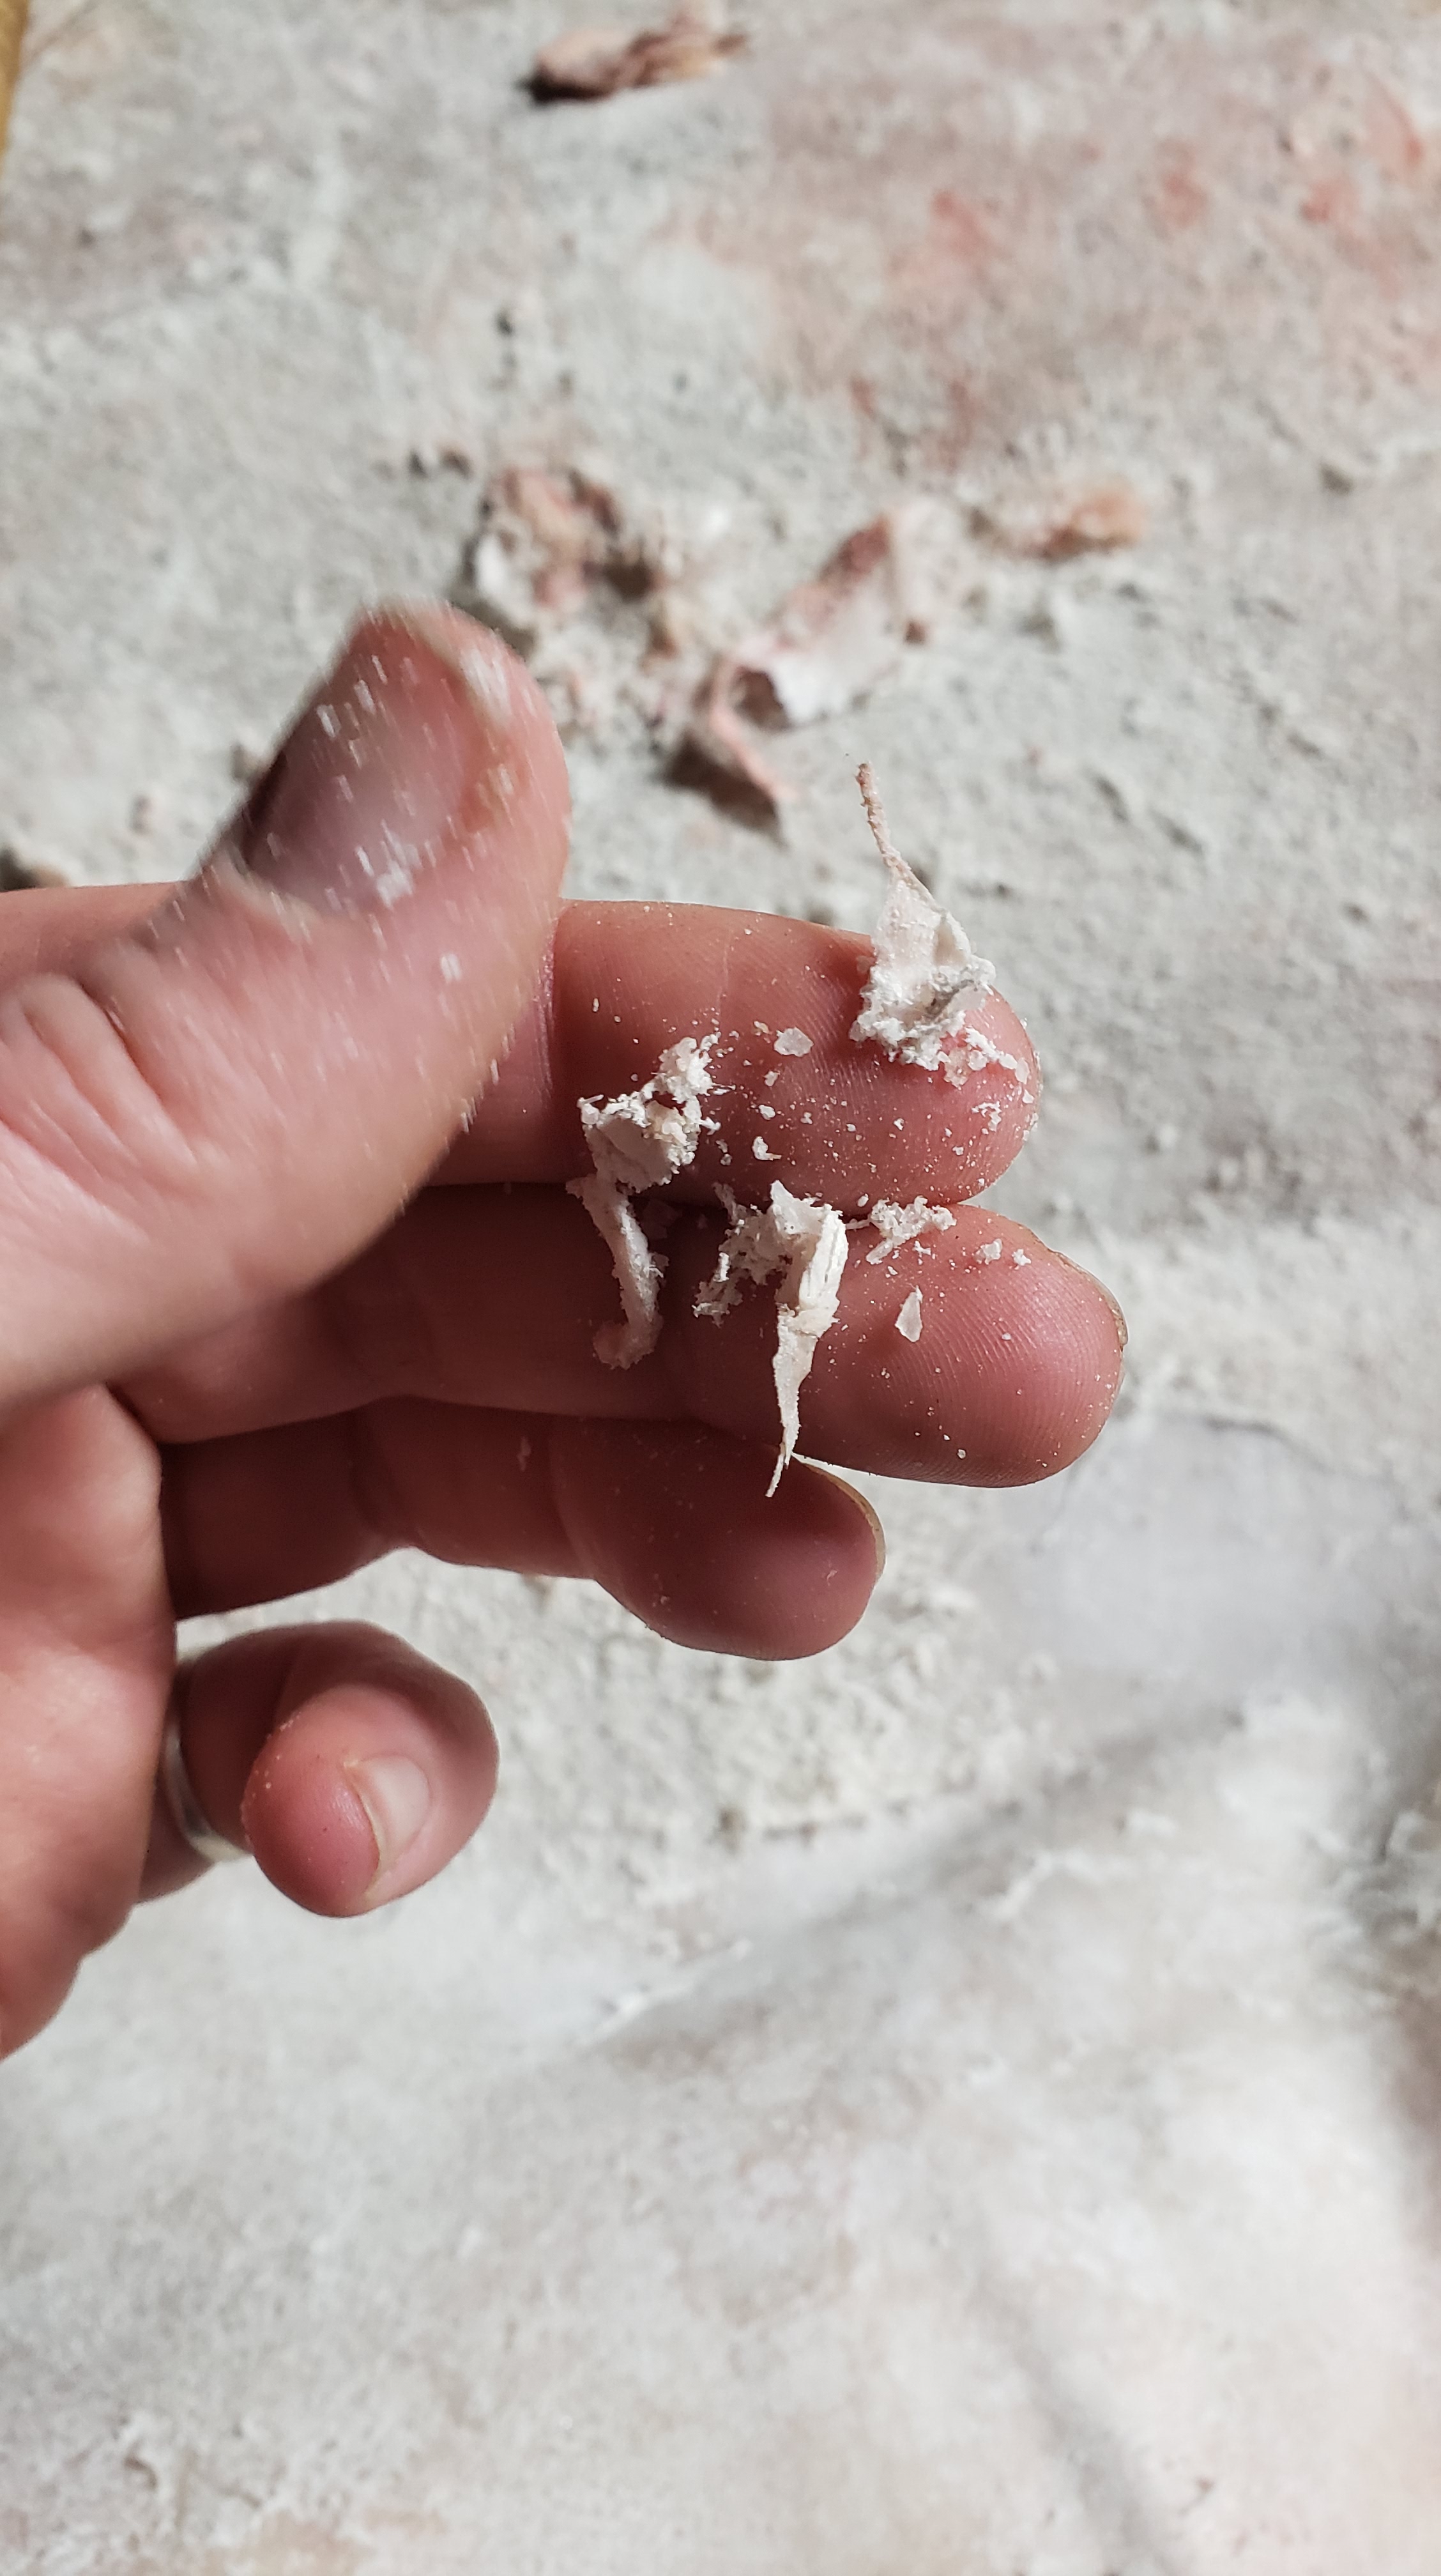
Depending on how the animal was skinned you can end up with a bucket of stuff you cut and pulled off. If you’re interested in cooking the meat for your pets and rendering the fat, they’re pretty easy to tell apart. The fat that’s worth rendering, in my opinion anyway, is these big chunks.
I plan to render them for soap. We’ll see if I have time.
Both of these deer hides have good fur but some butcher cuts and other imperfections on the skin-side, so I’m going to tan them both hair on. The hunters I got them from say they could end up with 3 or 4 more, so I’m hoping to make some buckskin.
Next up for these hides: I’ll fold them in half tomorrow if they’re dry. If not, I might add more salt if it seems needed. Then they’ll wait to be membraned and tanned – I want to finish at least one more sheepskin first.