Three Skins Done

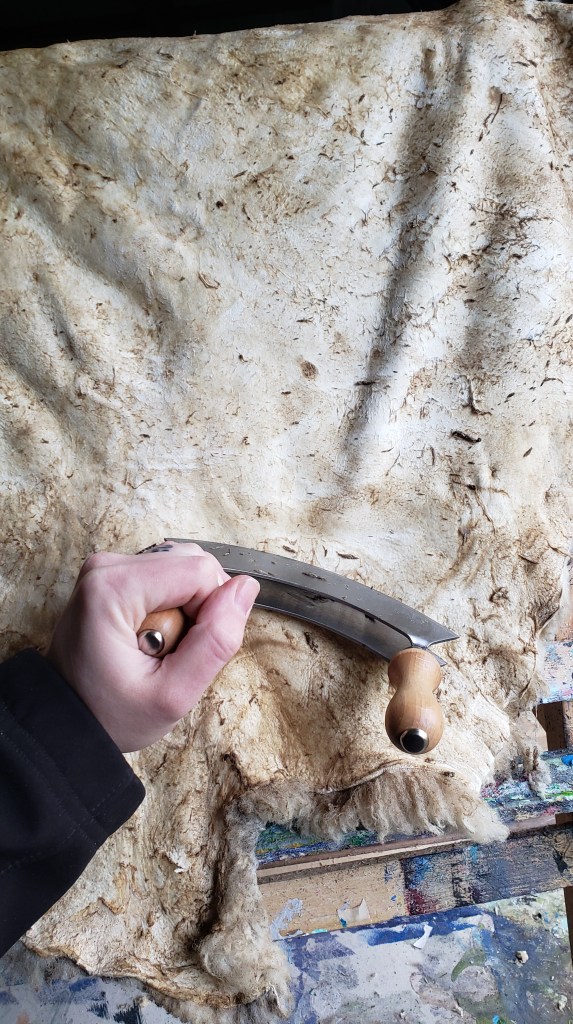
Yesterday I gave the two wooly skins a final brush out and pick through, and called them finished.

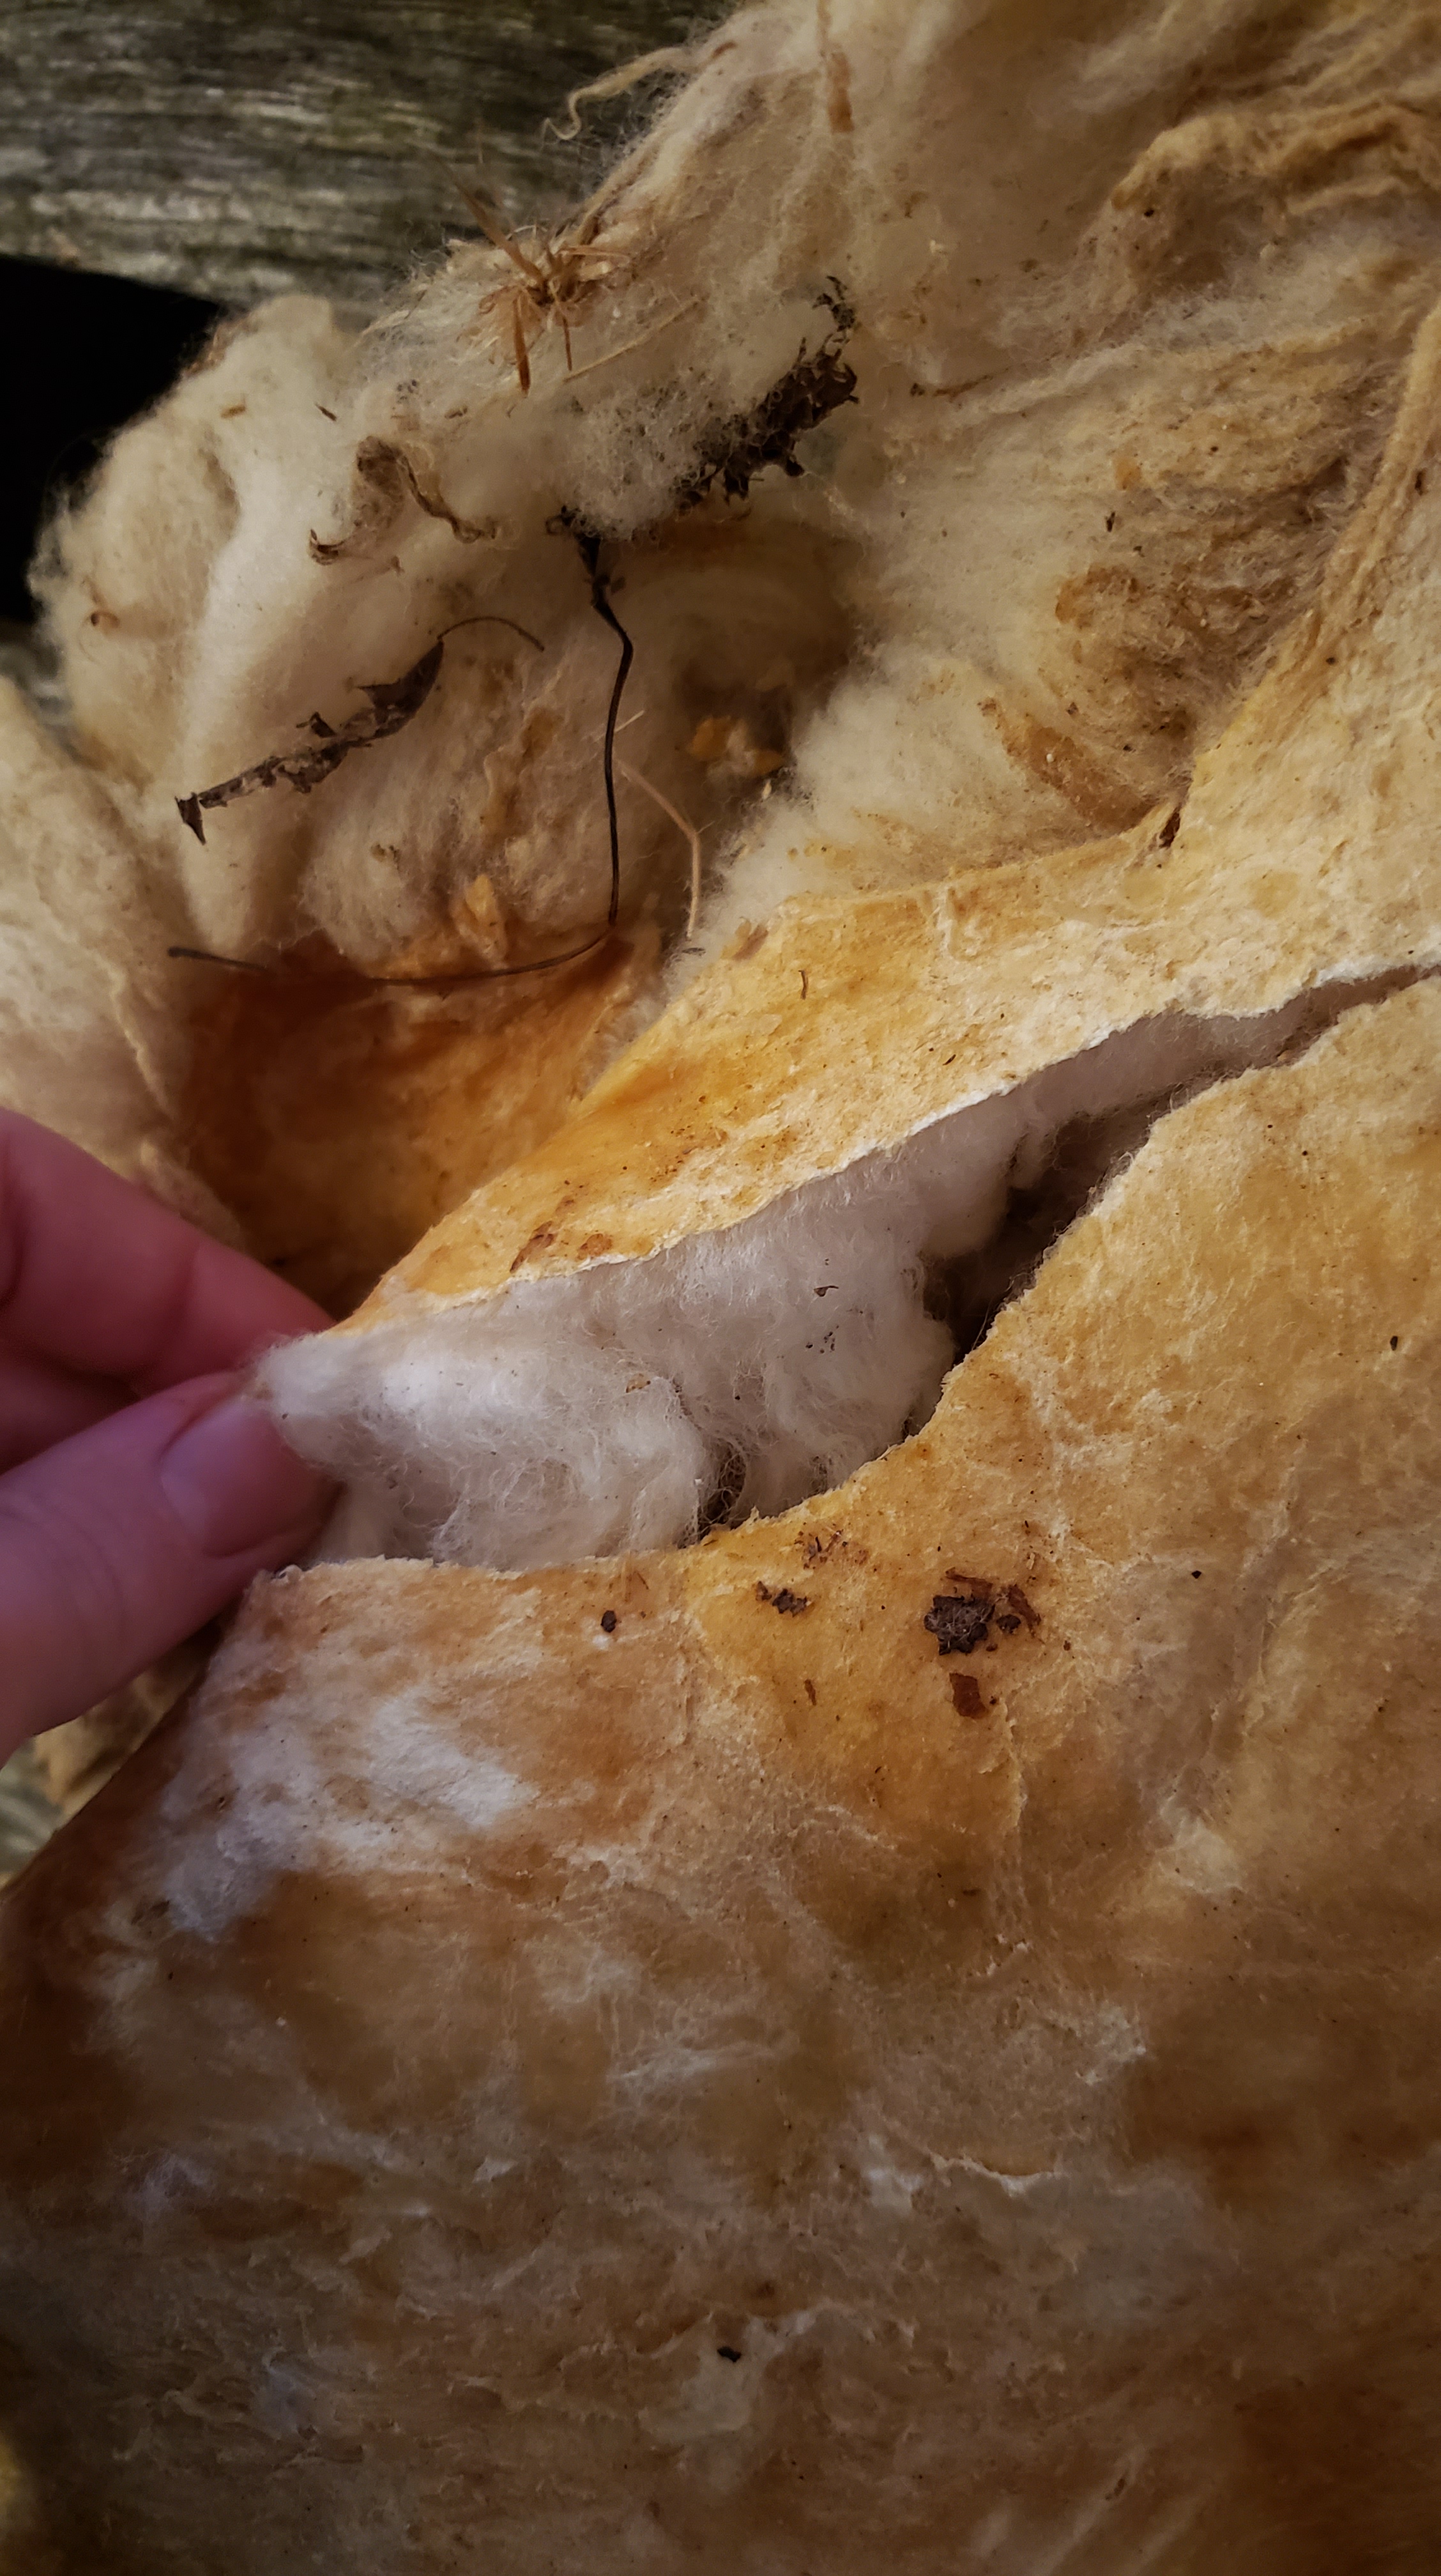
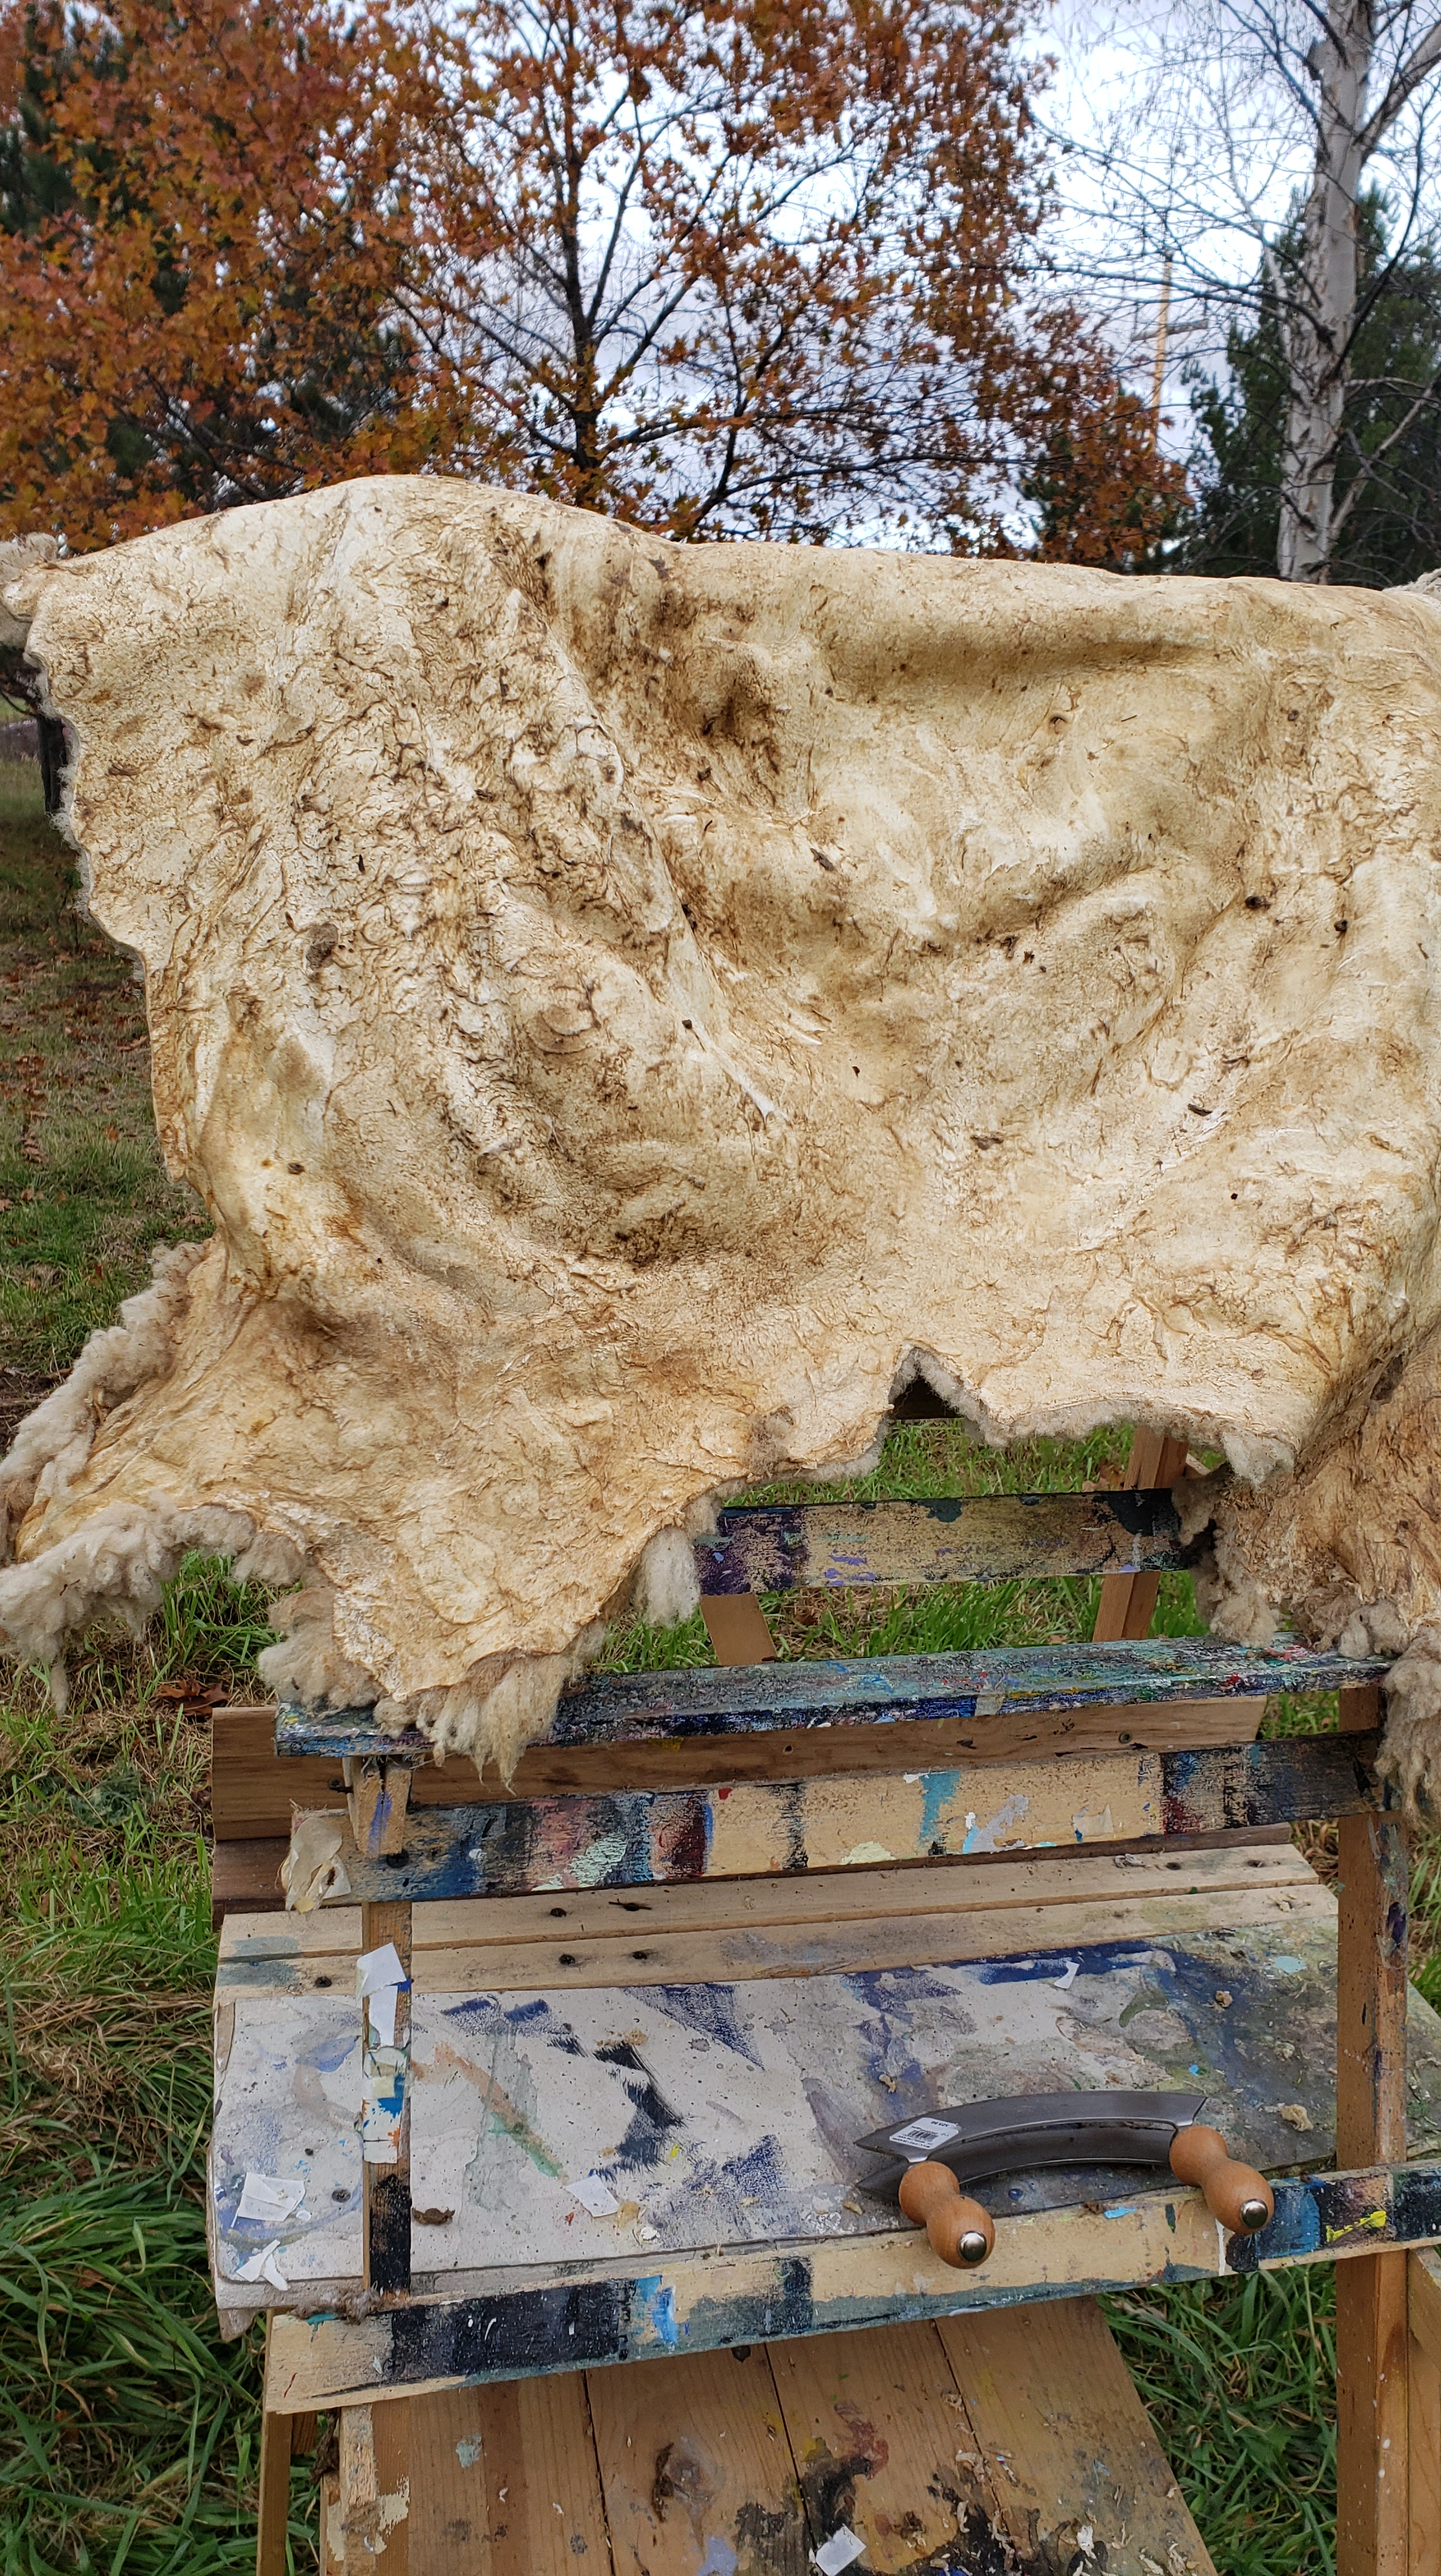
The sheepskin that started out this process “brittle” just isn’t quite up to my standards – towards the bottom of the hide, the hind leg area, the leather is still too brittle for my liking. It’s a fine hide for a seat cover or small rug, but I’m not going to offer it for sale because it just doesn’t represent my best and desired result.

It’s not as dramatic to the eye as these pictures show, but you can tell by the color shift where the lower quality leather starts.

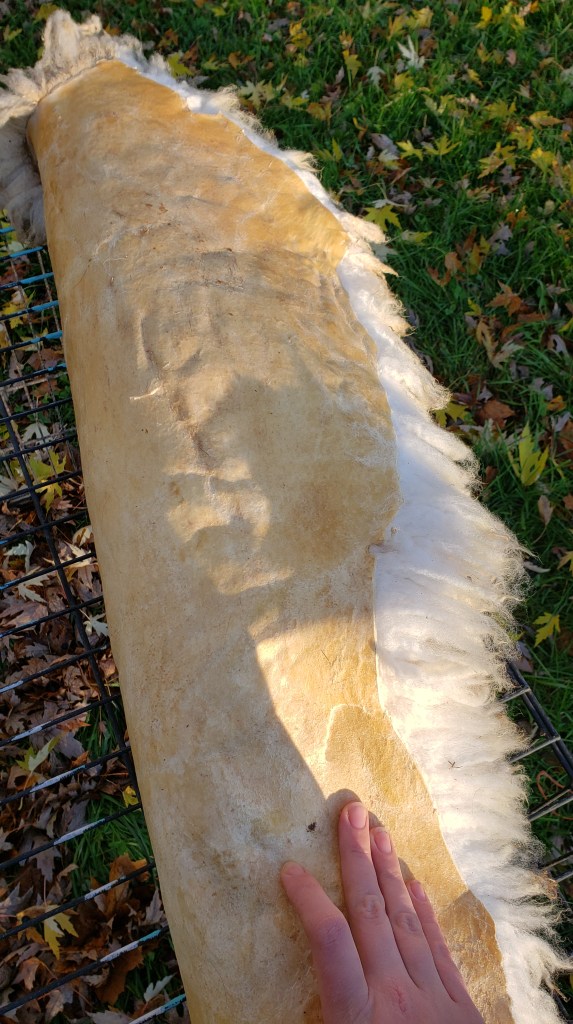
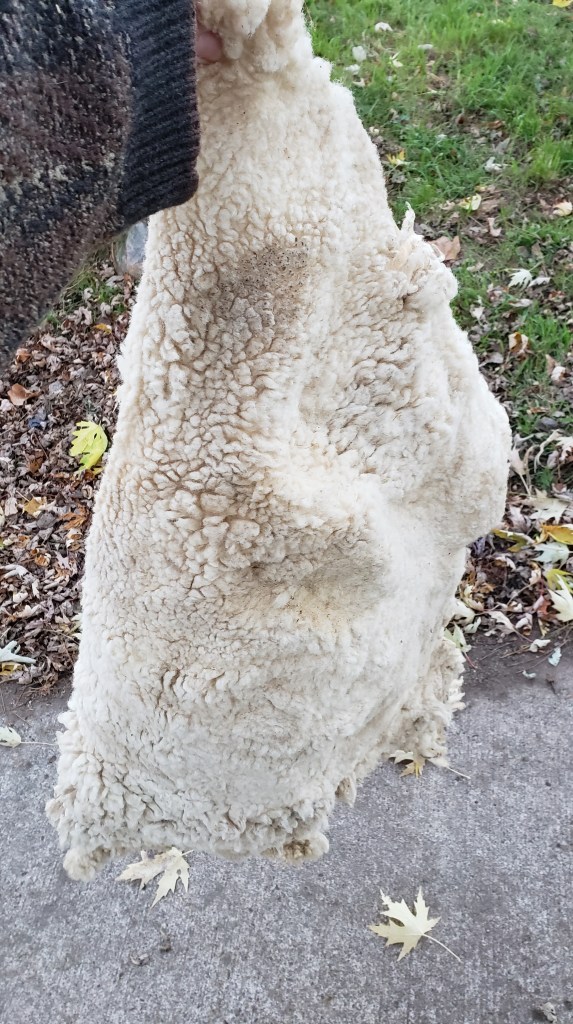
The other skin, which I’ve taken to calling big and creamy, turned out quite nice. I would wear it close to my skin, which is how I want to feel about my tanned hides. It’s listed for sale through my Etsy shop.

The shearling hide is also basically done; I’m doing some extra nit-picky softening and removing what’s left of the membrane because I think I want to make some mittens out of it.

Results of finishing the 2018 skins, round 1

I’ve relearned and learned some things. Like don’t leave your dressed leather in the sun for long periods without working on it. Like that alum really is my best friend when I’m doing big batches of skins and need to borrow time. Like how important getting the membrane off really is.

I feel I have a much better plan moving forward. Speaking of which – what’s next?

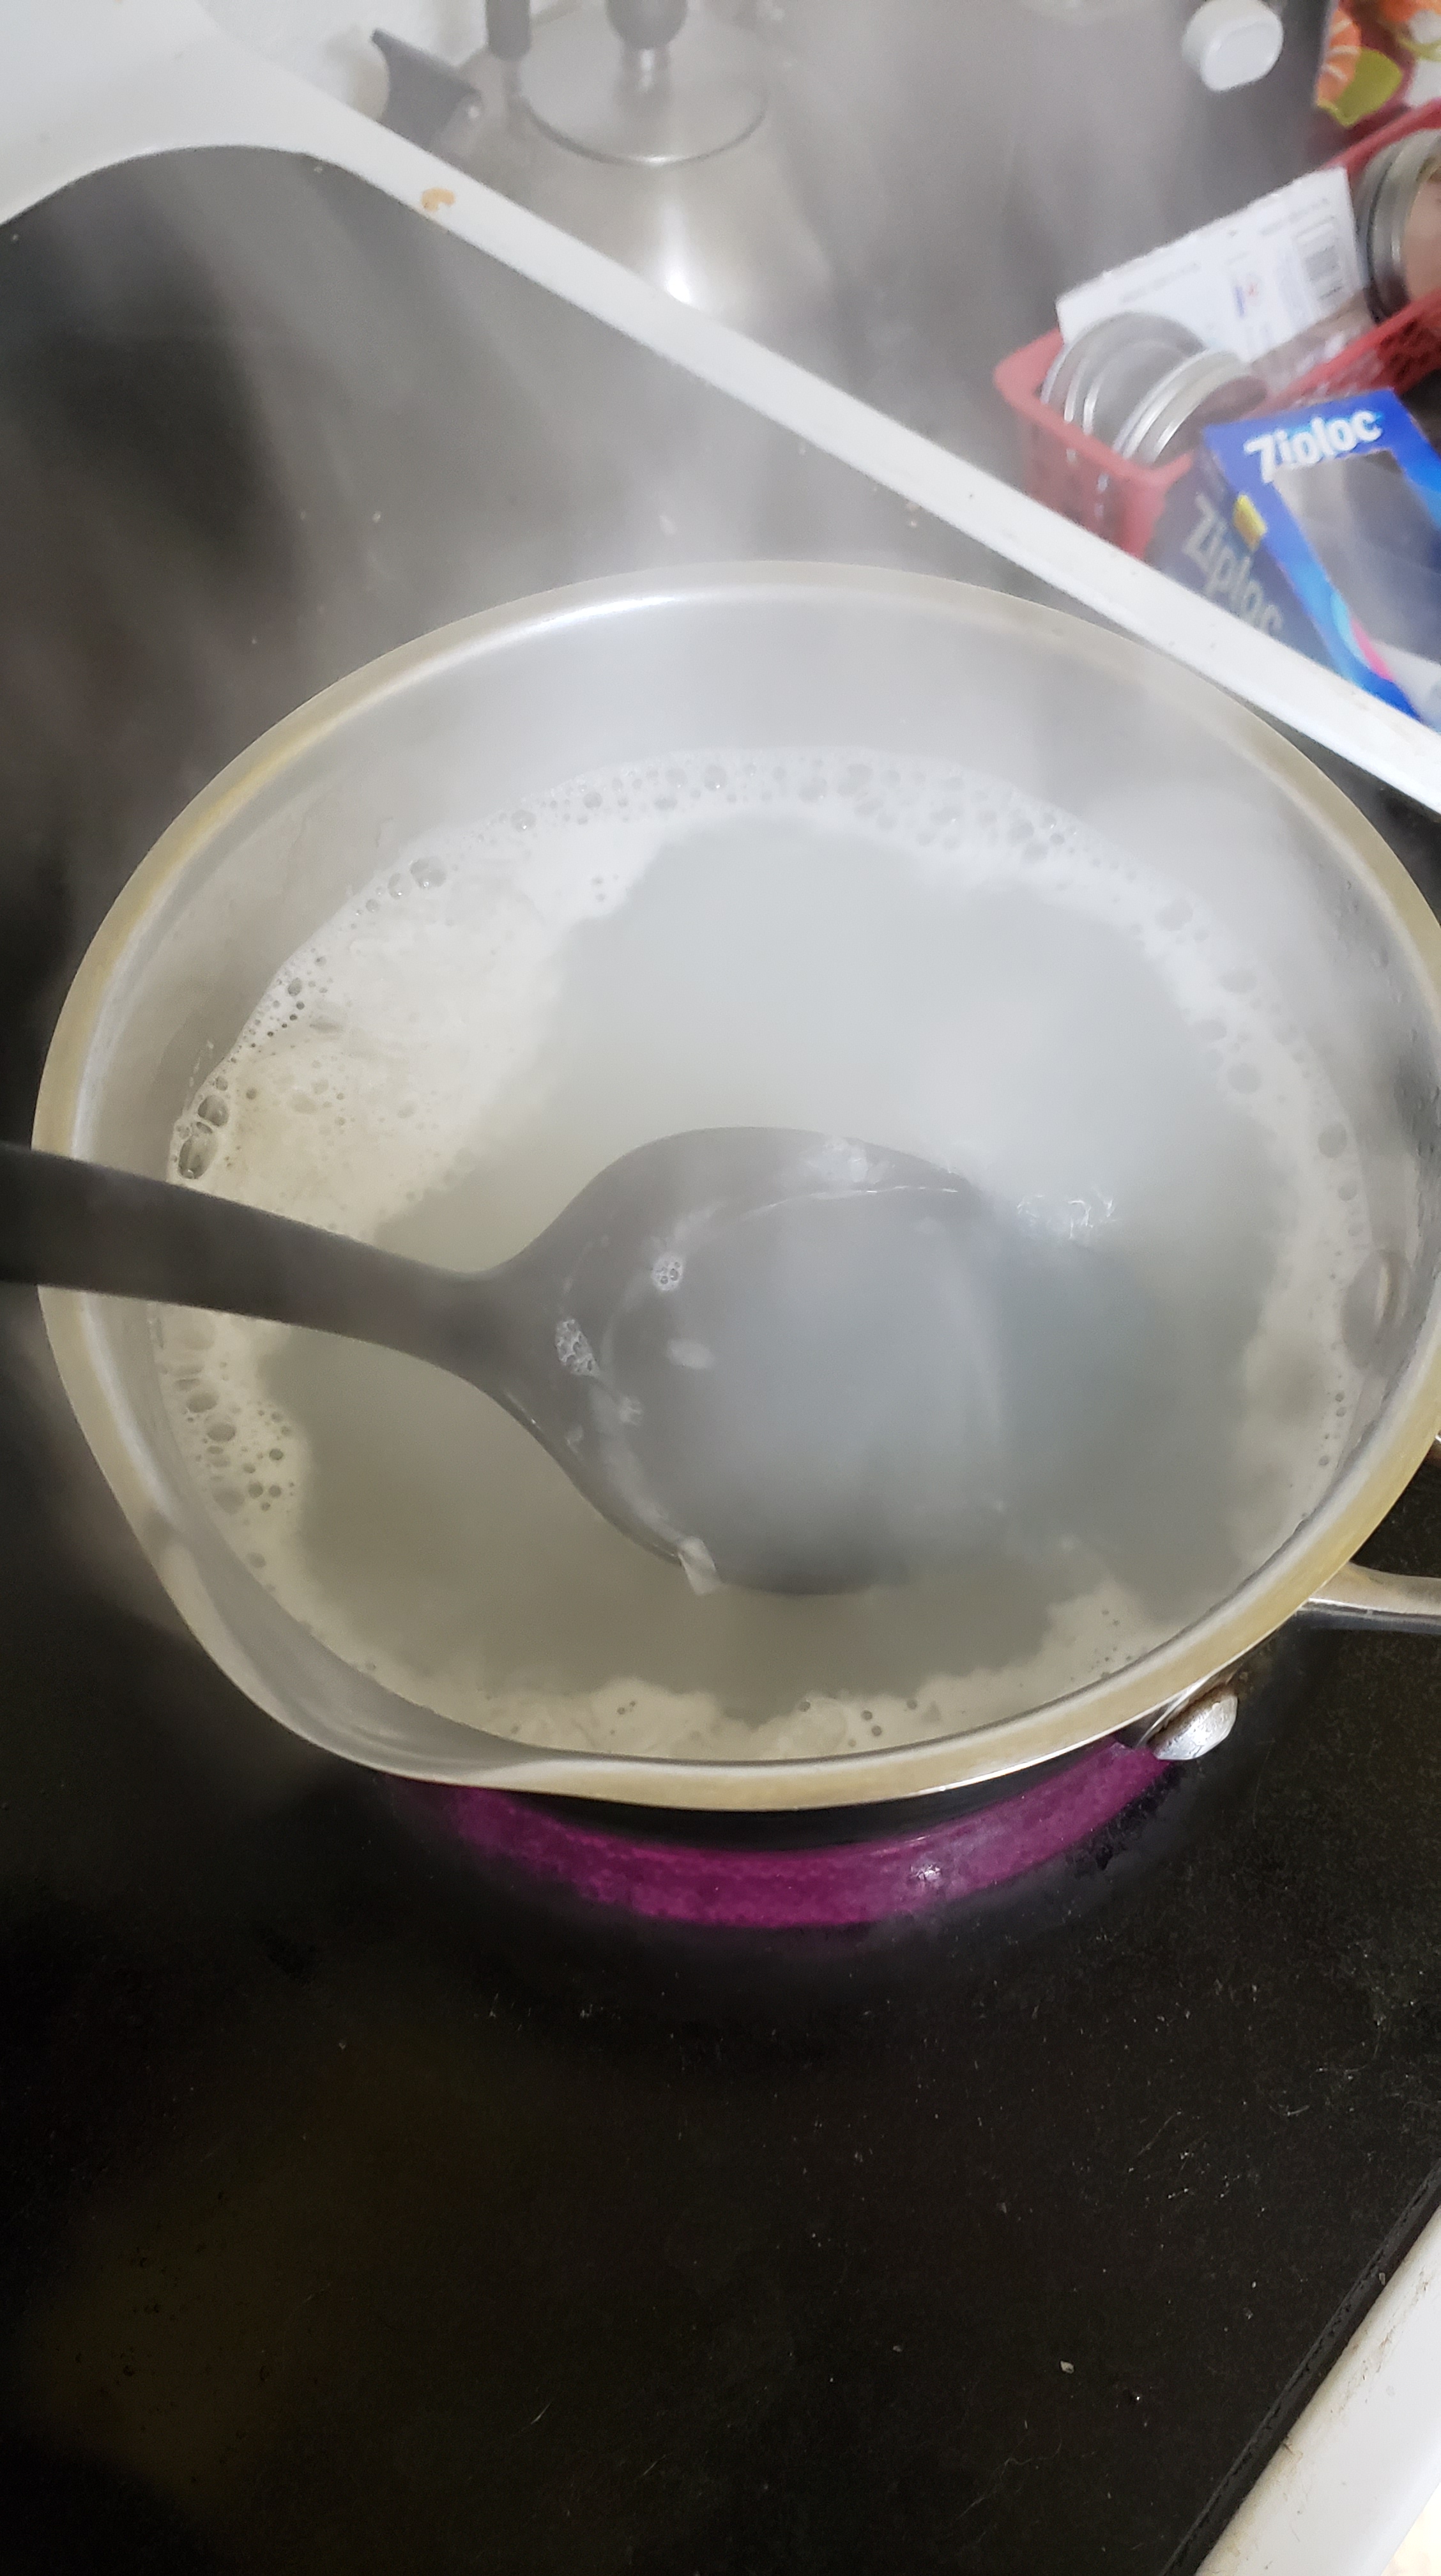
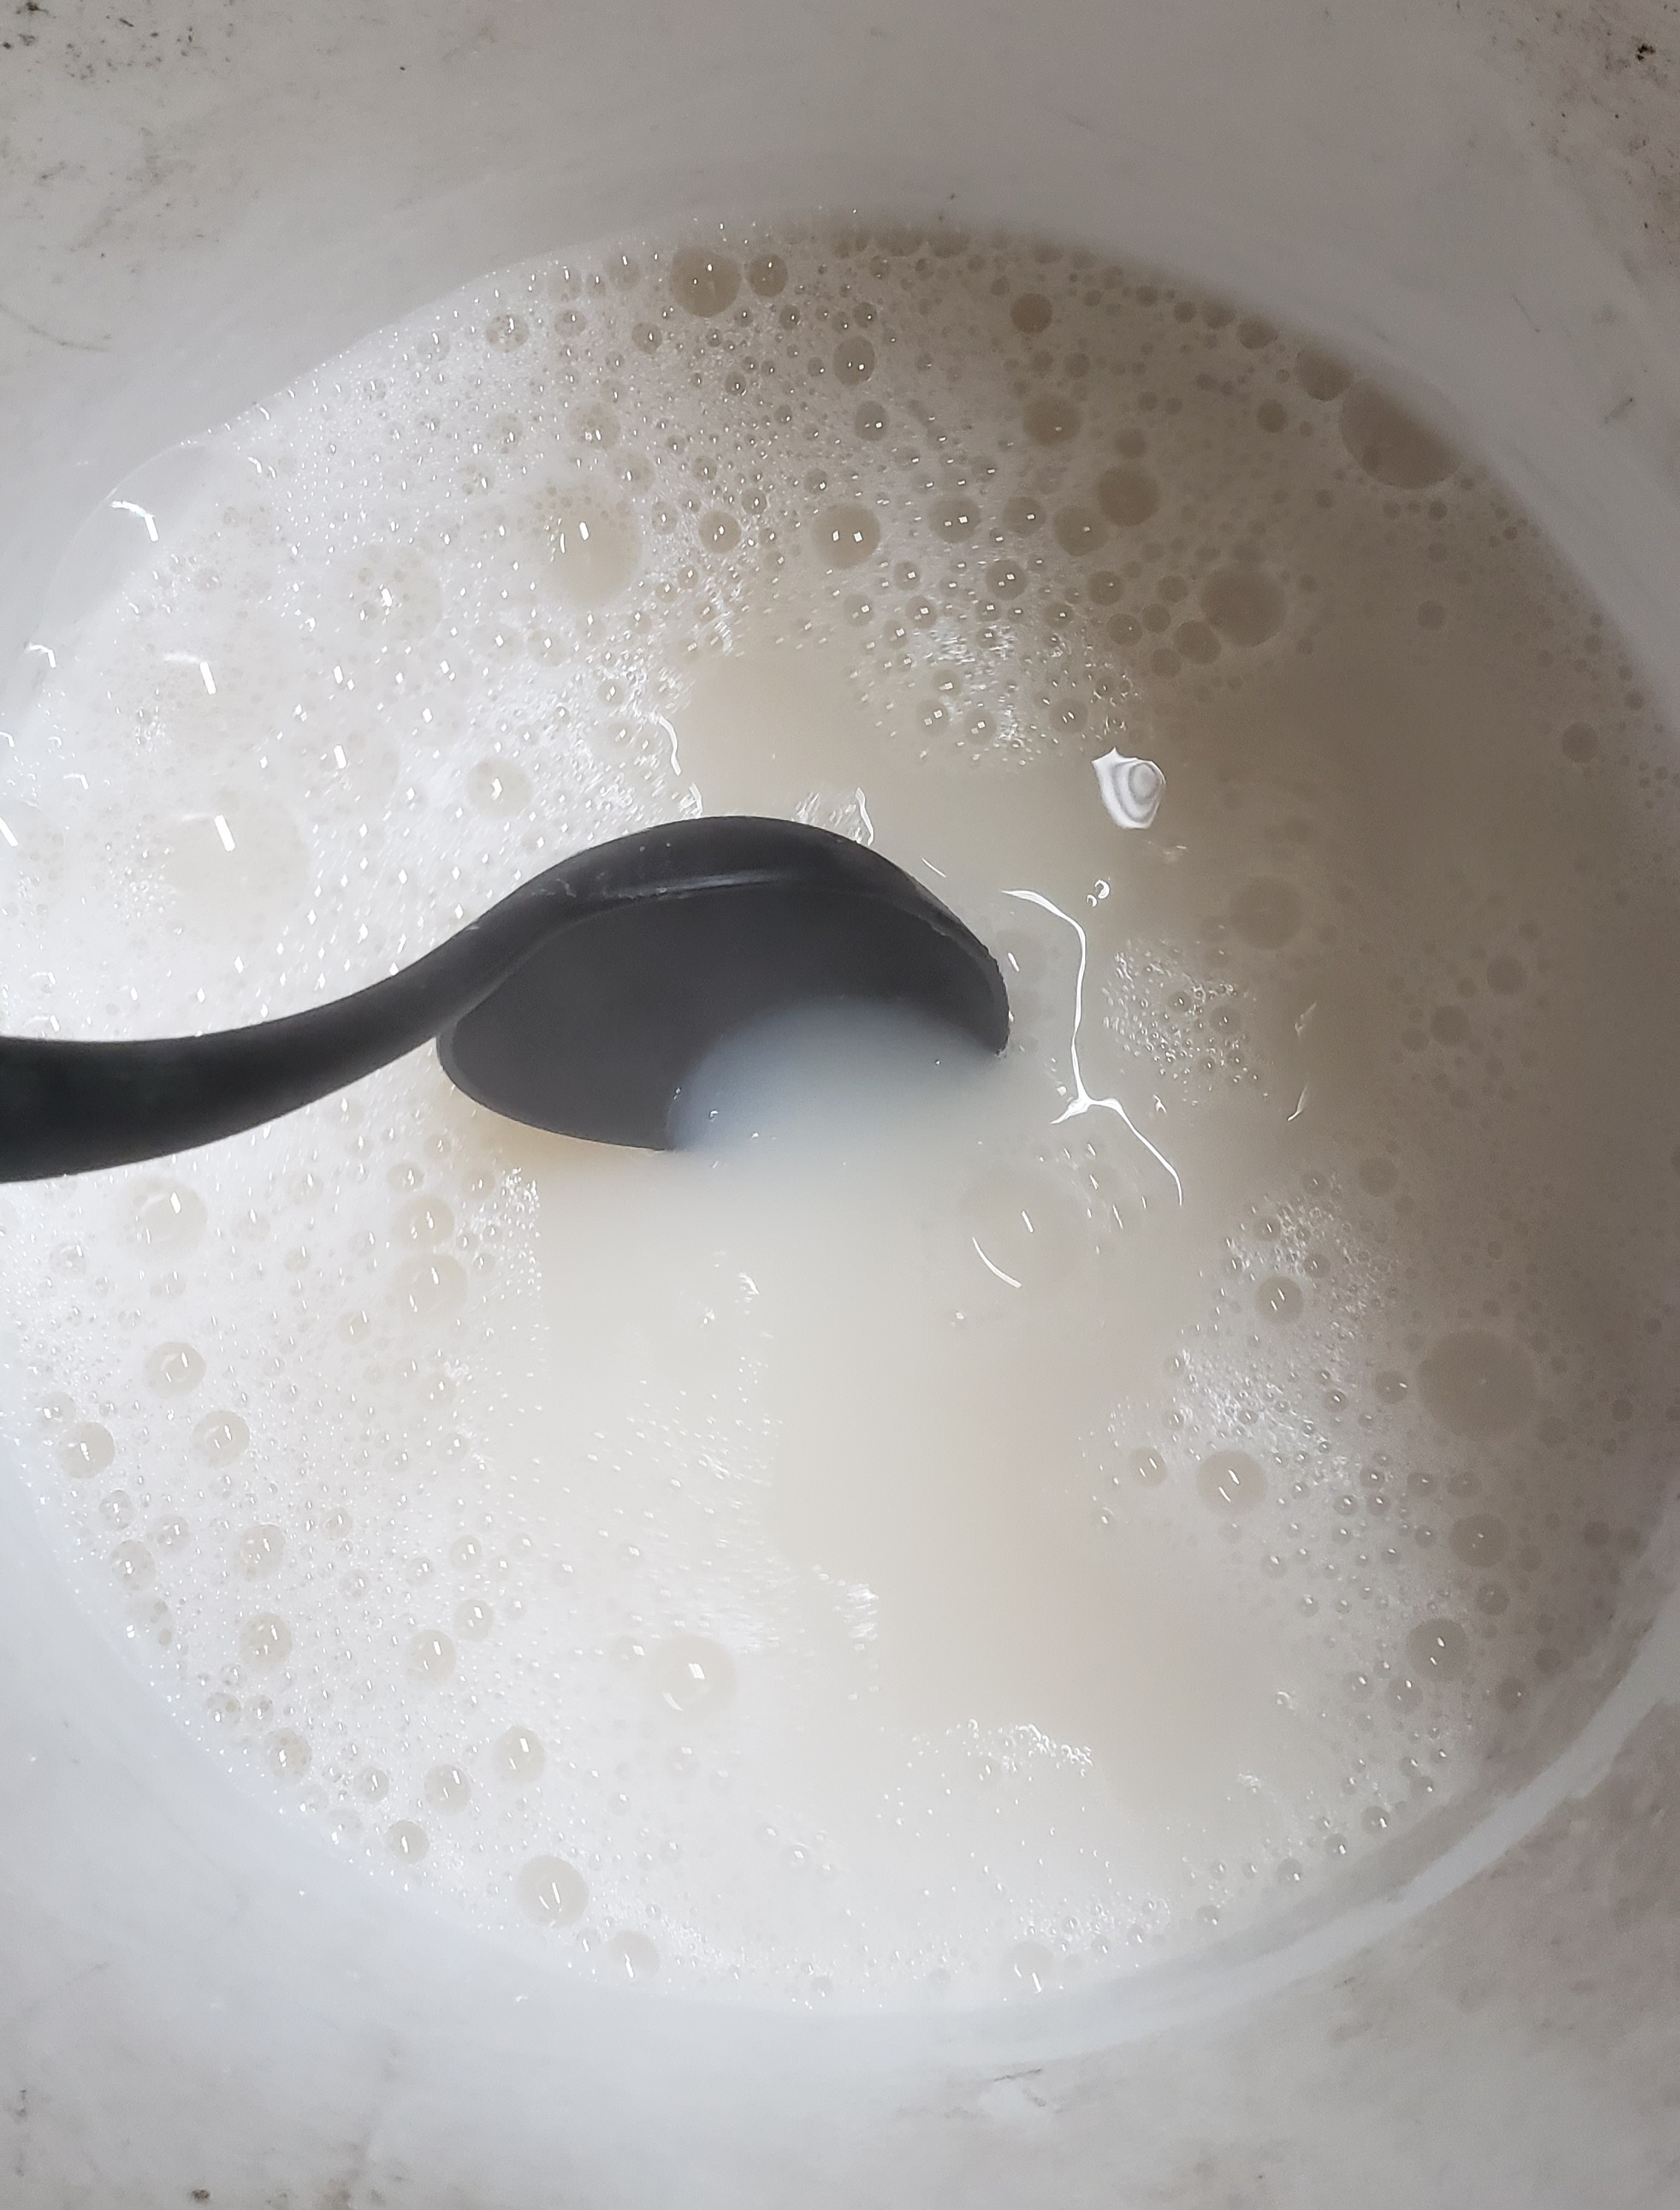
I have 3 wooly sheepskins still sitting dried from salt and alum. One at a time, I plan to dry scrape and membrane them really well, then rehydrate in a salt water bath. I’m not going to make decisions based on where I think I left off tanning this time – I’m just going to go through all the steps of my process as though I had just fleshed and salted them. So after rehydration, they’ll get a tanning dressing, softened, and smoked.

I also have 2 dried shearlings left that will get the same treatment.

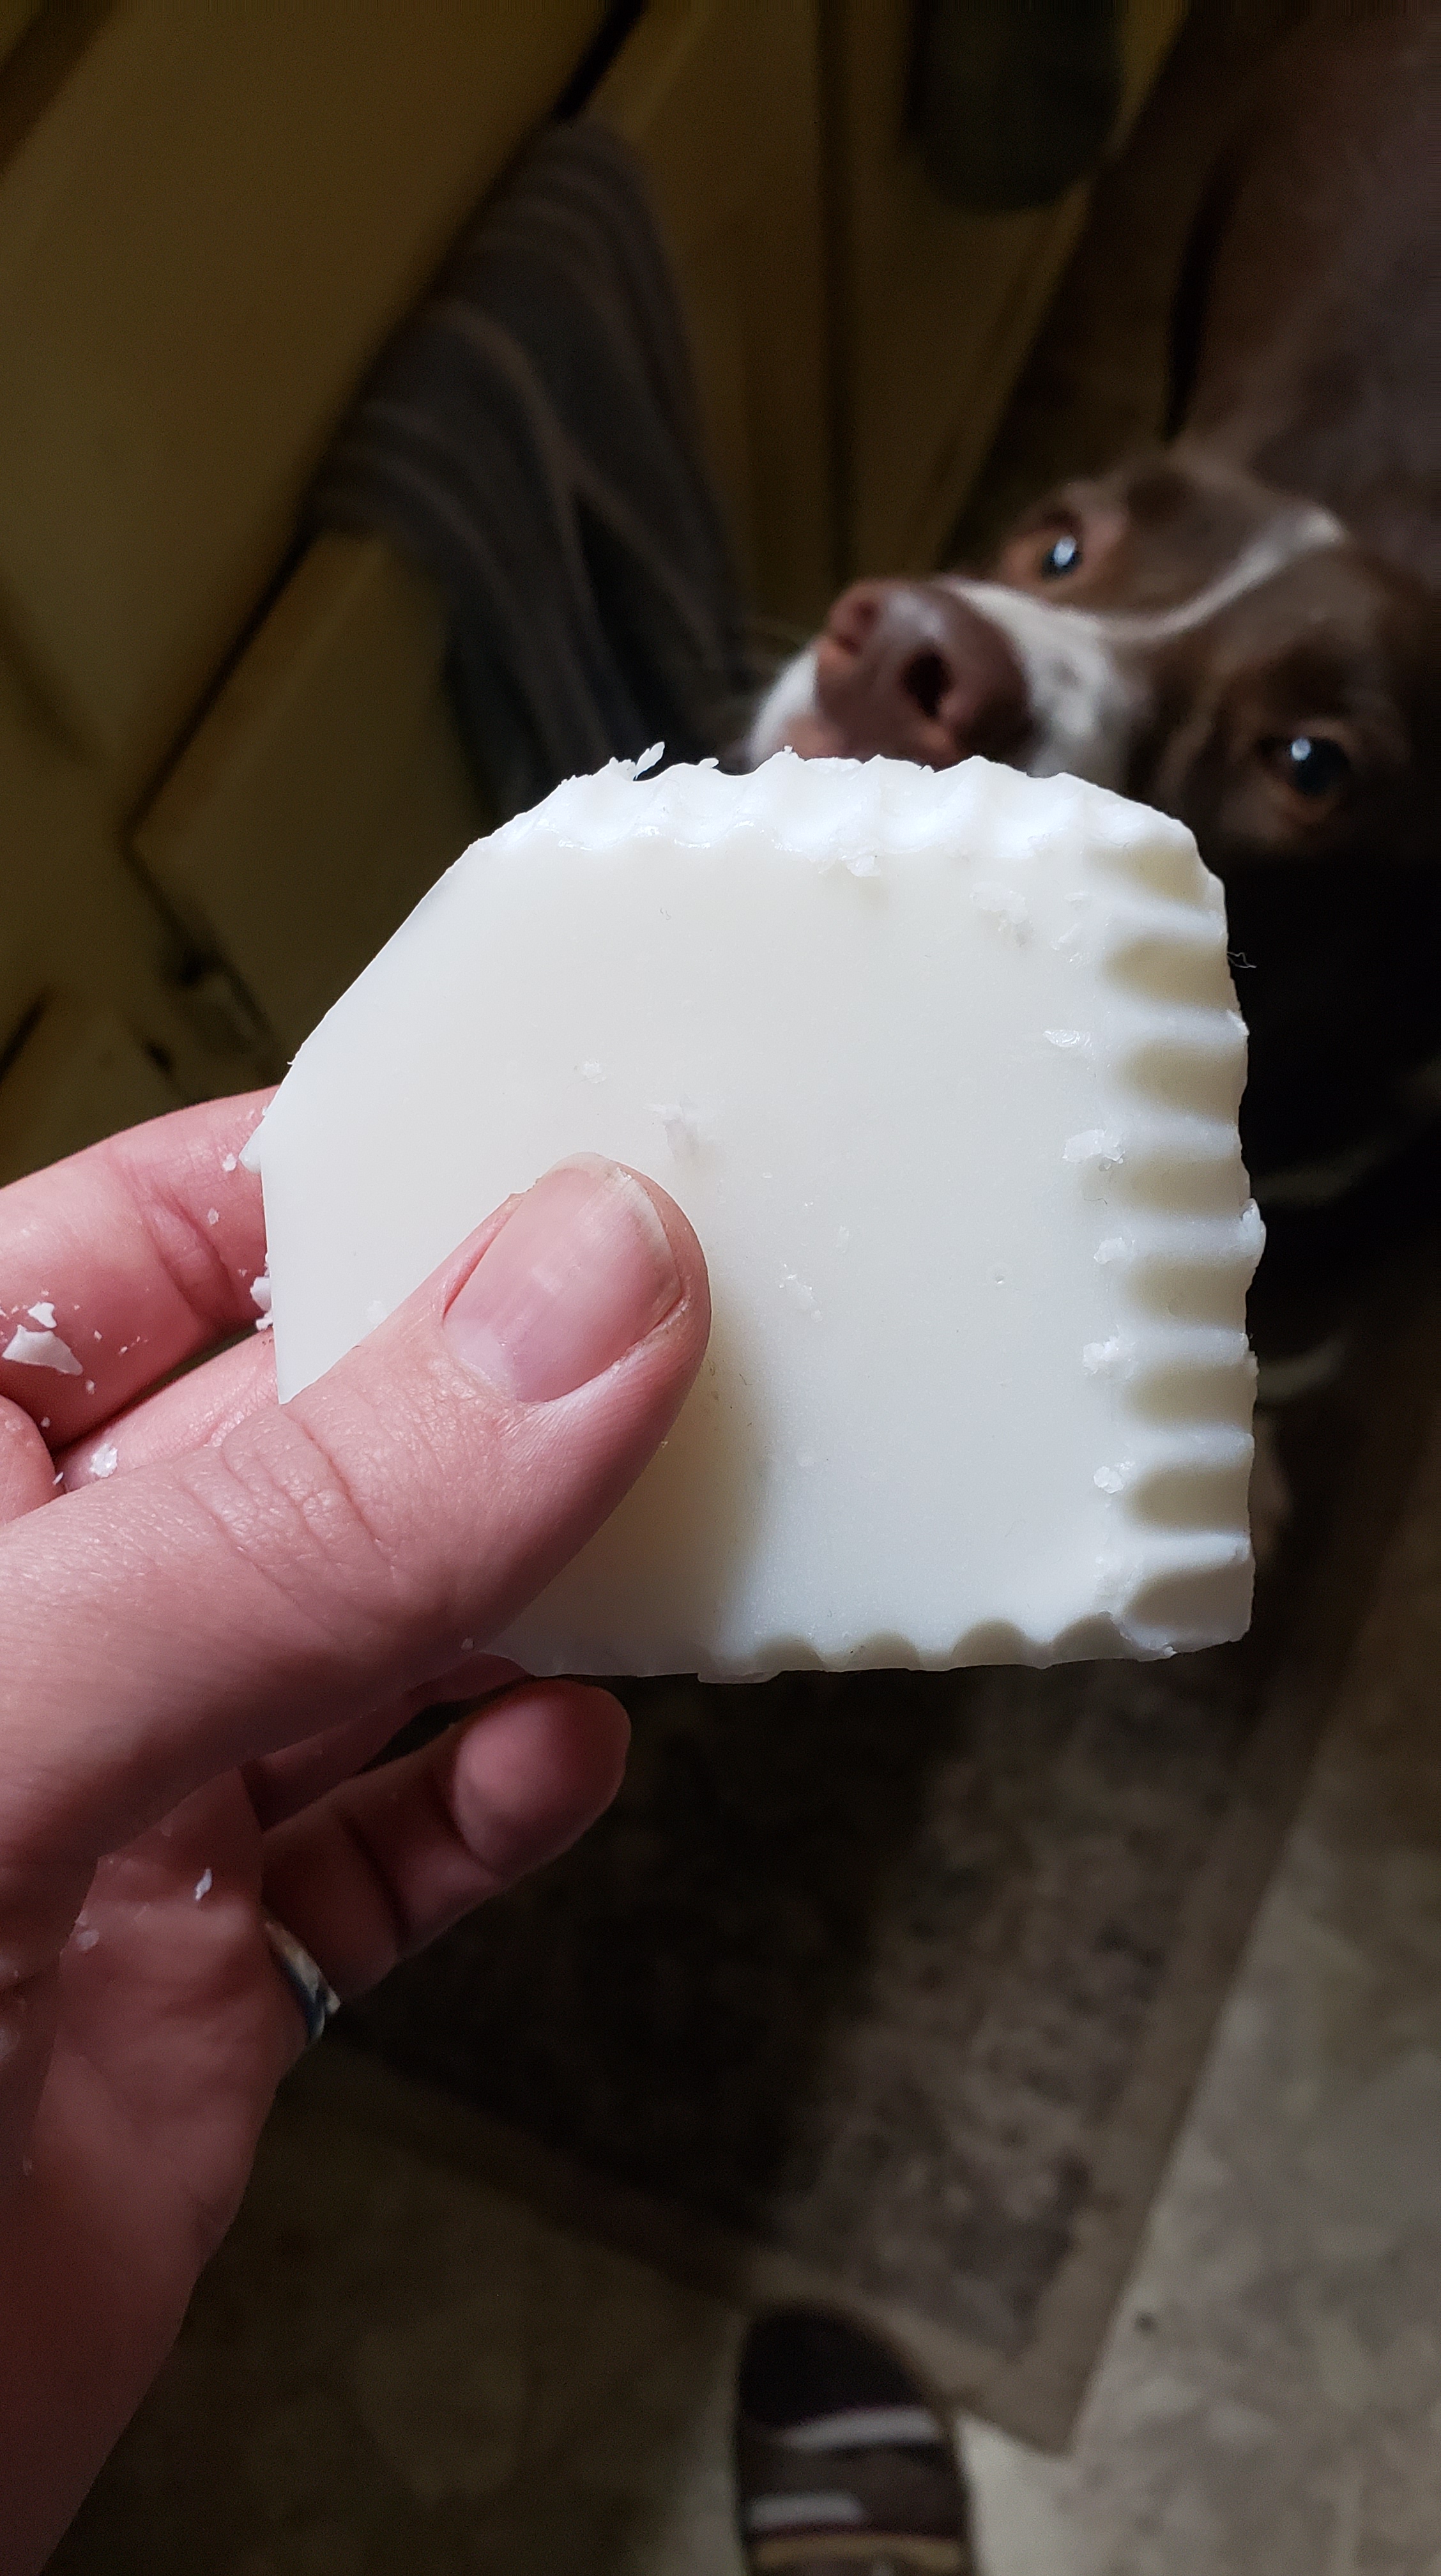
Additionally I want to experiment with vegetable tanning, AKA bark tanning. I have scraps from the skins I just processed that I can play with. More on that later.

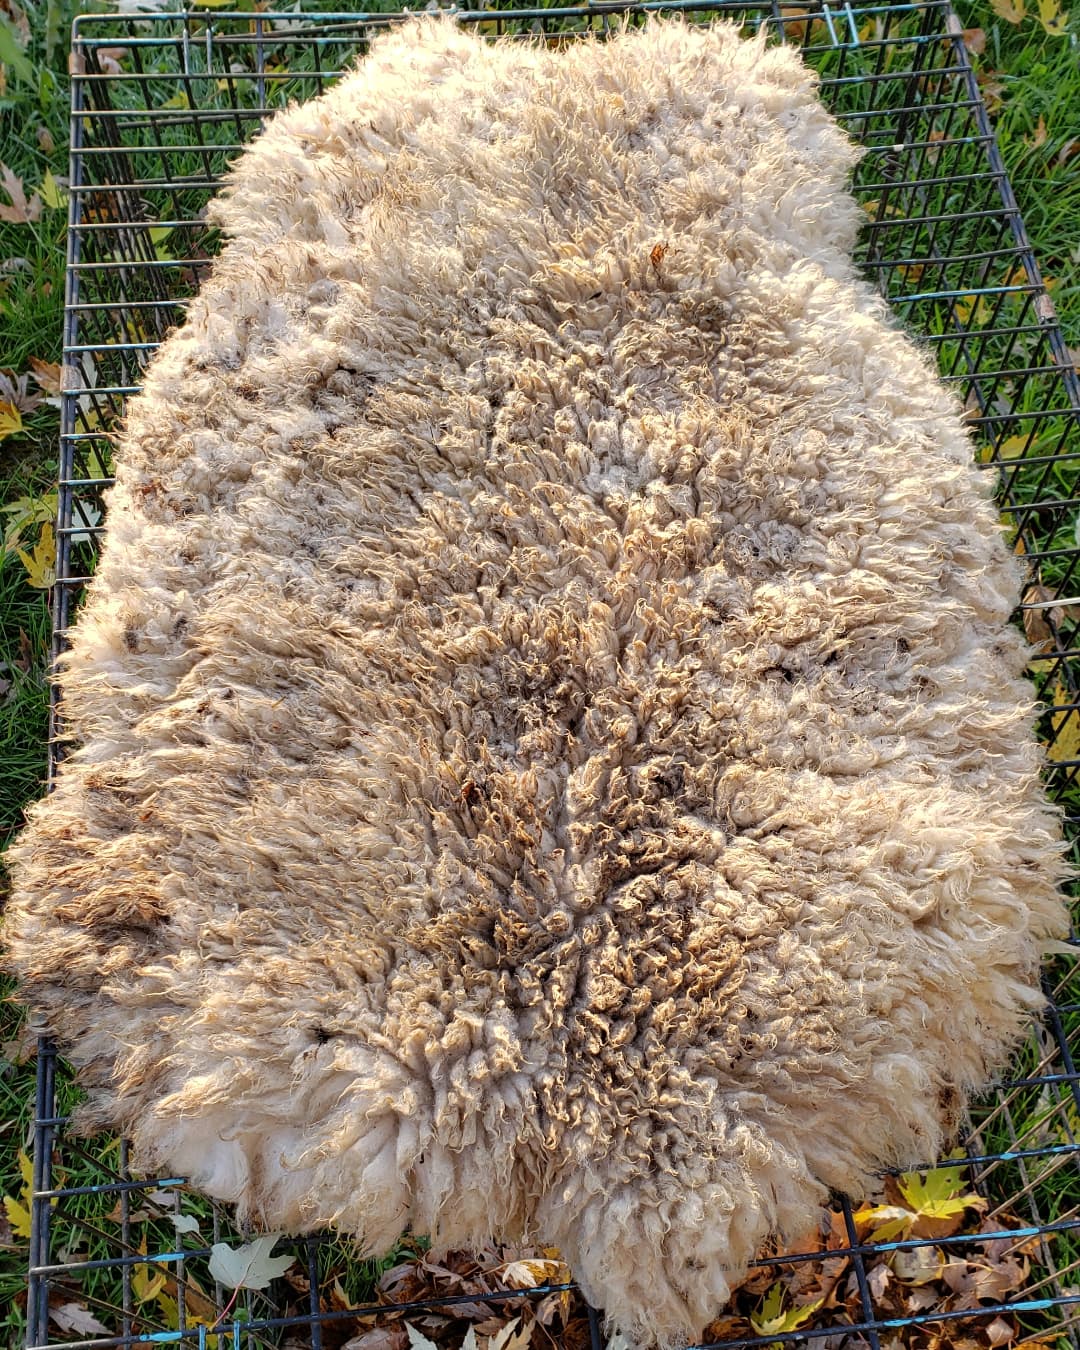
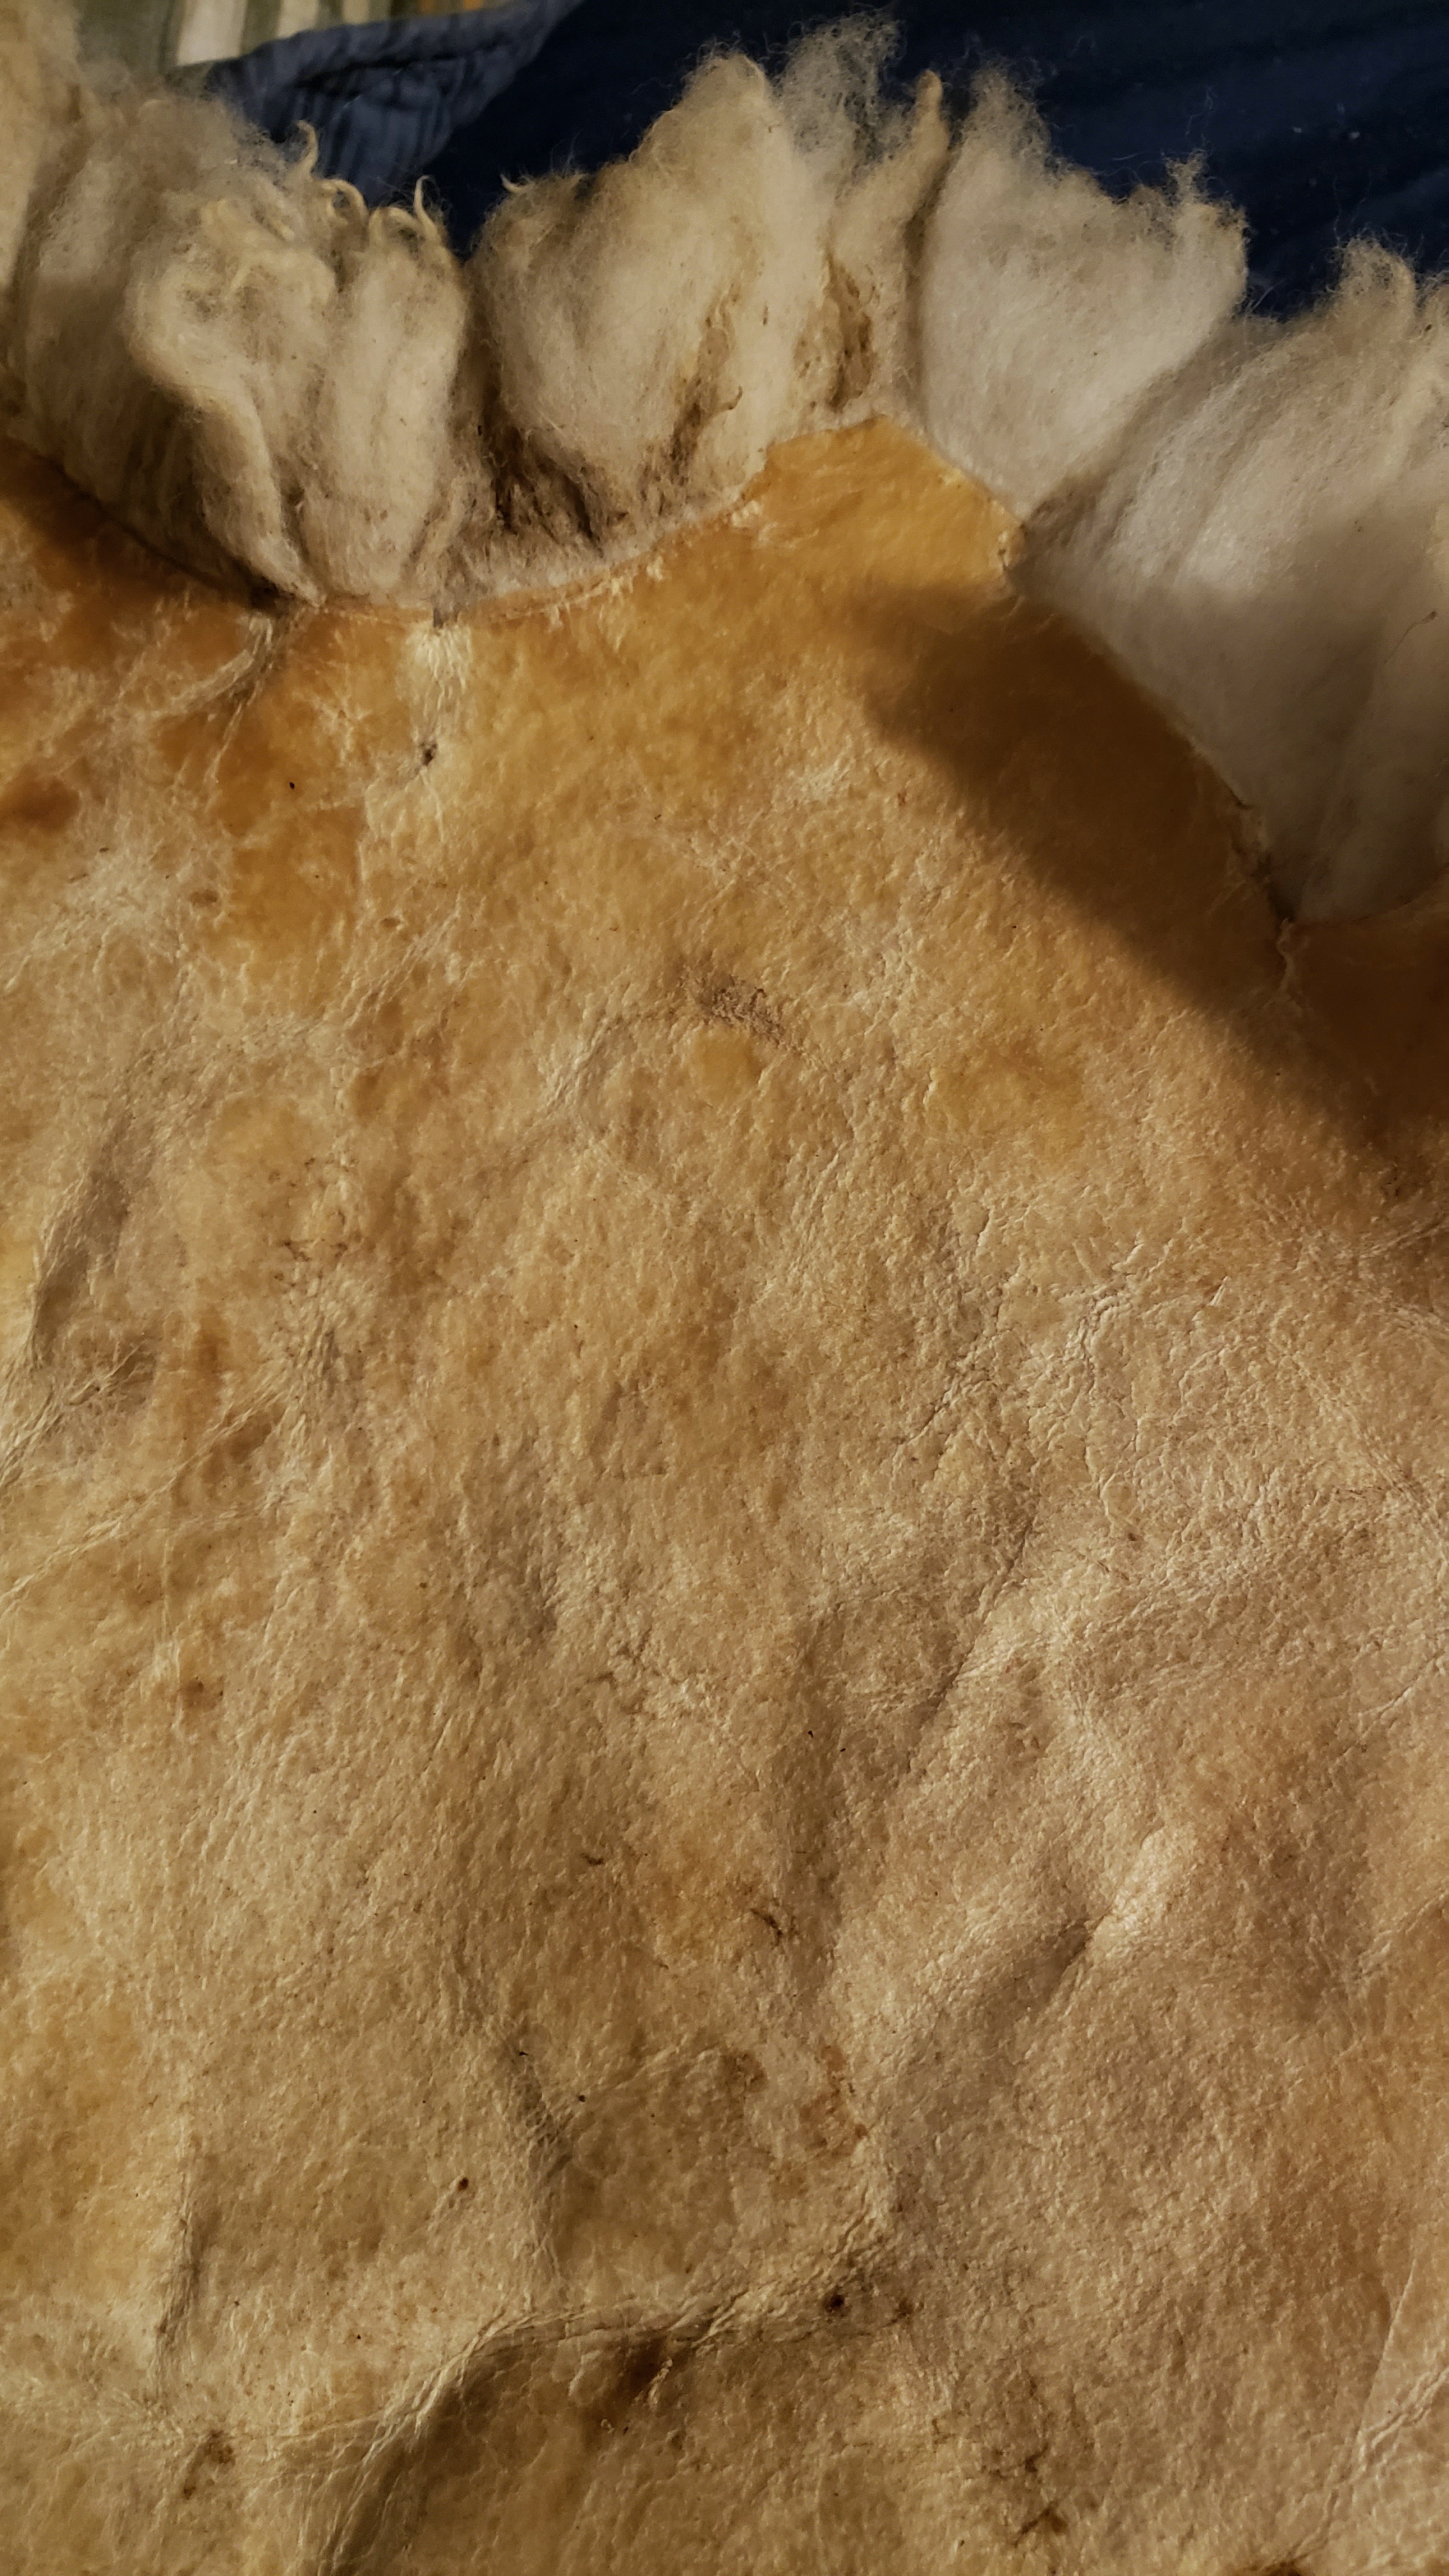
And finally, I just can’t give up on the brittle one. I mean, look at the wool!

I want to try rehydration again, and dress it again. And soften it again. Yeah, it’s a bit masochistic perhaps, but I just can’t help myself. I mean, what if it works and it comes out garment-quality? Either way, I’ll learn more.

Happy fall ya’ll- and happy beginning of the season when I can take and tan roadkill.

Blessed Samhain, and smoking skins

My muscles ache, I have new cuts on my hands, and my hair smells of woodsmoke.

I smoked the white and creamy skins, and the shearling hide today. I had forgotten how challenging it can be to get the right type of fire going for a good smoke. You want material that will give off lots of smoke and smolder rather than flame – like wet leaves, green branches, tree bark, or rotten hardwood. I used wet leaves and some old, punky silver maple from a stump that I gave up trying to split about 5 years ago because it was so twisty and knotted. Once I remembered not to add too much dry, very flammable material at once, things went pretty smoothly.

Smoking sheepskins

You’ll notice that my smoking set-up is very primitive. I haven’t mastered using a jacket and sewing the hide into a tube. I’m still doing this, years in to this craft.

I exposed them to smoke for about an hour.

Then I got to work on cleaning the fleeces up the rest of the way. Both bigger hides still had dingleberries. All three had wool tips that were just plain dirty, and the shearling had old blood around the nape.

I didn’t want to unnecessarily wet the leather, so I decided to use a spray bottle with water and a bit of free and clear detergent. I sprayed this liberally into all the problem areas and then used my hands and a pet slicker brush to get out as much debris as I could. The blood stain, long ago turned purple, on the shearling was the worst of it, and I’m not convinced I’ll ever get it out. To finish up the washing I used a watering can to rinse the fleeces with plain water.

What’s left of dirt clods and dingleberries I believe I can liberate with my wool hand cards that are arriving this week.

I hung the skins to dry in what’s becoming my new workshop (half my garage). Not much left to do but either list them for sale or decide to keep them.

I also did this today.

Sun tanning is not hide tanning

A few things have happened with my skins since last writing. Remember when I said the weather was giving me a respite? I woke up the next morning to the sound of rain; the skins were drenched! I lugged them inside to the front room of my house (slowly becoming a makeshift tannery?), covered the floor under them in newspapers, and crossed my fingers that they’d start to dry.

The real problem was that I was starting to notice that the large hide i had rehydrated and jokingly called “crispy” was just not looking right. The leather was very brown in places, and continued to look dry and brittle despite the fact i had reapplied the tanning dressing. I started to try to hand stretch the leather, and as i got towards the edges of the pelt, the leather just ripped. It was still weak and brittle.

I decided to get both the skins on some kind of frame for stretching. I pieced together a couple things from an old pallet and scraps of plywood from a flooring project.

The big creamy one

This morning I rubbed neatsfoot oil into the hide with the brittle bits and tried again to work it. Starting from the middle, I used the blunt wooden handle of my scraping tool to press in and drag across the leather. The center of the hide looks great and acted just as i expect my leather to. But again, the closer to the edges I got, the weaker the leather became, and it tore in a couple more places.

Here’s what I’ve figured out went wrong here:

Back in ’19 when I started this hide, i dressed it and put it on my stretching frame. I then got taken away from my projects by other things in my life, and this hide hung on the frame for a while without being broken or worked on. I also remember that it was in the sun for a good portion of the afternoons.

I’m pretty certain that the sun damaged and weakened the leather in its infant stages. I determined that those portions of the hide can’t reach the quality I strive for and needed to be cut away.

You can see all the little holes in the above photos. And look at the beautiful, long, crimpy wool! What a shame!

I will never, ever leave the leather side of a hide directly exposed to sun for an extended period of time again.

The good in this (besides all I’ve learned and additional experience) is that a significant portion of the pelt is just fine. It makes a cute little thing!

Here’s the good leather that’s left.

Here’s the before and after trimming.

The other hide, big and creamy, is coming along just fine. I still have her drying in the house, and would like her a bit drier before smoking.

The first shearling is done and will be smoked with the other two before I move on to the next skin.

things go right sometimes

My little daughter is asleep at my breast as I write this and I. Am. Tired. My body is remembering what it takes to do this work of tanning skins the traditional way. I’ve got a couple blisters forming on my hands where old calluses had softened. My muscles are sore and my back is stiff. It’s good though; I’m rebuilding my strength. The muscle memory is still there.

This morning I gently washed the skin in my tub (smelly). I got the whole sopping thing back outside to dry, and by this evening it didn’t look too bad.

I’m surprised at how much lanolin washed out of the wool. I’m not sure I like that, and think I’ll forego the laundry soap with the next one I wash.

I applied my tanning dressing (soap, water, and neatsfoot oil) to the big creamy wooly one; I don’t think I had done so in ’19, and I don’t think another coat will hurt anyway. Here’s that guy:

I’d like to give it just one final scrape with my blunt tool tomorrow and then smoke it. We’ll see. If the other big one actually dries I’ll feel more confident washing this one.

The weather – that I was so stressed about – has given me a bit of a reprieve. Looks like I’ve got 5 days before freezing nighttime temps.

In other news, the shearling is looking and feeling great, and I’m dreaming of sheepskin mittens. I found a pattern that I think even i can follow to success.

Membrane and Dressing

Today I worked on one of the shearling skins that I tawed and tanned in ’19. I didn’t remove all of the membrane, which is the very thin layer of peel-away epidermis on top of the skin that gets nice and smooth and soft when turned to leather. Removing the membrane is part of the fleshing and scraping/breaking/softening processes.

Since I had already applied my soap tanning solution to this hide, today I just rehydrated it a bit with pure neatsfoot oil, my fave leather conditioner and part of my tanning dressing. This was a good idea on my part as it made the leather really nice and supple.

Here’s where you can see membrane that I’m scraping away, and the slight darkening effect of the neatsfoot.

Breaking with my new antique mezzaluna

I brought my work into the garage; it was in the 40’s, meaning Minnesota is remembering herself and not going to be faffing about with this unseasonably warm weather anymore.

I also got to put a tanning dressing on a stiff, long-wooled hide today. I think this one had been tanned but not broken or softened, or smoked. If I tried to work the leather as is, my tools would have pushed right through. It was that hard and therefore brittle.

I was able to dress it with my tanning solution because I made soap last night. (I’ve written pretty extensively on Hubpages about soap-making, so I’m not going to explain it here).

To make my tanning dressing, I boil a pot of water and grate a bar of plain, unscented, handmade lard or tallow soap. When the water boils, I add the grated soap and stir.

I keep stirring with the pot on the heat until all the soap is dissolved. For those playing along at home, the mixture will be cloudy, slightly bubbly, and still water-thin at this point.

With the soap dissolved, I remove the solution from the heat and pour it into a bucket. I then immediately add a good portion of neatsfoot oil (probably 1.5 cups) and stir.

Do not judge my dirty bucket and cracked spoon, lest ye shitty containers and utensils be judged!

I stir gently until the oil, water, and soap have formed a homogenous solution. Then I stir occasionally until the whole thing cools down to room temperature or a little warmer.

Then I spread it all over the skin of the hide! I let this soak in until the skin is opaque; could be a day or two. I might apply more as time goes on. It depends how things are looking.

For the hide I’m doing now, I think it’ll only need to sit with the dressing overnight. I did my best to work it into the dry leather. We’ll see if it works to get the skin back to a state I can do something with. If it doesn’t, I feel pretty shrug about it. I have other skins.

Here’s the shearling after oiling but before I took the mezzaluna to it.

It’ll be nice when it’s done. I’m not sure if I’ll put it up for sale or try to make something out of it.

Also, I haven’t forgotten about big and wooly! That sheepskin is needing its dressing and smoking, but honestly I wanted to test this tanning dressing on a hide I care less about first, since I haven’t made it in a while. If all goes well, I’ll be smoking the big one, the shearling, and maybe even the un-stiffened one sometime this week.

Alum & Tawing

I’ve mentioned “tawing” and “alum” here a few times, and it occurred to me that it might be helpful if I explain what the hell I’m talking about.

Alum is a naturally occurring mineral, a salt of aluminum. Specifically, it’s aluminum sulfate. Alum is not chrome or chromium! A Google search will tell you that alum is used for pickling and food preservation, as well as making leather. Historically it was also used to leaven bread.

When alum is used for leather-making, the process is called tawing. This is mineral tanning, which is one of the most ancient forms of tanning. Purists will probably argue that it’s “not really tanning” – I don’t totally disagree, but would point out that’s why the process has a different name.

I was taught about using alum on fur-on animal skins by the leather-maker at Colonial Williamsburg, who was a friend of my husband, in 2010.

I’ve heard it said that tawing produces stiff, hard leather. This is only true if you don’t work and stretch the hide as it dries, which is true of tanning with soap, bark, oil, egg, or brain as well!

When I do large hides (sheep, goat, or deer vs. rabbit or raccoon) I first taw the skin in alum and salt. Then after rinsing with clean water, I apply my soap and oil solution to the wet skin to tan it. I realize this sounds like overkill or a double process, but once I started tawing before tanning I never had the dreaded hair, fur, or wool slippage again!

For small pelts I’ll often just taw them by soaking in a strong pickling solution of alum and salt, and then hand-stretching as they dry. It’s so easy to do lots of small skins this way, and the leather can be further softened and darkened with neatsfoot oil.

I’ll do more of these “resource” posts as I go.