Ew. I really didn’t want to have to do this, but I’ve got to start getting these hides clean and I’m racing against the change of seasons. It’s already well below freezing at night now, so I can’t soak them outside. And soon, it won’t get above freezing during the day, so I’ll have nowhere to dry them.
The sheepskin in my bathtub is the one I coated with my tanning dressing last night – the crispy, brittle one. I reapplied it during the day today (sorry I didn’t get to take pictures; I have to steal moments for this kind of stuff because I have a 4-month-old).
The dressing didn’t save the hide. Not all of it, anyway. The edges are too brittle in places, and even with rehydration and using a blunt tool, I tore right through in a few spots while trying to break it. I think I’ll have to lose the right hind leg, both side pieces, and most of the nape, plus all edges. It’s a shame – I took off the legs and shaped this hide pretty perfectly.
This is what happens if you tan a skin but don’t break it. You can’t just slap brains or soap mixture or eggs (or store bought, commercial tanning bullshit) on a skin and call it tanned. You have to force the skin into being leather. It takes work.
So, in light of this setback, and the weather closing in on me, the plan now is to wash and dry each skin, and get a coat of soap & oil on them before they dry. I’ll have to work quickly and do a little each day.
Washing them in my bathtub isn’t ideal, but at least I can still dry them outside.
Not my favorite day of tanning. It’s disappointing when the tan doesn’t go right, especially, for me anyway, when the skin becomes brittle and you can’t do anything with it but rip it. But, for everything that doesn’t go right I learn more. I try to remember that I have the luxury of modernity and can afford to make mistakes with resources like this. Our ancestors couldn’t.
Today I worked on one of the shearling skins that I tawed and tanned in ’19. I didn’t remove all of the membrane, which is the very thin layer of peel-away epidermis on top of the skin that gets nice and smooth and soft when turned to leather. Removing the membrane is part of the fleshing and scraping/breaking/softening processes.
Since I had already applied my soap tanning solution to this hide, today I just rehydrated it a bit with pure neatsfoot oil, my fave leather conditioner and part of my tanning dressing. This was a good idea on my part as it made the leather really nice and supple.
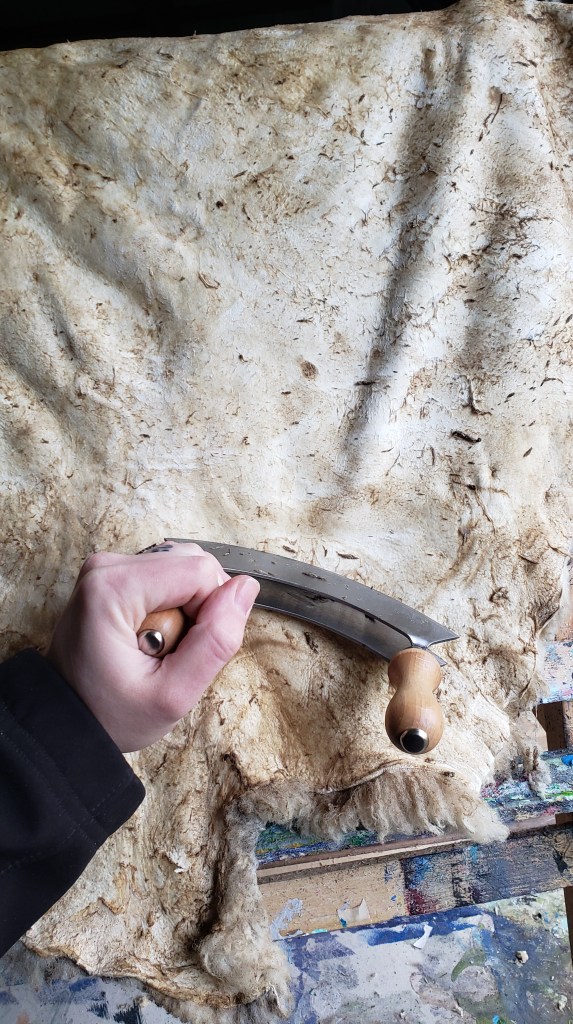
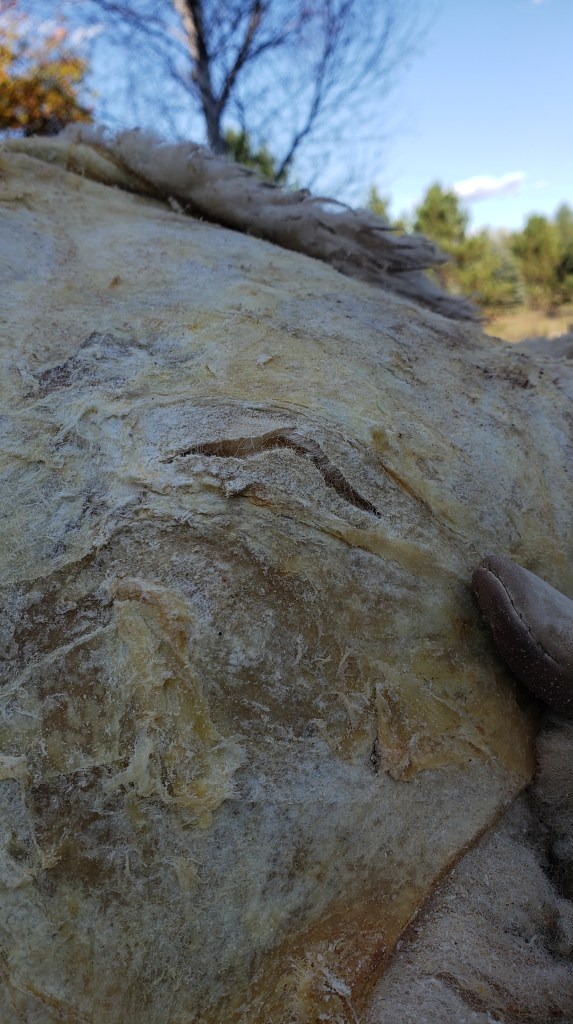
Here’s where you can see membrane that I’m scraping away, and the slight darkening effect of the neatsfoot.
Breaking with my new antique mezzaluna
I brought my work into the garage; it was in the 40’s, meaning Minnesota is remembering herself and not going to be faffing about with this unseasonably warm weather anymore.
I also got to put a tanning dressing on a stiff, long-wooled hide today. I think this one had been tanned but not broken or softened, or smoked. If I tried to work the leather as is, my tools would have pushed right through. It was that hard and therefore brittle.
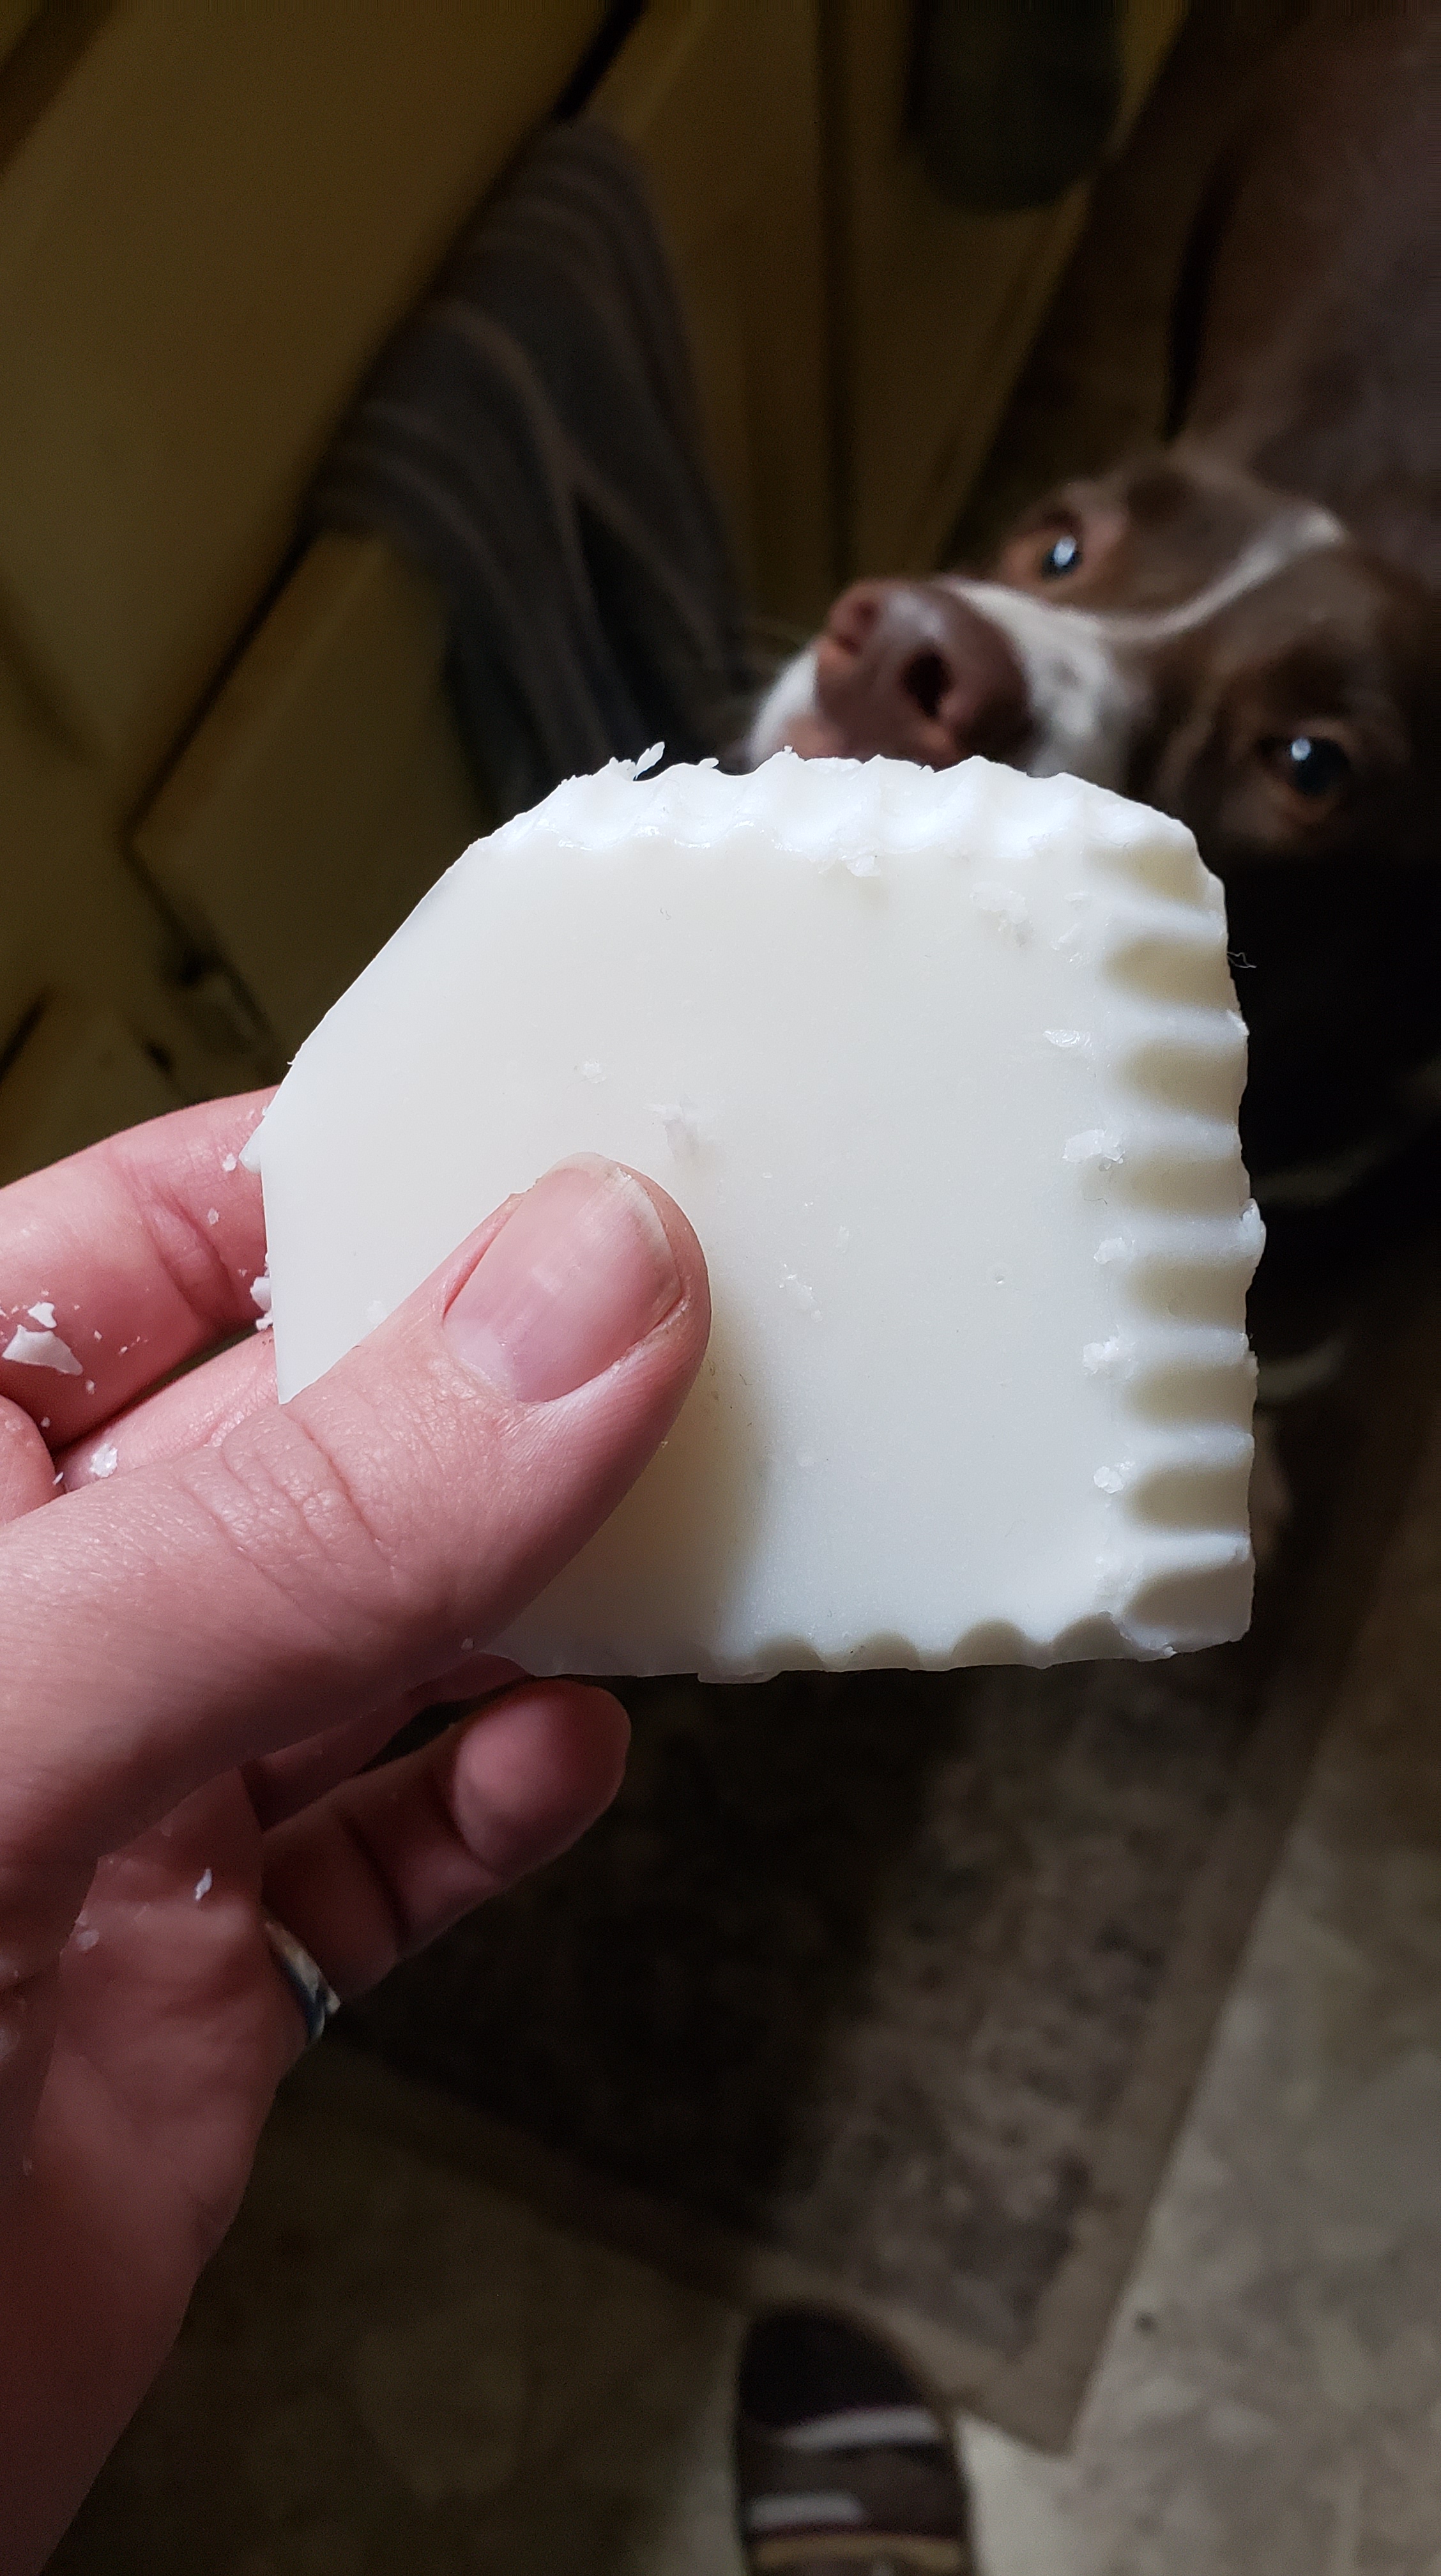
I was able to dress it with my tanning solution because I made soap last night. (I’ve written pretty extensively on Hubpages about soap-making, so I’m not going to explain it here).
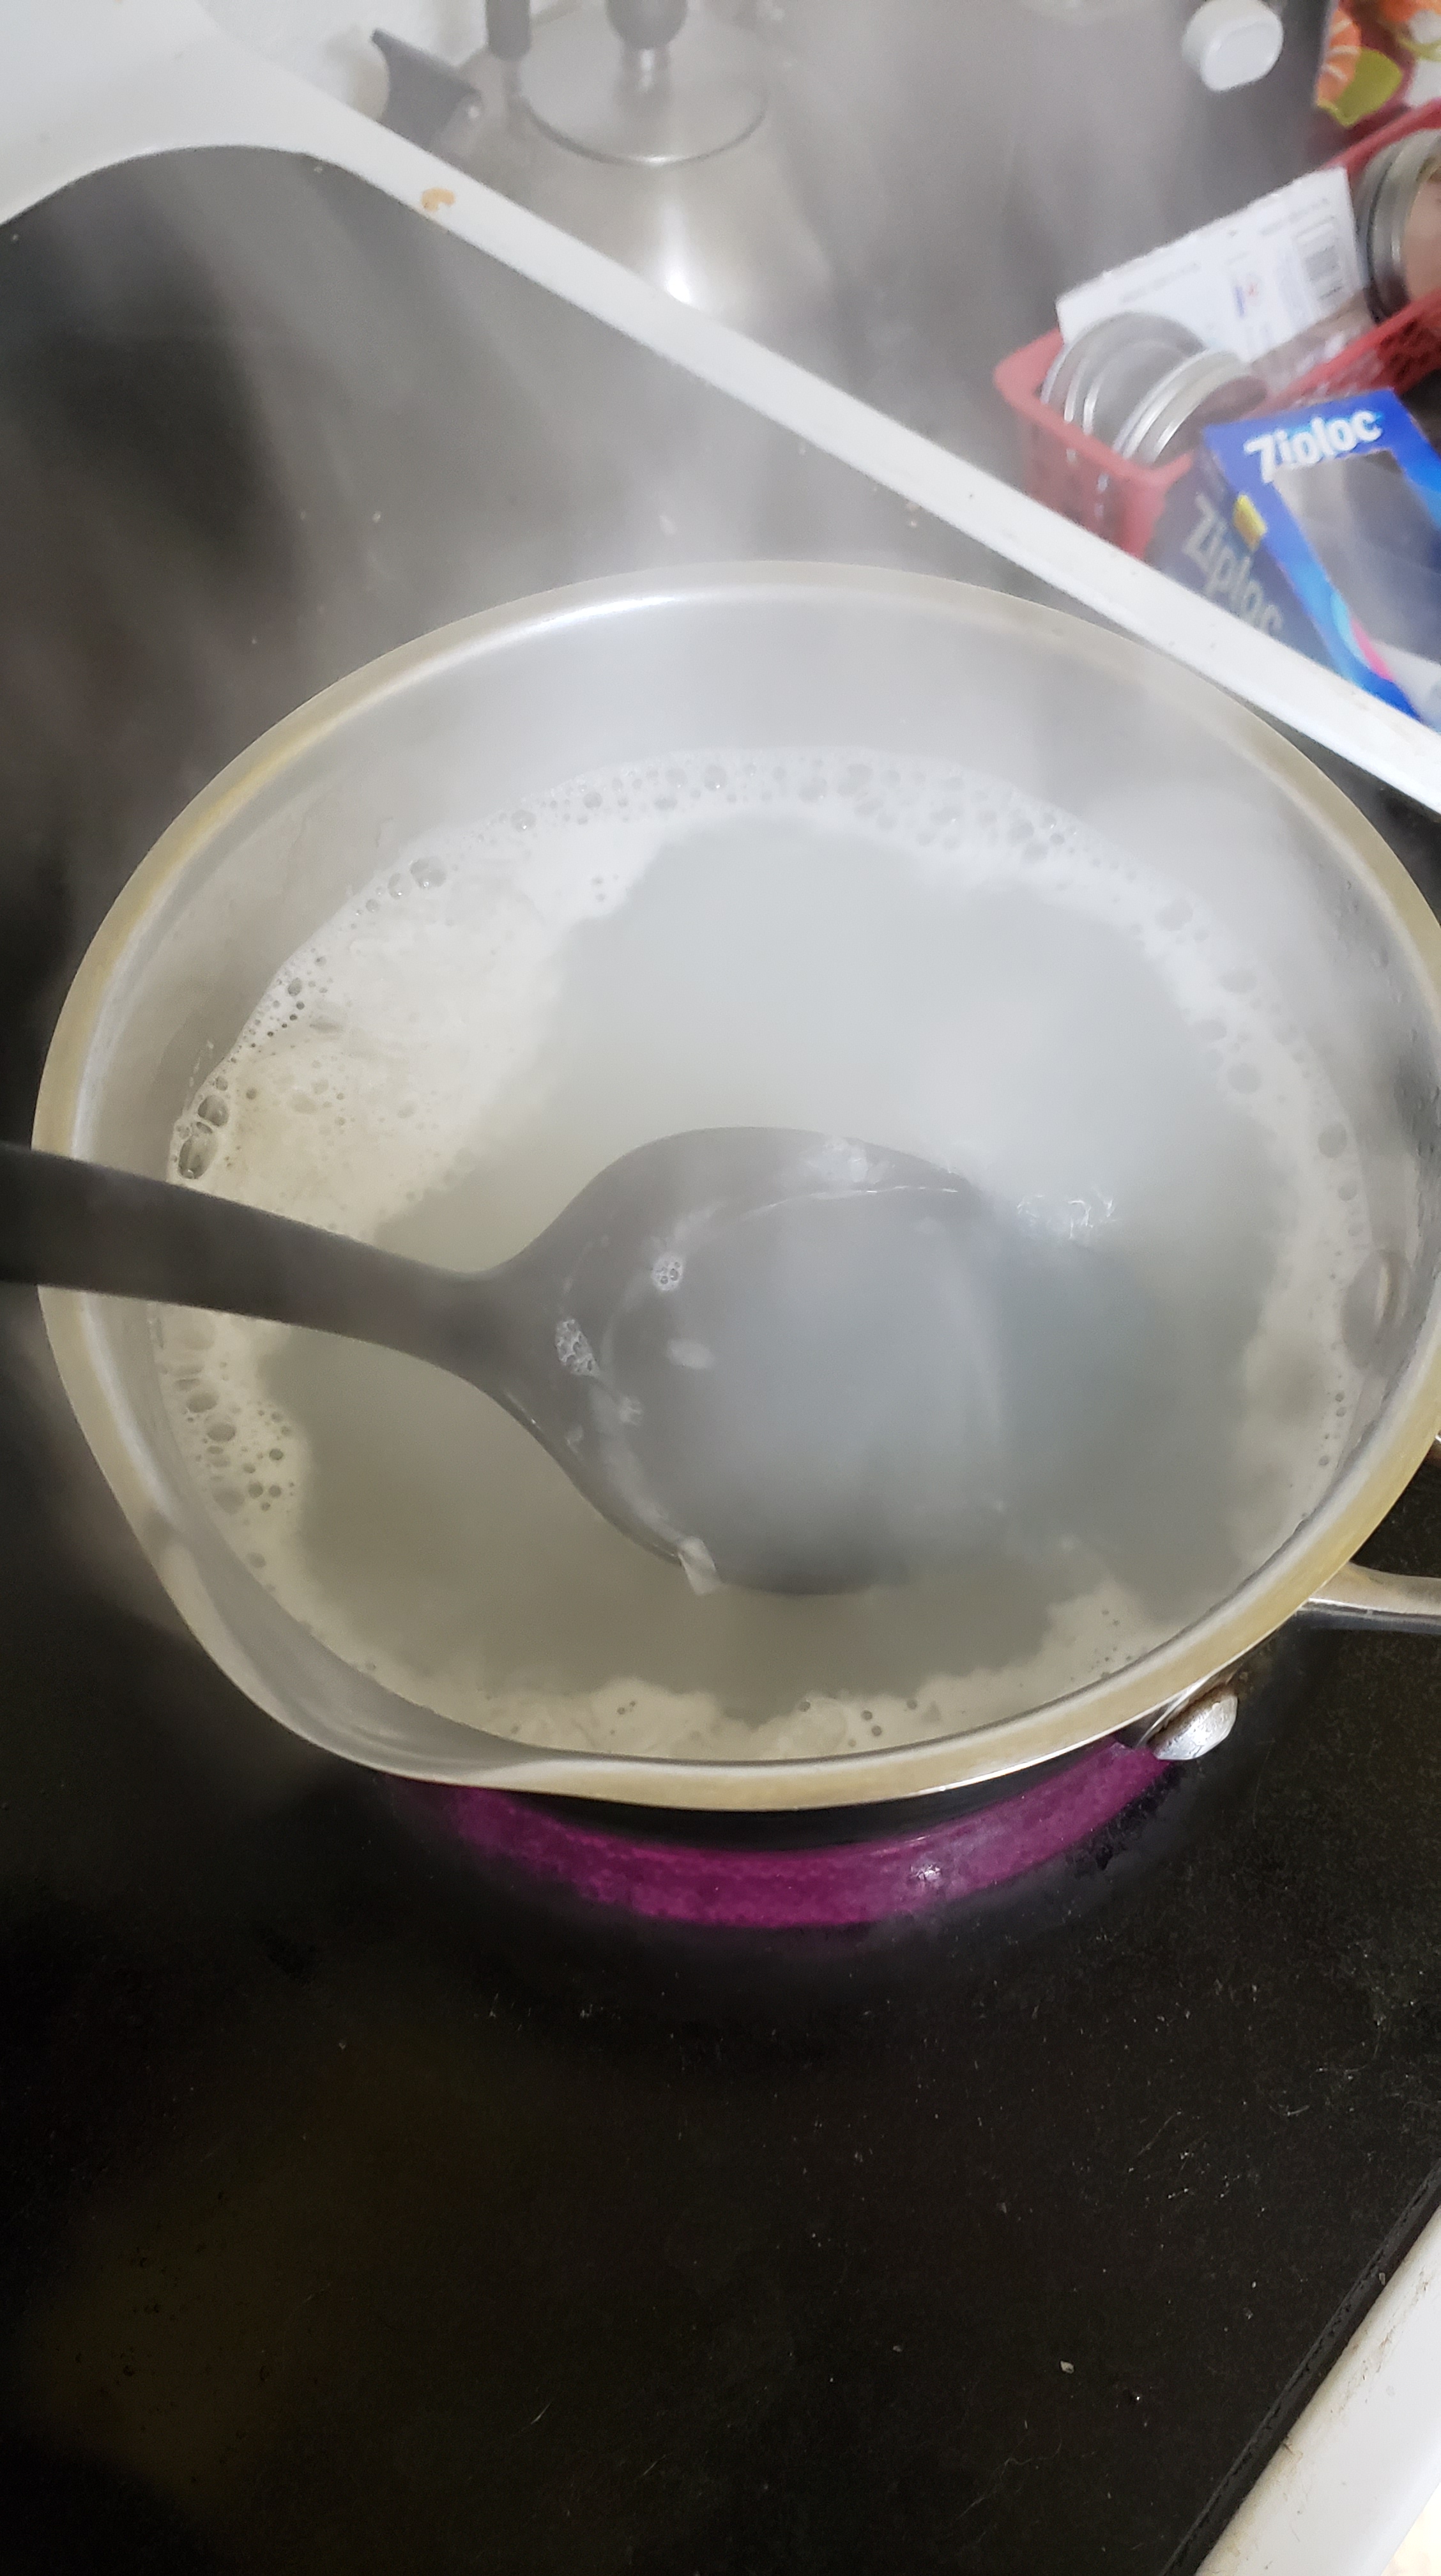
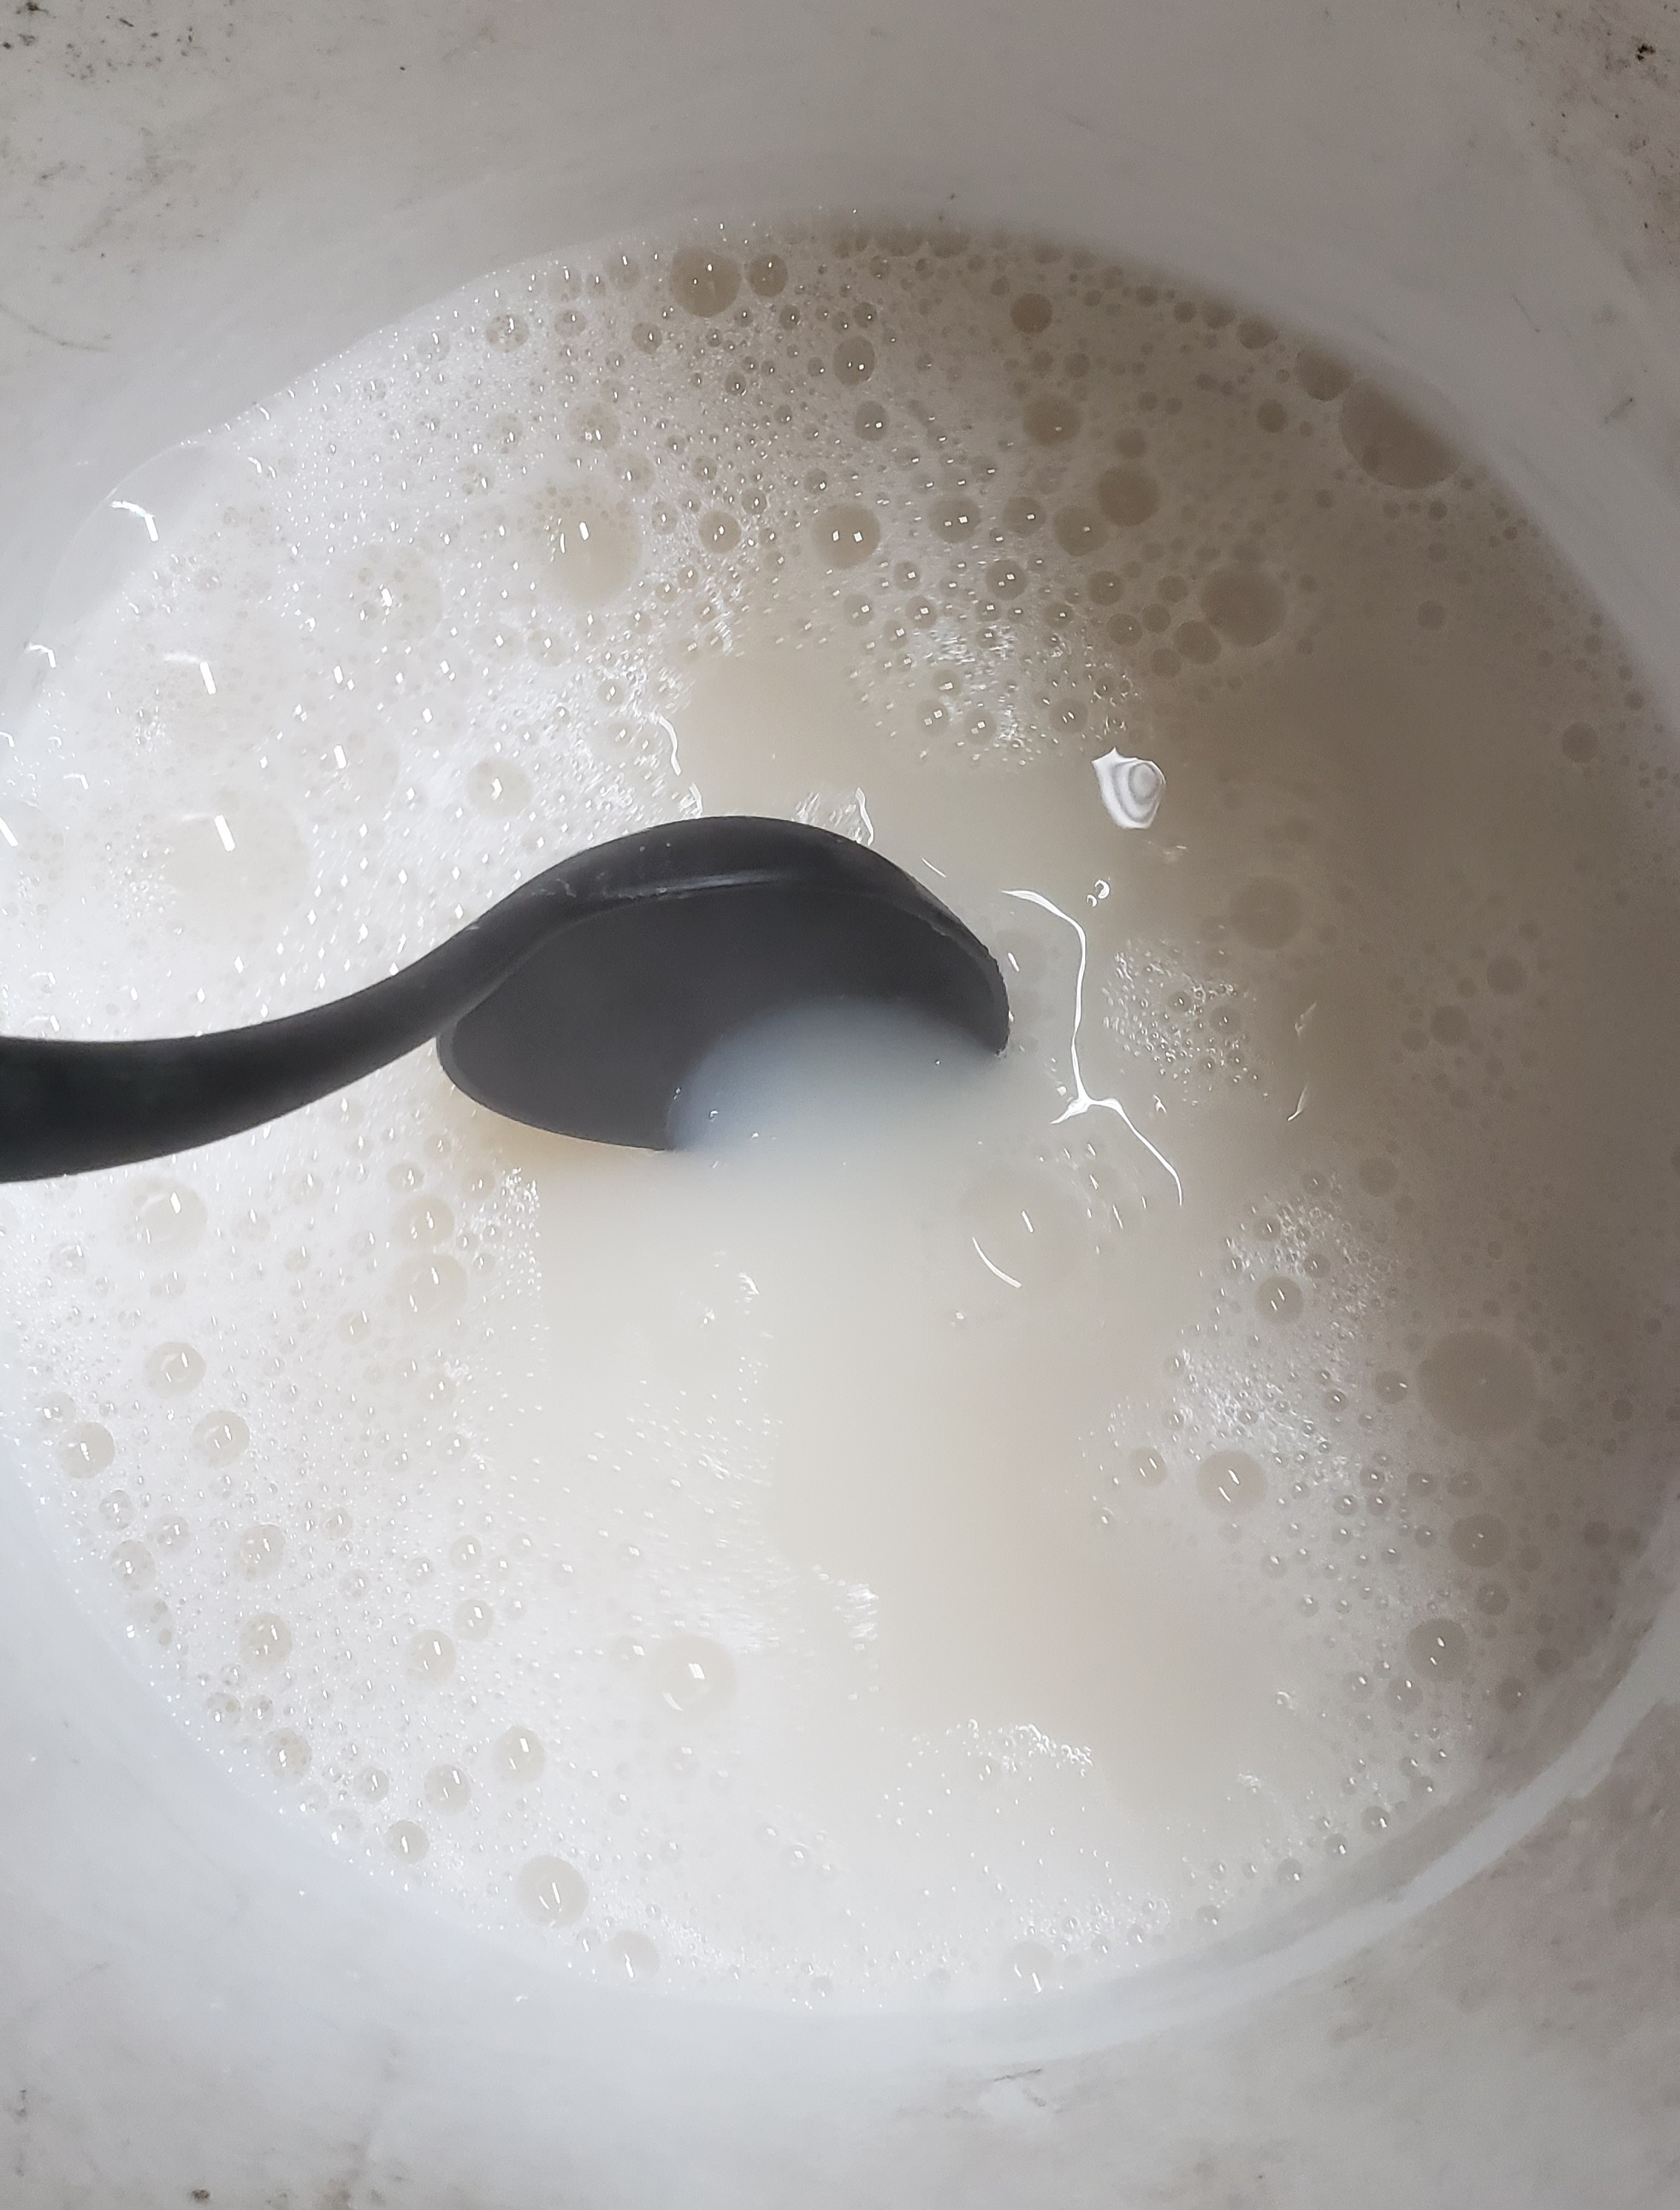
To make my tanning dressing, I boil a pot of water and grate a bar of plain, unscented, handmade lard or tallow soap. When the water boils, I add the grated soap and stir.
I keep stirring with the pot on the heat until all the soap is dissolved. For those playing along at home, the mixture will be cloudy, slightly bubbly, and still water-thin at this point.
With the soap dissolved, I remove the solution from the heat and pour it into a bucket. I then immediately add a good portion of neatsfoot oil (probably 1.5 cups) and stir.
Do not judge my dirty bucket and cracked spoon, lest ye shitty containers and utensils be judged!
I stir gently until the oil, water, and soap have formed a homogenous solution. Then I stir occasionally until the whole thing cools down to room temperature or a little warmer.
Then I spread it all over the skin of the hide! I let this soak in until the skin is opaque; could be a day or two. I might apply more as time goes on. It depends how things are looking.
For the hide I’m doing now, I think it’ll only need to sit with the dressing overnight. I did my best to work it into the dry leather. We’ll see if it works to get the skin back to a state I can do something with. If it doesn’t, I feel pretty shrug about it. I have other skins.
Here’s the shearling after oiling but before I took the mezzaluna to it.
It’ll be nice when it’s done. I’m not sure if I’ll put it up for sale or try to make something out of it.
Also, I haven’t forgotten about big and wooly! That sheepskin is needing its dressing and smoking, but honestly I wanted to test this tanning dressing on a hide I care less about first, since I haven’t made it in a while. If all goes well, I’ll be smoking the big one, the shearling, and maybe even the un-stiffened one sometime this week.
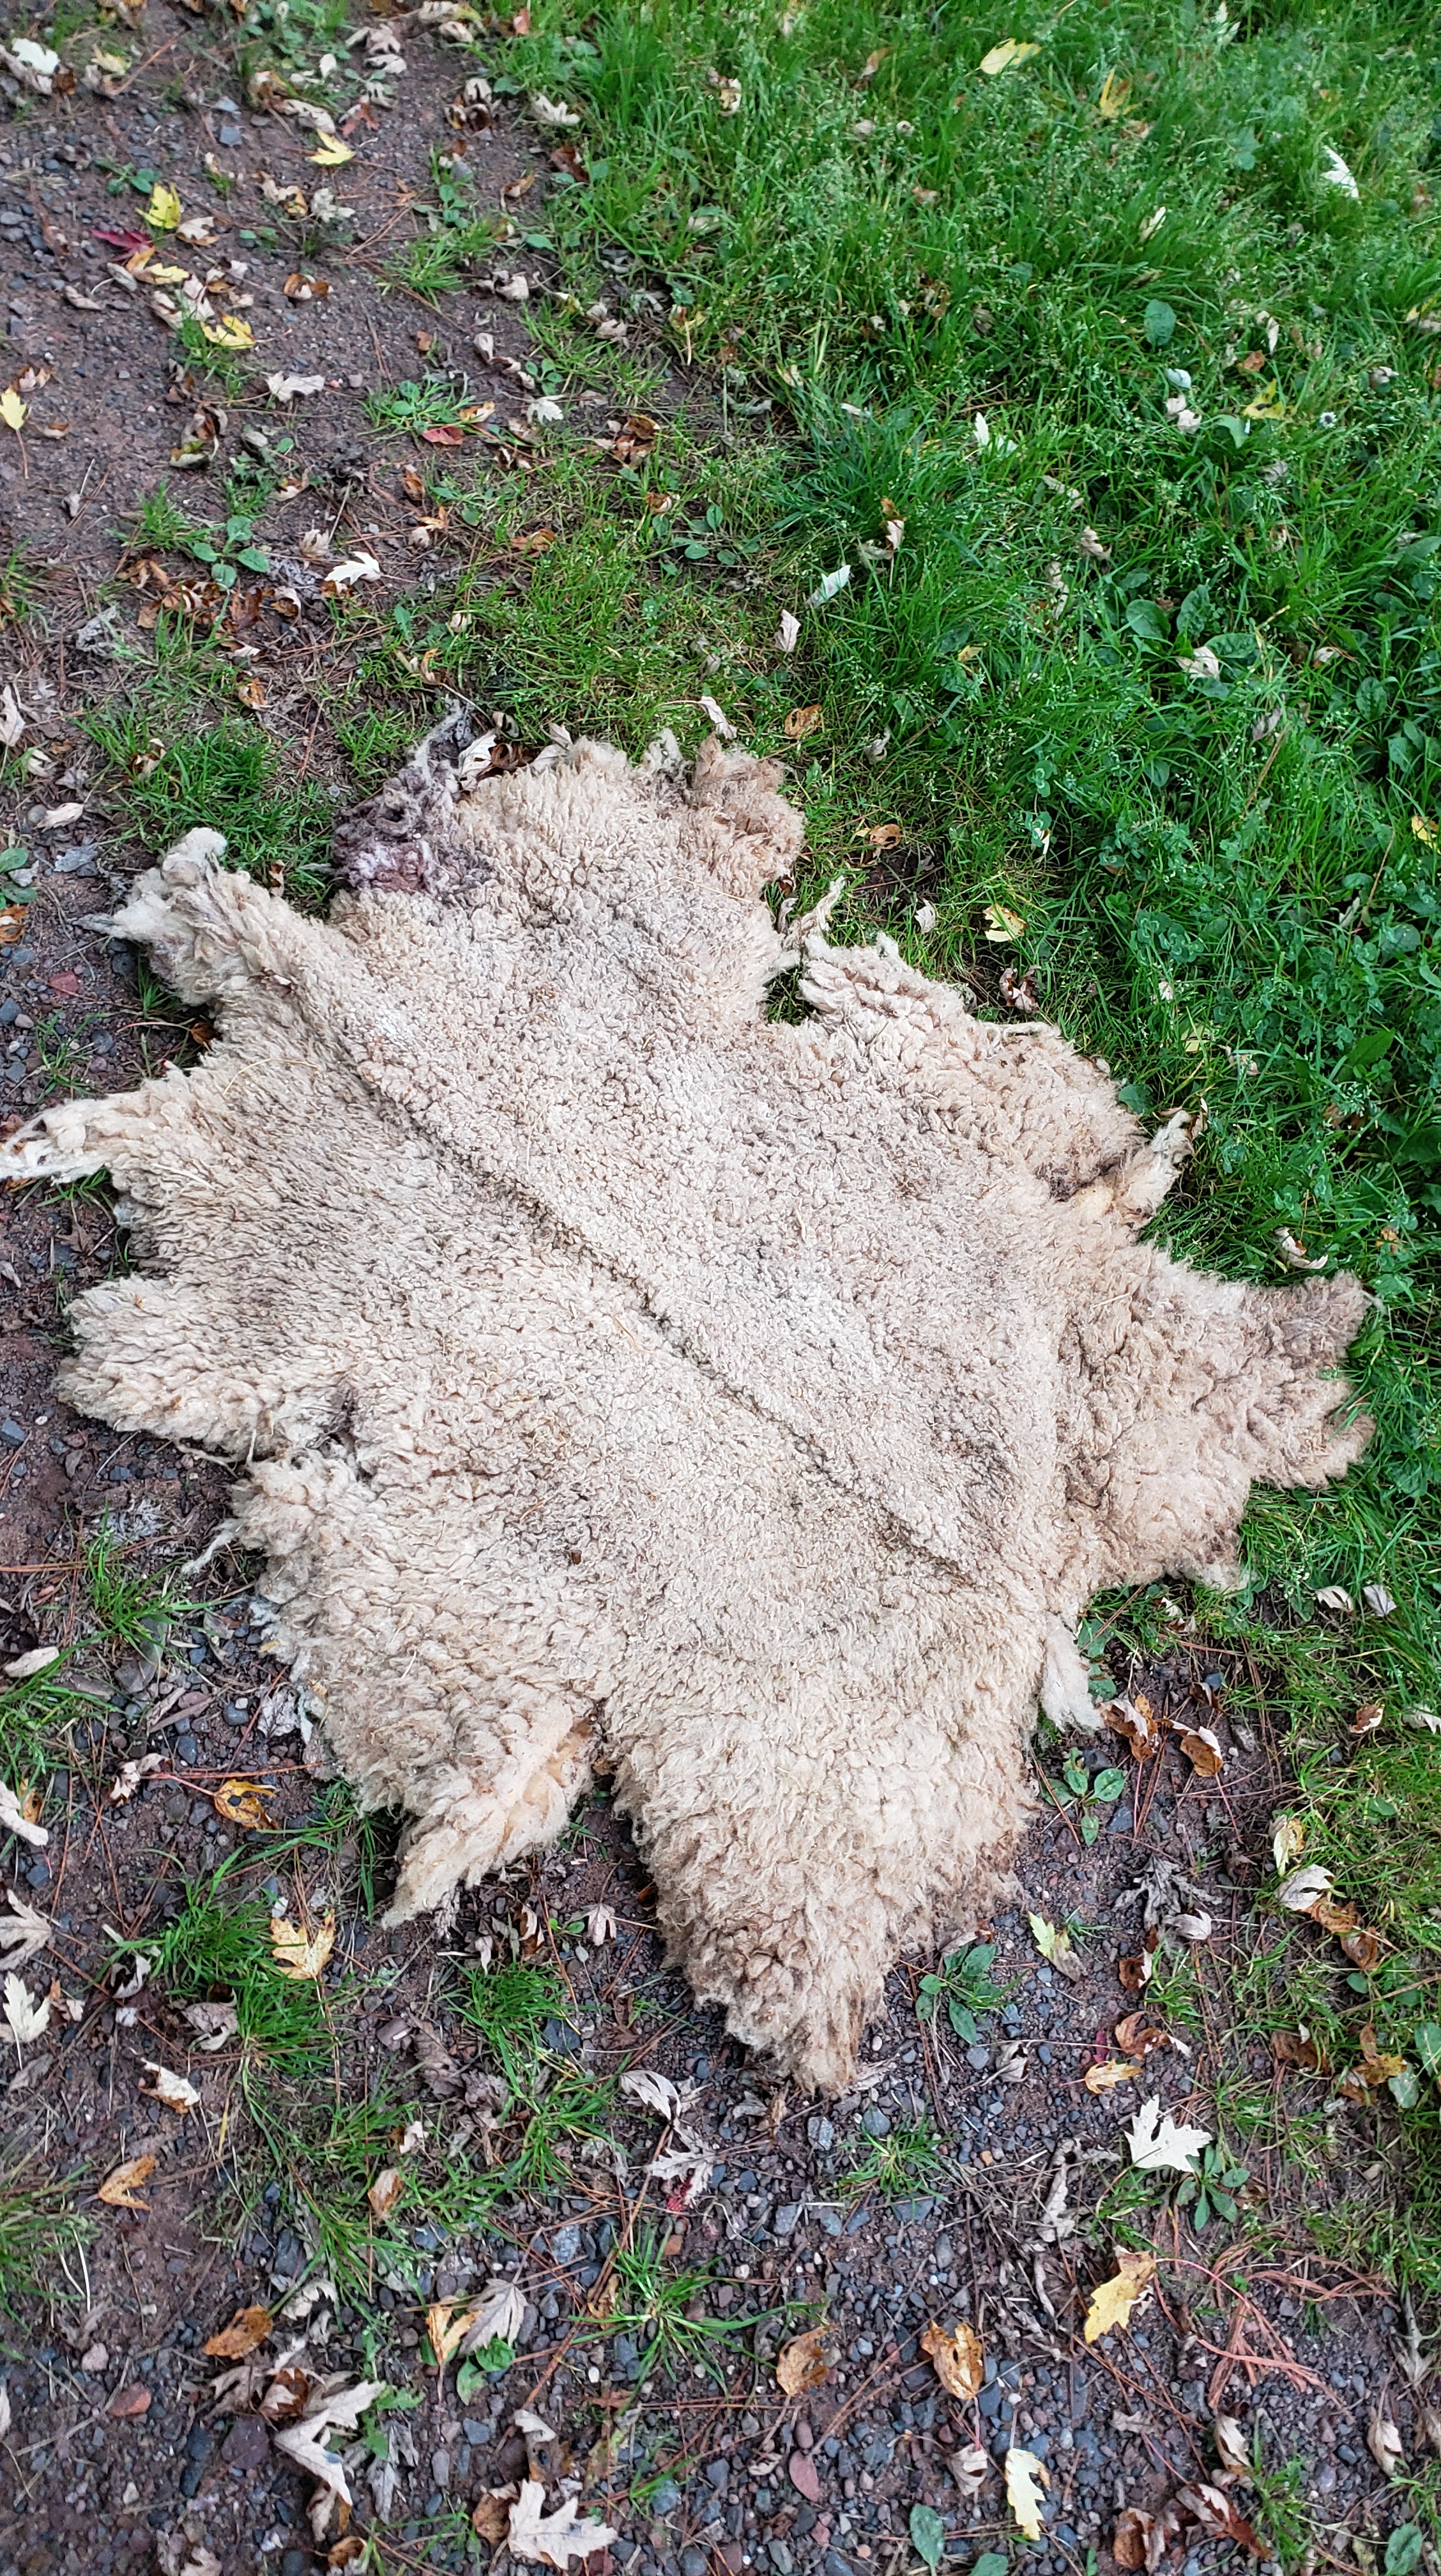
The other day I saw rain in the forecast for the first time in a while and thought, “how do sheep get clean?” I had the idea to set out a couple of the skins to be rained on, hoping that the wool would be washed out. This seemed safer to me than washing them by hand – I’m worried about felting the wool by mistake.
Though the rain certainly did the skins no harm, it didn’t leave them completely clean either. I’ll still need to hand wash them either in my bathtub (undesirable) or under the hose outside (cold).
Usually I would wash blood and gunk out of a skin after fleshing it, before acidification, but I obviously didn’t get the wool clean with these. I was rushing, fighting the weather and running out of time, just trying to preserve them from decay and wool loss.
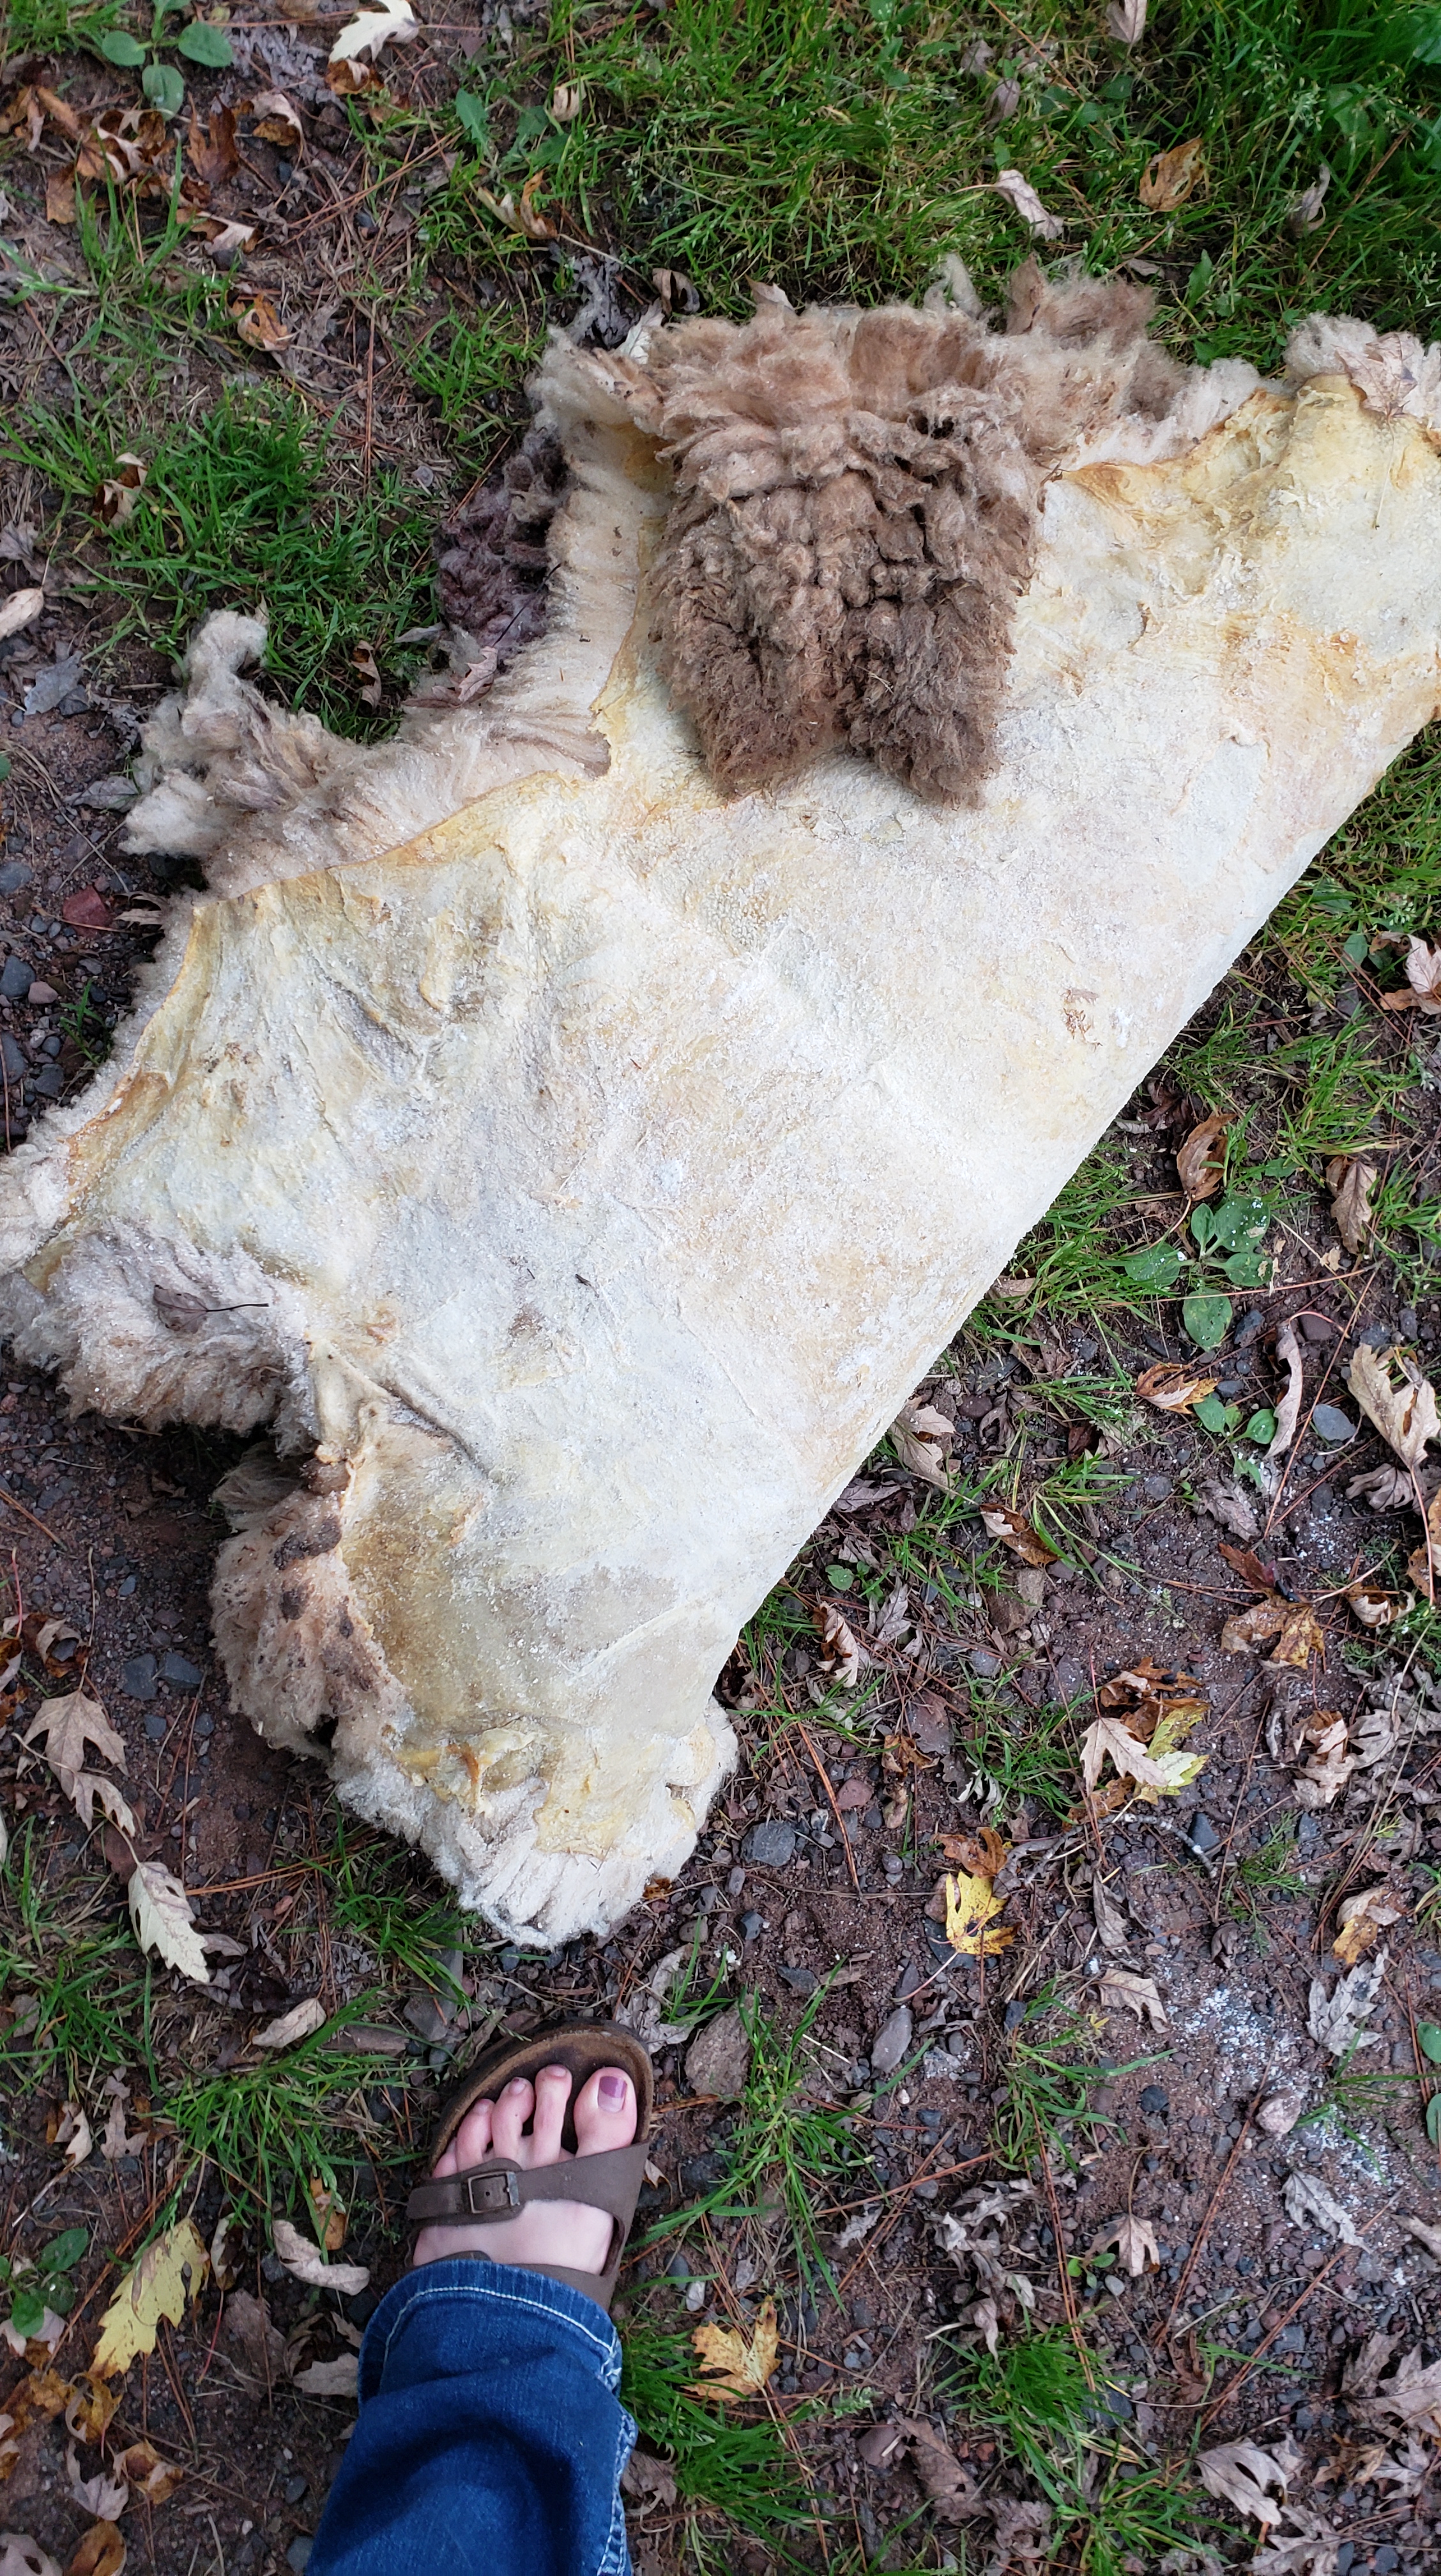
The rain experiment wasn’t totally worthless though, because one of the wet skins is a shearling hide that it turns out I had actually soap tanned back in ’19. I could tell by the way the leather repelled water; it beaded up on it.
The shearling just needs to be oiled, smoked, and washed at this point!
Today I finished scraping and breaking the big white one.
I’m really happy with where it’s at. It’ll be getting a dressing of soap and oil in the next few days to soften up the stiffer bits that I couldn’t work on without damaging. This is mainly the edges, which I’ll trim to some extent anyway. Especially the nape, which I suspect is not just stained but actually dyed by old blood.
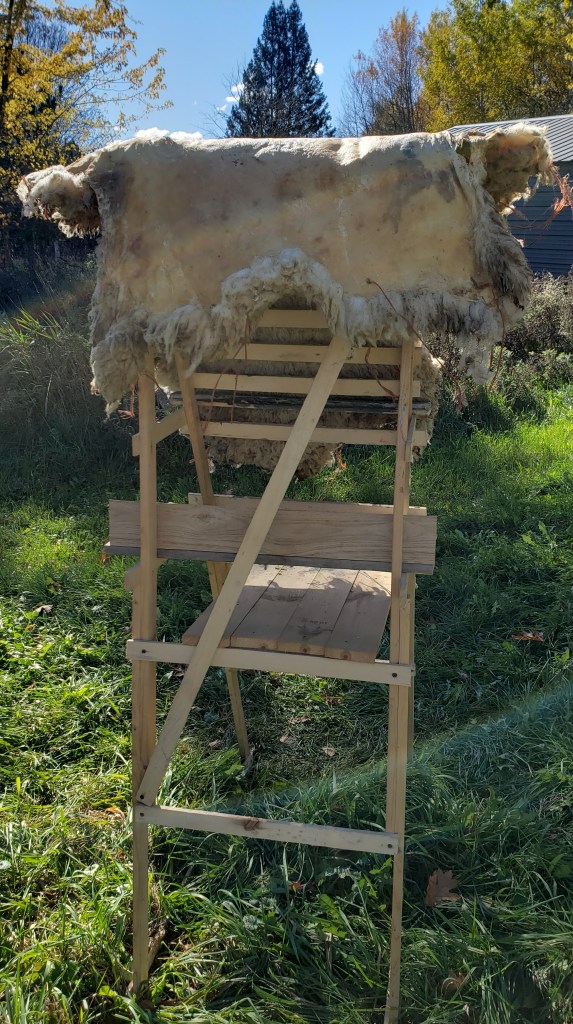
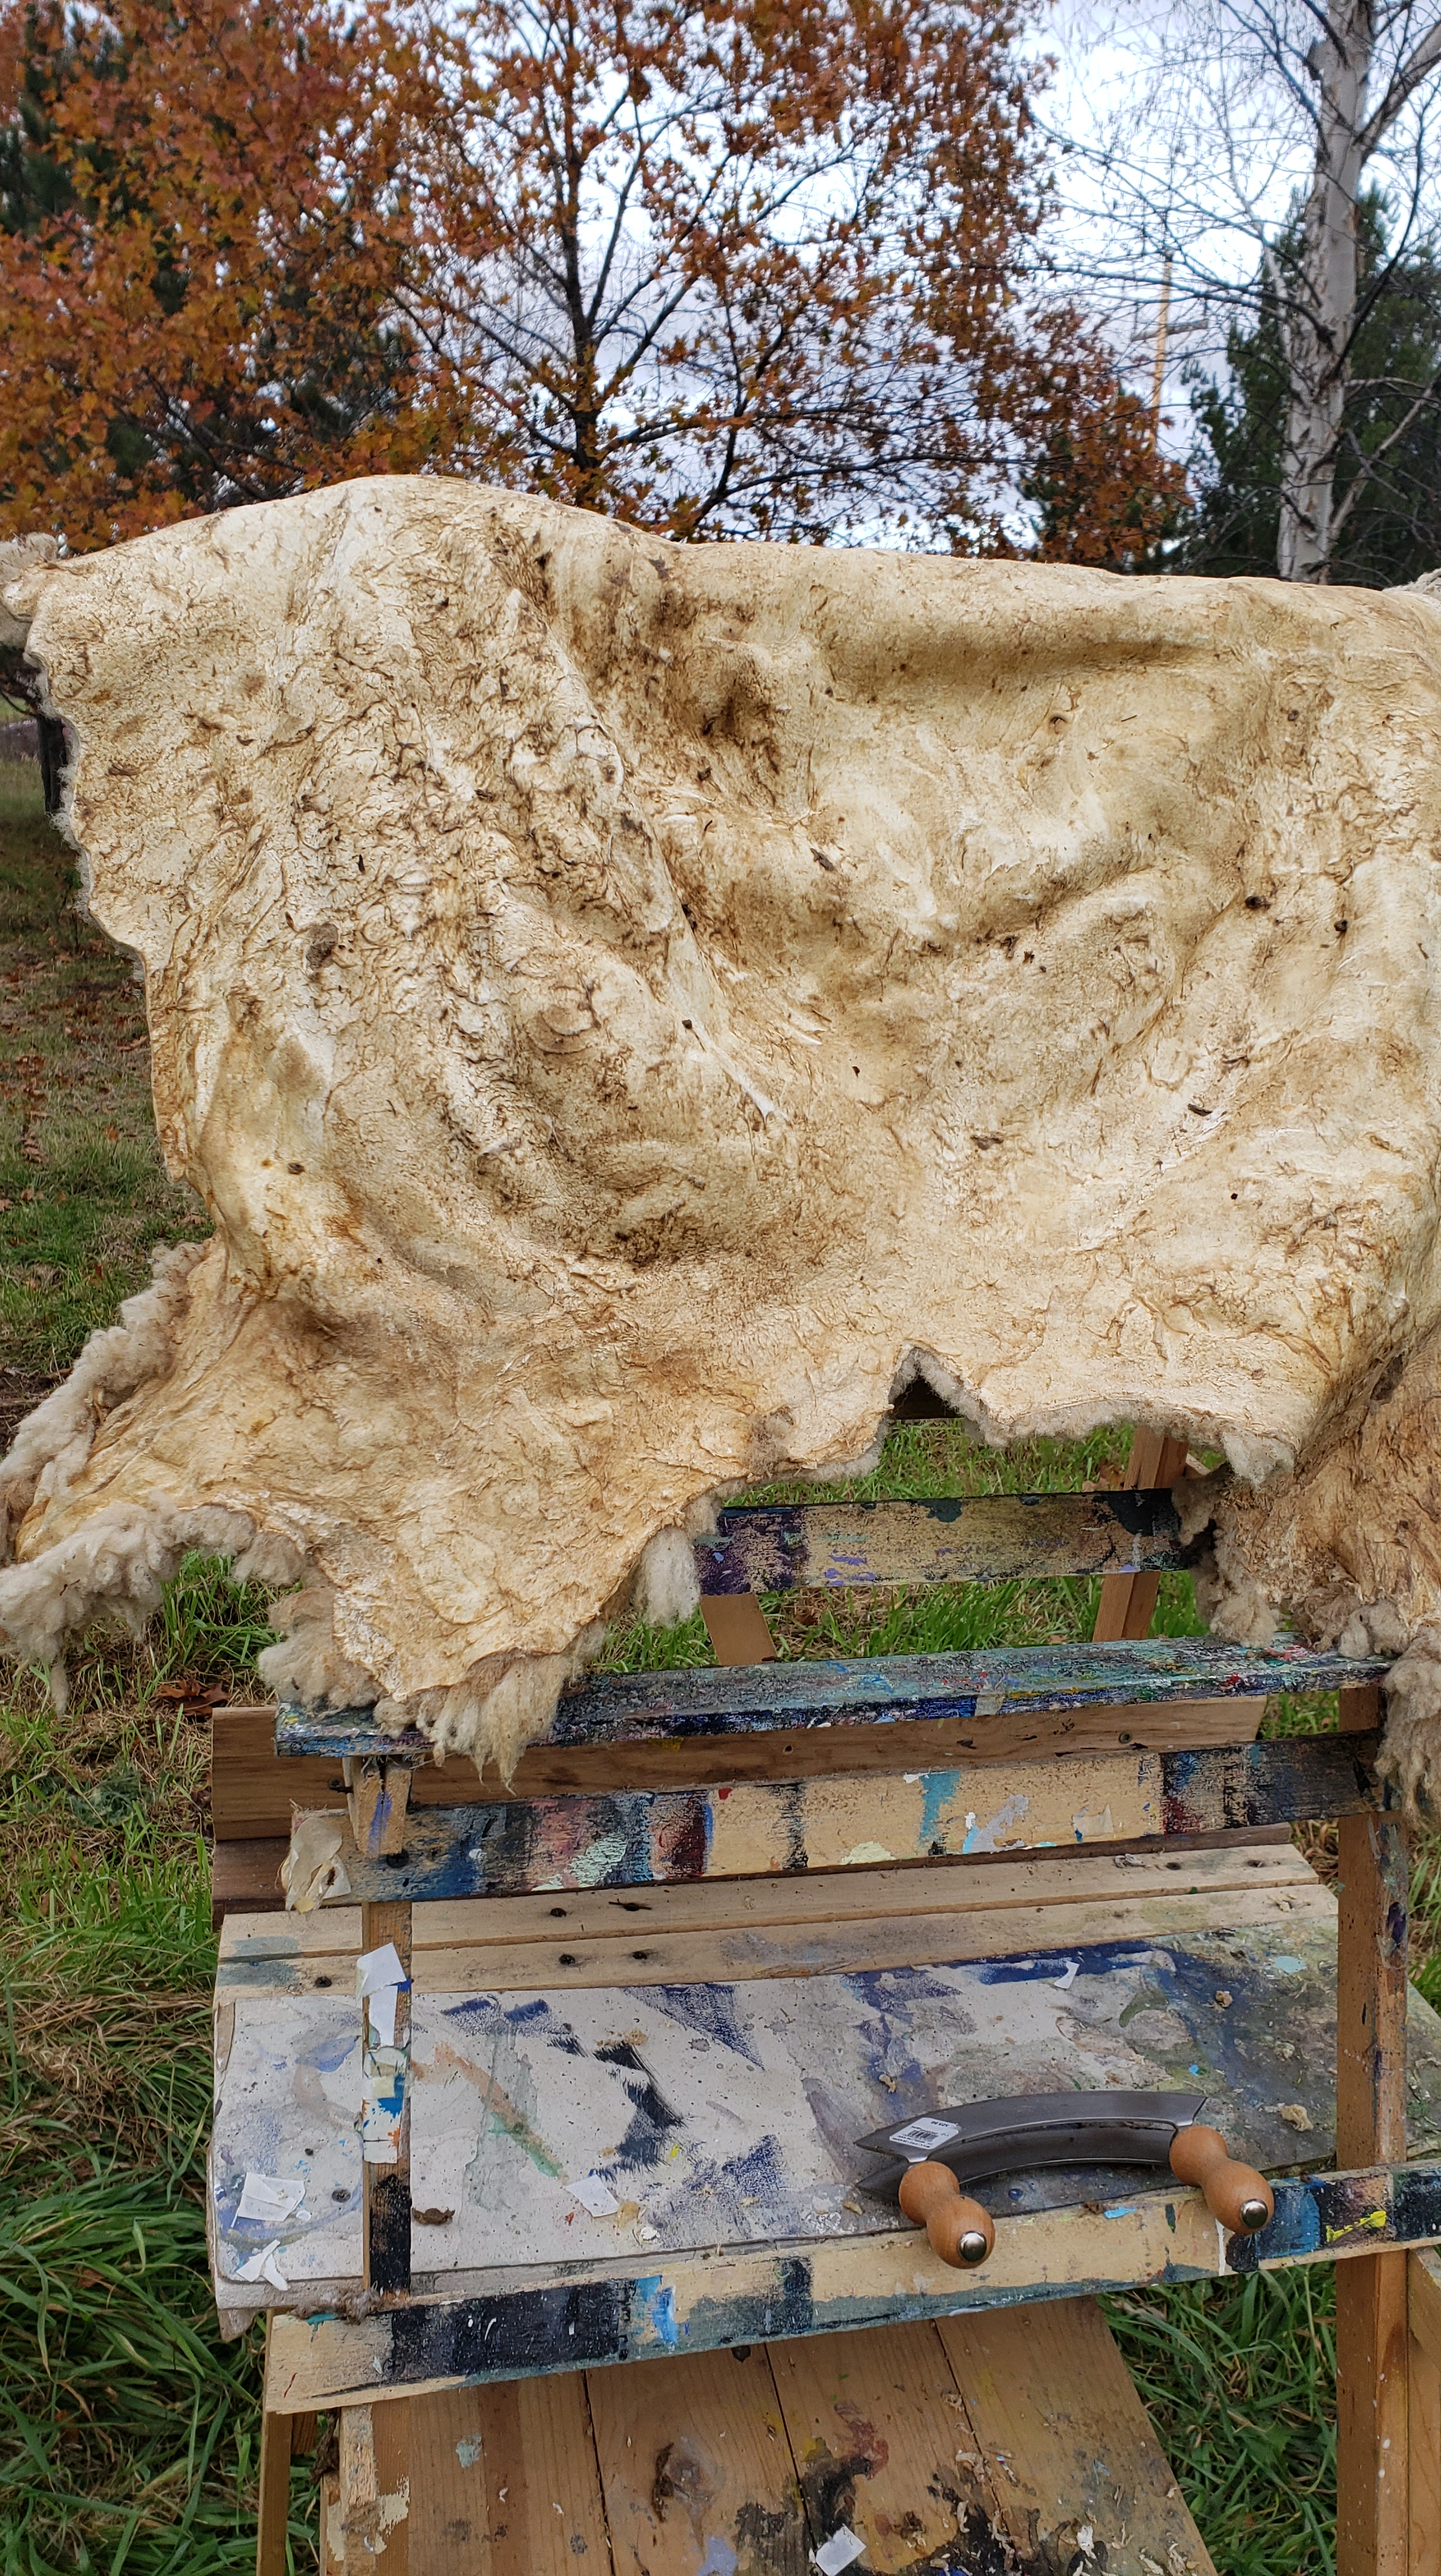
I’m surprised at how easily this hide is breaking without having it stretched on a frame. To compensate, I’m draping it over a tall painting easel and gripping the top with one hand while I scrape with the other.
I love the sound my new breaking tool makes against the leather. It reminds me of the whisper-shush of a scythe blade from when I used to mow buckwheat. I stood outside in the cold and worked my sheepskin today; it was quiet and I was alone but for my work and my thoughts. Good company, actually.
I’ve mentioned “tawing” and “alum” here a few times, and it occurred to me that it might be helpful if I explain what the hell I’m talking about.
Alum is a naturally occurring mineral, a salt of aluminum. Specifically, it’s aluminum sulfate. Alum is not chrome or chromium! A Google search will tell you that alum is used for pickling and food preservation, as well as making leather. Historically it was also used to leaven bread.
When alum is used for leather-making, the process is called tawing. This is mineral tanning, which is one of the most ancient forms of tanning. Purists will probably argue that it’s “not really tanning” – I don’t totally disagree, but would point out that’s why the process has a different name.
I was taught about using alum on fur-on animal skins by the leather-maker at Colonial Williamsburg, who was a friend of my husband, in 2010.
I’ve heard it said that tawing produces stiff, hard leather. This is only true if you don’t work and stretch the hide as it dries, which is true of tanning with soap, bark, oil, egg, or brain as well!
When I do large hides (sheep, goat, or deer vs. rabbit or raccoon) I first taw the skin in alum and salt. Then after rinsing with clean water, I apply my soap and oil solution to the wet skin to tan it. I realize this sounds like overkill or a double process, but once I started tawing before tanning I never had the dreaded hair, fur, or wool slippage again!
For small pelts I’ll often just taw them by soaking in a strong pickling solution of alum and salt, and then hand-stretching as they dry. It’s so easy to do lots of small skins this way, and the leather can be further softened and darkened with neatsfoot oil.
Today the weather was fine and my sweet husband took charge of our baby, so I had Time (that most precious resource!) to work on the big white wooly hide.
Early this morning I set the skin outside on my little painting easel to dry in the sun. All the salt that’s still stuck to the skin and wool has just been sucking up moisture from the air, so it’s gotten damp and stayed that way. Again, a testament to the power of salt and alum that it is in such good condition despite all the neglect… actually, it’s just as I left it, which is the point of all this.
One trip to the feed store and several breastfeeding sessions (I have a 3-month-old) later, the wool was dry! Success! And I was able to get to fleshing.
I can’t find my trusty Ulu knife (I probably abandoned it, like these skeepskin projects, back in 2019). So I’m using a new tool to flesh this skin. It’s actually a little gardening tool, I think, for grubbing or scraping up weeds. My husband used the bench grinder to take the sharp corners off for me, which would in theory reduce the risk of it slicing through the hide while I use it to scrape away bits of flesh, dried fat, and skin membrane.
I forgot how physically difficult this work is! Not the least reason being that I had a cesarean section almost four months ago; my lower abs are killing me now. But honestly, I’m out of shape – out of shape for this work specifically, and just in general for my usual level of activity and running-around-outside. Yes, I get that I’m postpartum and my body is healing. It’s a beautiful thing and all that. But I’m not used to my forearms being sore about ten minutes into using them!
It took a little bit to get the feel of how to use this new fleshing tool best. I started out just kind of hacking and beating away at the skin. This is pretty typical for me – honestly hide work isn’t a lot of finesse, at least not the way I do it
This brutish approach was working well to soften and whiten the leather, as well as to break up the dried stringy flesh bits.
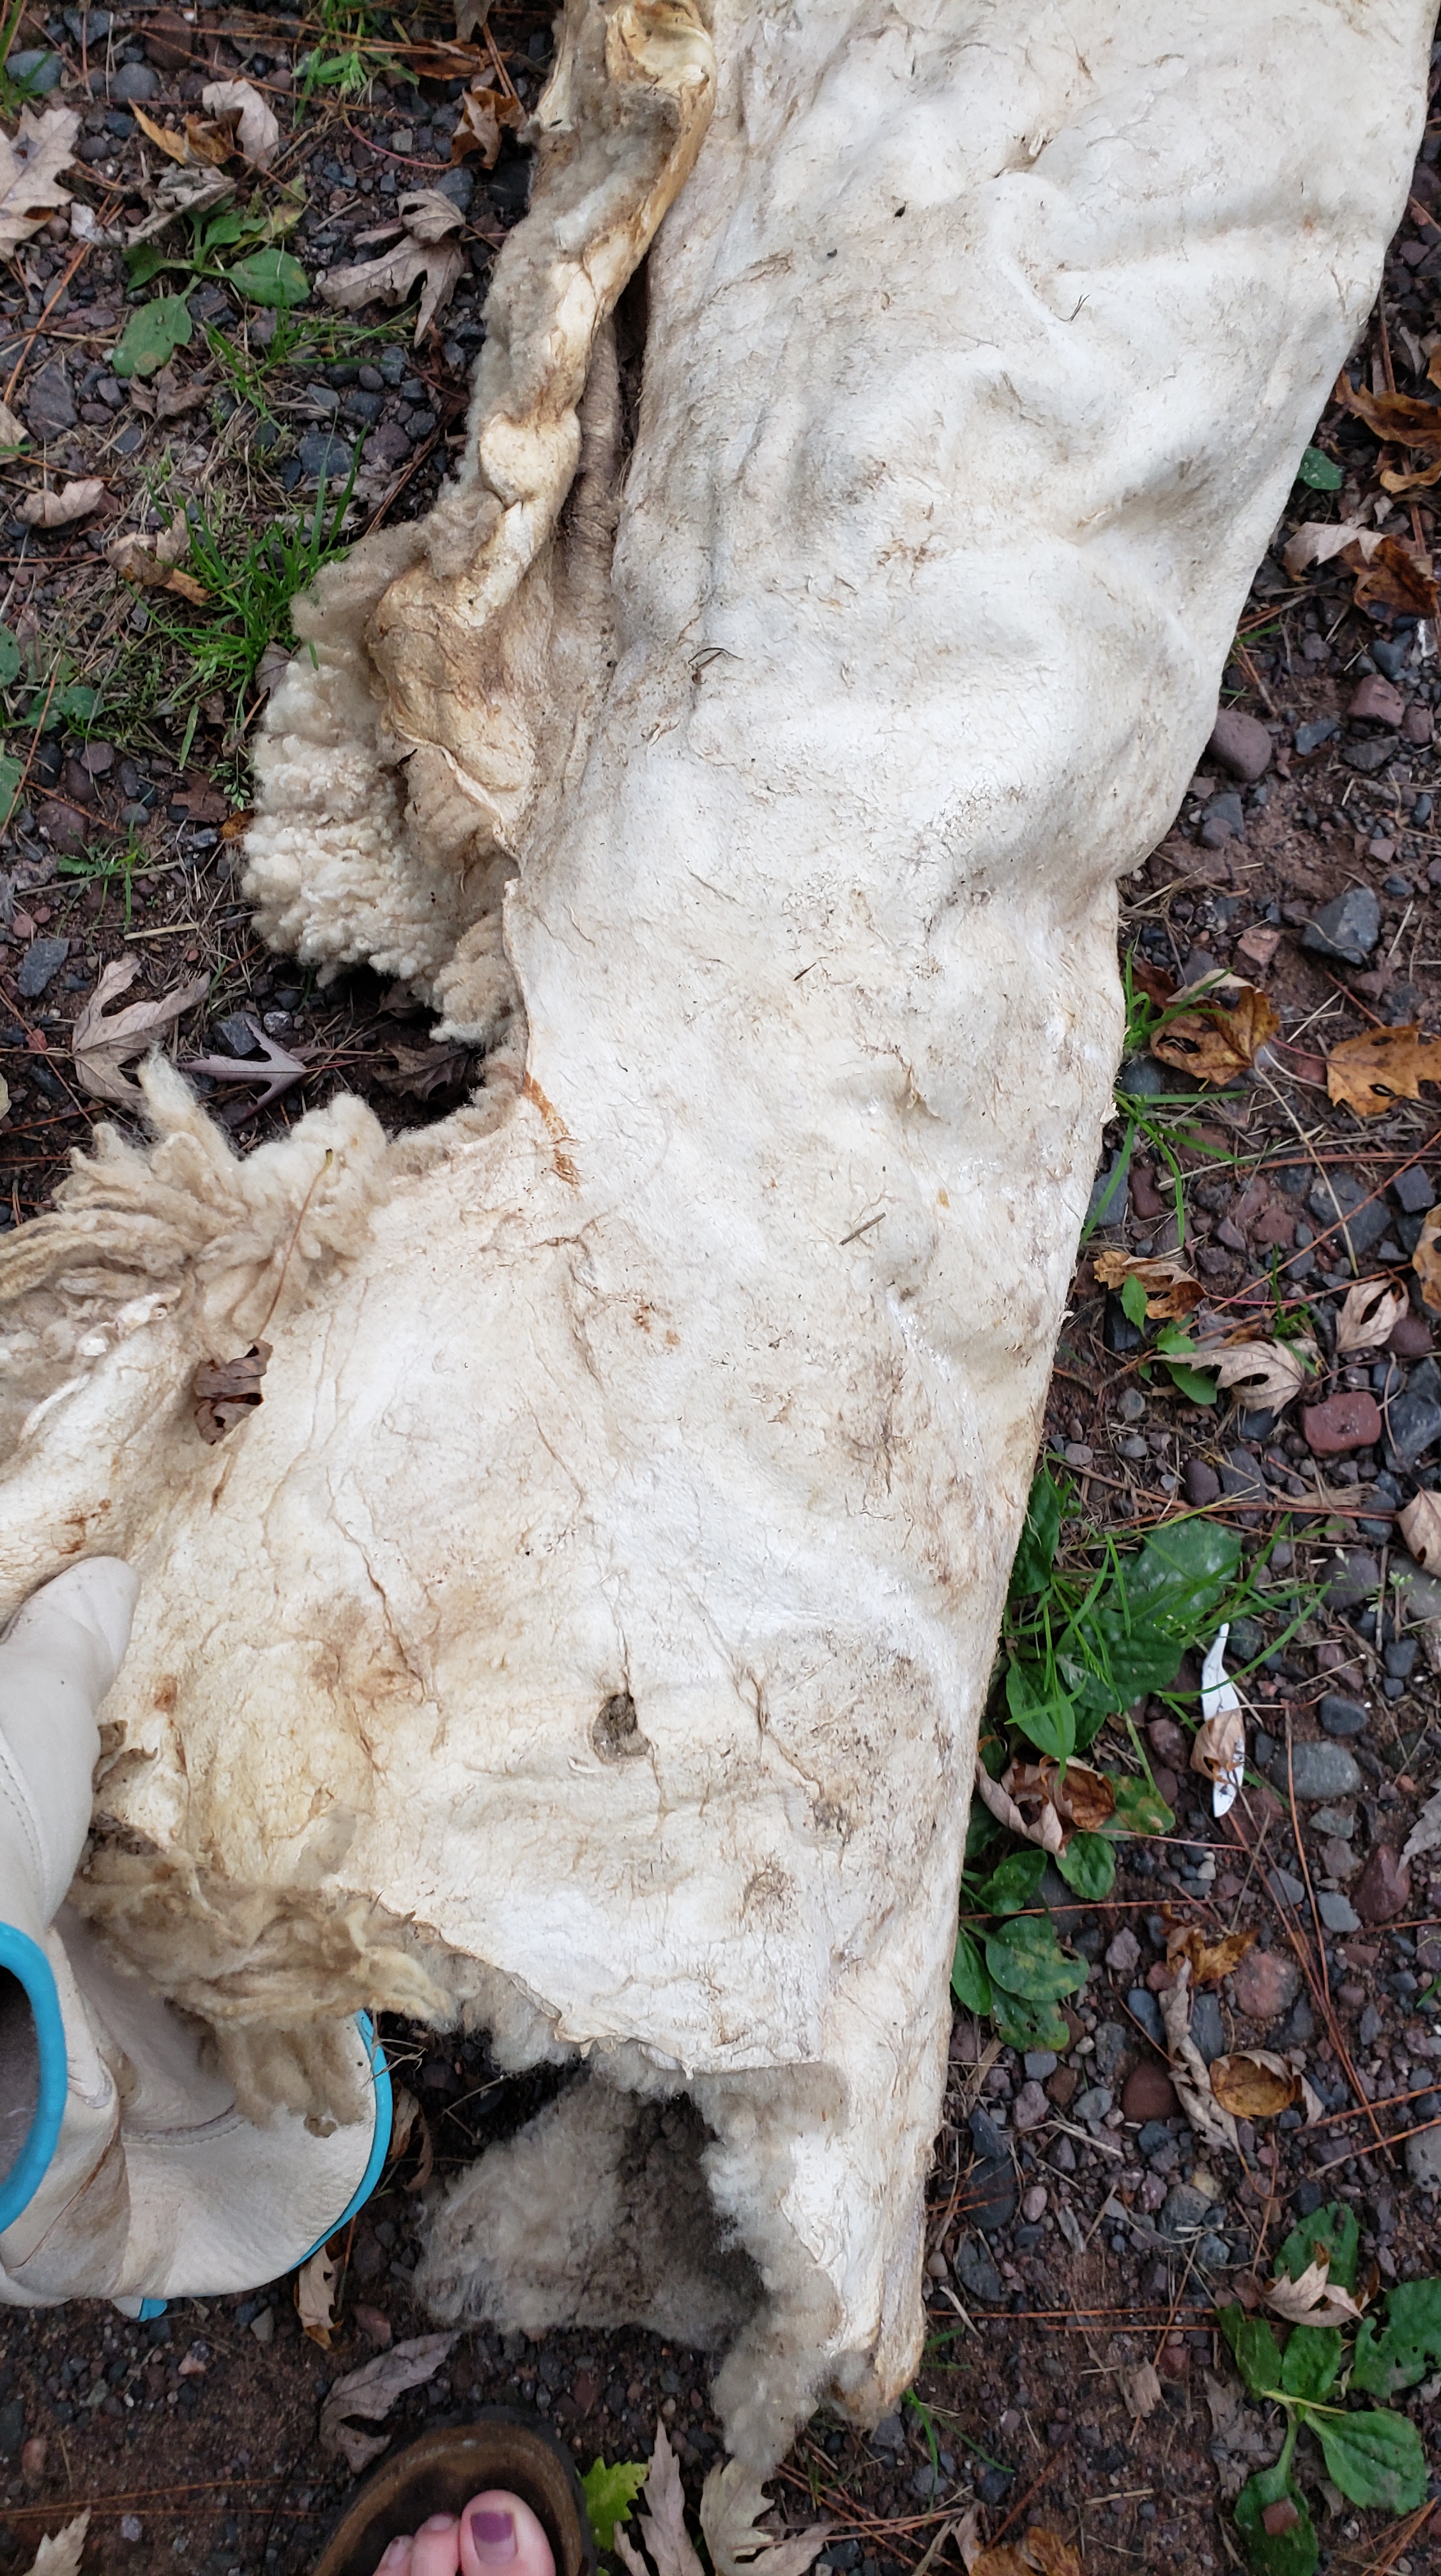
I was trying to remember/rediscover what direction to work in when fleshing. I think (though I could be wrong) it’s best to work outwards from the center back line of the body. This seems to be the natural way that flesh comes off. As you can see, before I figured that out I slashed a little hole in the leather near one of the legs. I’ll have to sew that up when the skin is tanned.
Here’s a pic of the skin getting closer to how it should look.
After some more hacking and beating, I found it was even better to grip the tool farther down the handle and turn it slightly so that I could scrape at specific areas with the corner of the blade. This really helped lift up bits of stuff that needed peeling off.
I do wear gloves to do this work, most of the time. But some things call for bare fingers. I often find that pulling and peeling off the dried flesh and fat requires gloves-off.
Today reminded me of why it’s best, for me anyway, to tan hides one at a time rather than dealing with a whole batch at once. I had already fleshed this hide when it was fresh and unsalted, but I hadn’t finished, probably because I was trying to do 8 of them at once and running out of time. This meant that in order to preserve it, I had to salt & alum it with flesh still on.
Now, I’m having to repeat my work, and it’s no easier to remove dried, salted flesh and fat. In some ways, it’s harder because I can tear or cut the brittle bits of the hide. It’ll soften up once I dress it, break it, and smoke it, but right now the edges and a couple spots in the middle are a bit crispy.
Speaking of dressing it – I need to make soap! I didn’t even think of it until today, but I don’t have any handmade soap left, and I always tan with homemade lard or tallow soap. Making soap: another thing I haven’t done in a couple years. Luckily I have some tallow left to make it with.
I also forgot how easy it is while tanning a hide to get little cuts on your hands – and then automatically and immediately get salt in ’em. There’s a metaphor in there.
It’s raining, 40*, and the sun went down at 6:30. So naturally I actually had time for hide work!
I dragged one of the 2019 wooly skins into the front room of my house; it’s the least nice room and unfinished, so I feel justified doing weird and dirty projects in there.
This skin is large, the wool thick and long and creamy. The dried blood in the nape has long oxidized to purple. It still smells exactly like one of my sheep, and I’m hit with a pang of nostalgia as I think about my empty barn, which now houses only a riding mower and, probably, mice.
Since the world only spins forward, I focus on the work in front of me. Right. The wool is filthy, there’s still salt stuck to the skin, and though I’ve tawed this hide, I can see that I did a half-ass job fleshing it. Maybe I was crunched for time, maybe I was exhausted. I can’t remember, but either way I’m going to have to finish fleshing this thing before I can wash it.
Fleshing is removing the flesh and fat that’s still attached to the skin after skinning. It’ll rot the hide if not removed. Well – it would have, if I hadn’t tawed it with salt and alum. I’ve found that alum forgives a multitude of tanning sins.
What I accomplished tonight was just brushing out the wool. It’s too dark out to work on fleshing outside, plus it’s raining. And that’s not something I’m willing to do in the house with an infant.
So here’s where I’m at in the process with this big wooly:
Finish fleshing, possibly including putting a soap and oil dressing on so that it’s soft enough to work
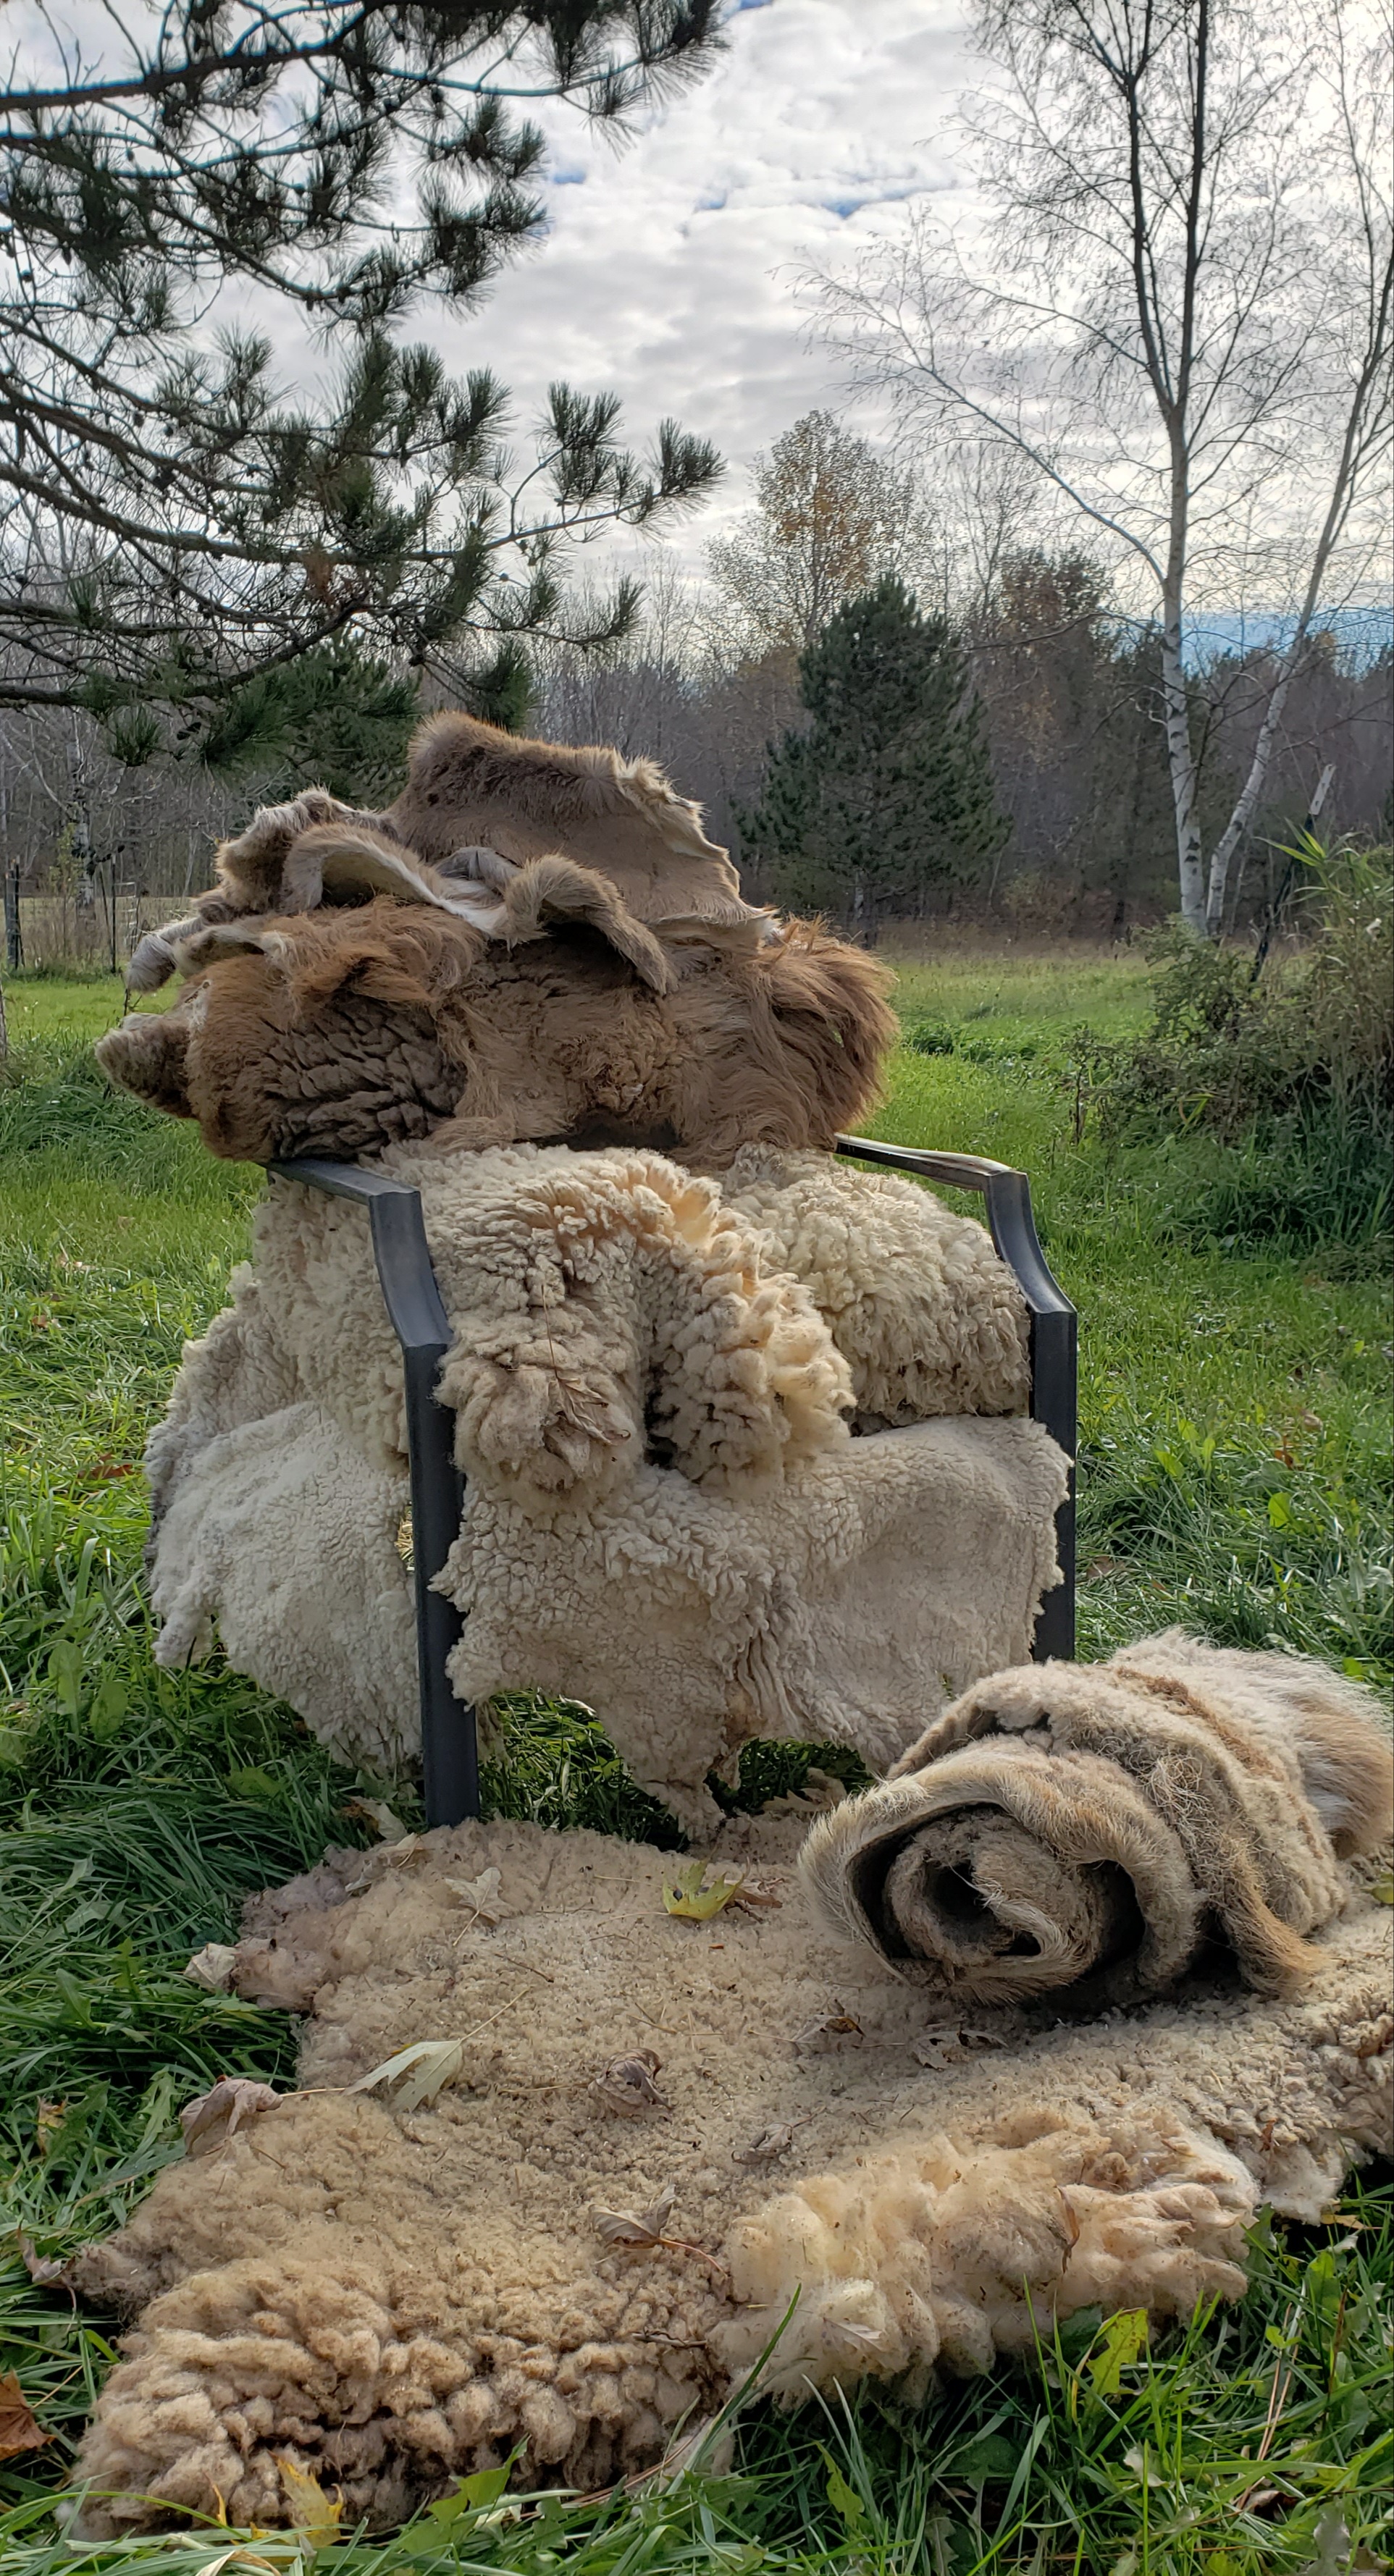
I dug around in my stack of 2018-2019 sheepskins today with the intention of choosing which one to start with. I honestly can’t remember where I left off in the tanning process with any of them, only that I’m sure I hadn’t gotten as far as smoking.
Based on the condition they’re in, I at least acidified them. Mercifully there is no rot or hair slip.
That means that I salted them all really well, and I think I actually tawed most of them. Tawing is similar to tanning, and is something I always do before I soap and smoke pelts.
When I taw pelts I use salt and a generous amount of alum dissolved in water. I soak the skins until they’re pickled, white, and swollen. If the weather is warm, I apply the salt and alum directly to the skin without water; I’ve found that when it’s much above 70 degrees things are happening faster and skins are more likely to be ruined.
To be honest I’m chuffed that all these skins lasted in my garage, near an open window, subject to all weather, for almost 3 years. Salt is powerful stuff.
You can see from the photos I took of 3 of the skins that the wool is still dirty. I remember being hesitant to wash them because I couldn’t imagine how to get them dry; it was so humid and then it was so cold.
I’m tempted to start with one of the shearlings because the wool is so short. But that seems like trying to take the easy way out, so I’ll start with one of the long wooled tawed hides instead.